There is a wonderful, talented, sweet as peaches-&-golden-syrup maker that I met on Instagram a few years ago called Elise Baek, who goes by @Eliseandemilie on Instagram. And she just wrote a book! A book! With the very apt tagline “20 charming patchwork projects to give and keep”. Says it all beautifully.

And she asked if I would make for her online book tour! Me! I felt very honoured indeed.
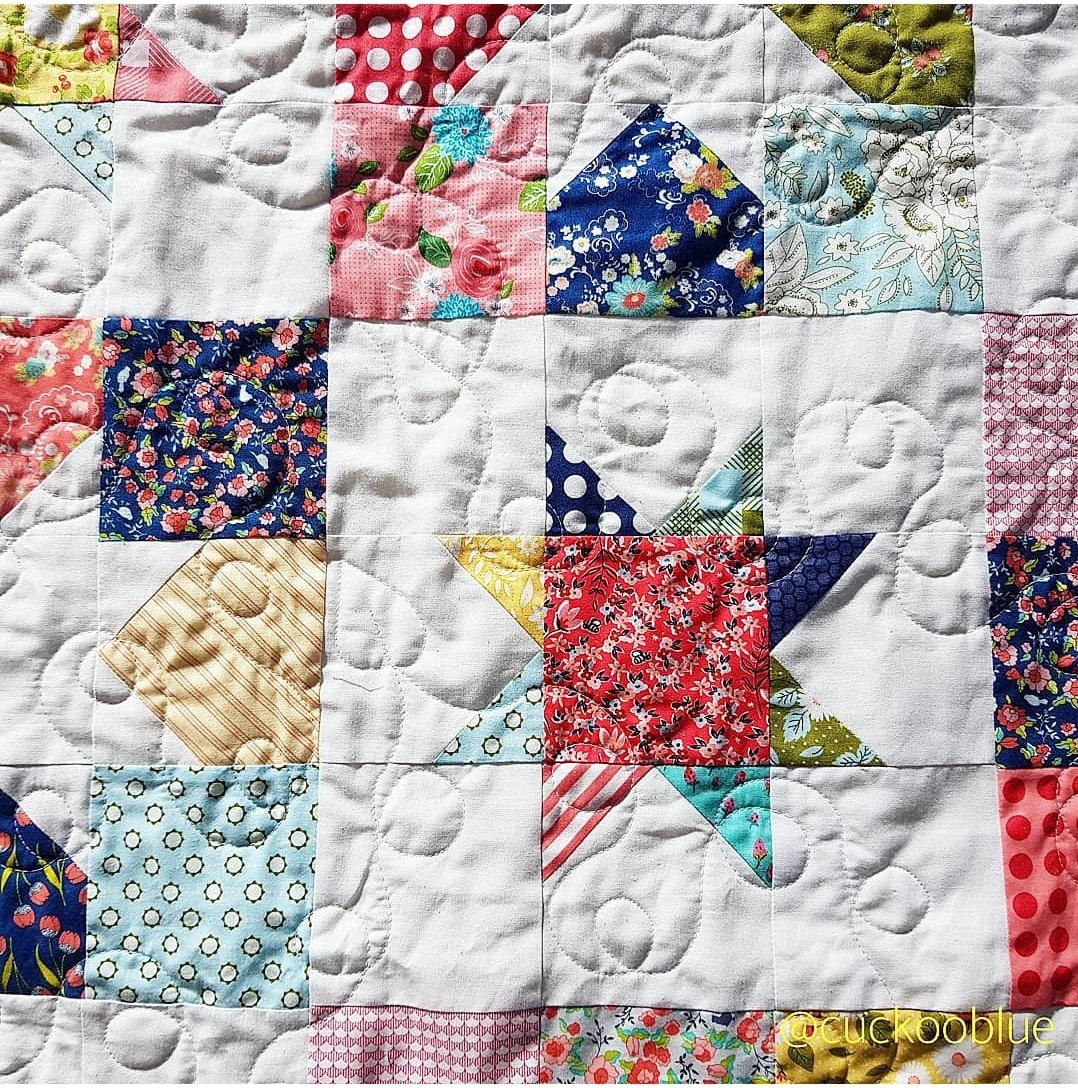
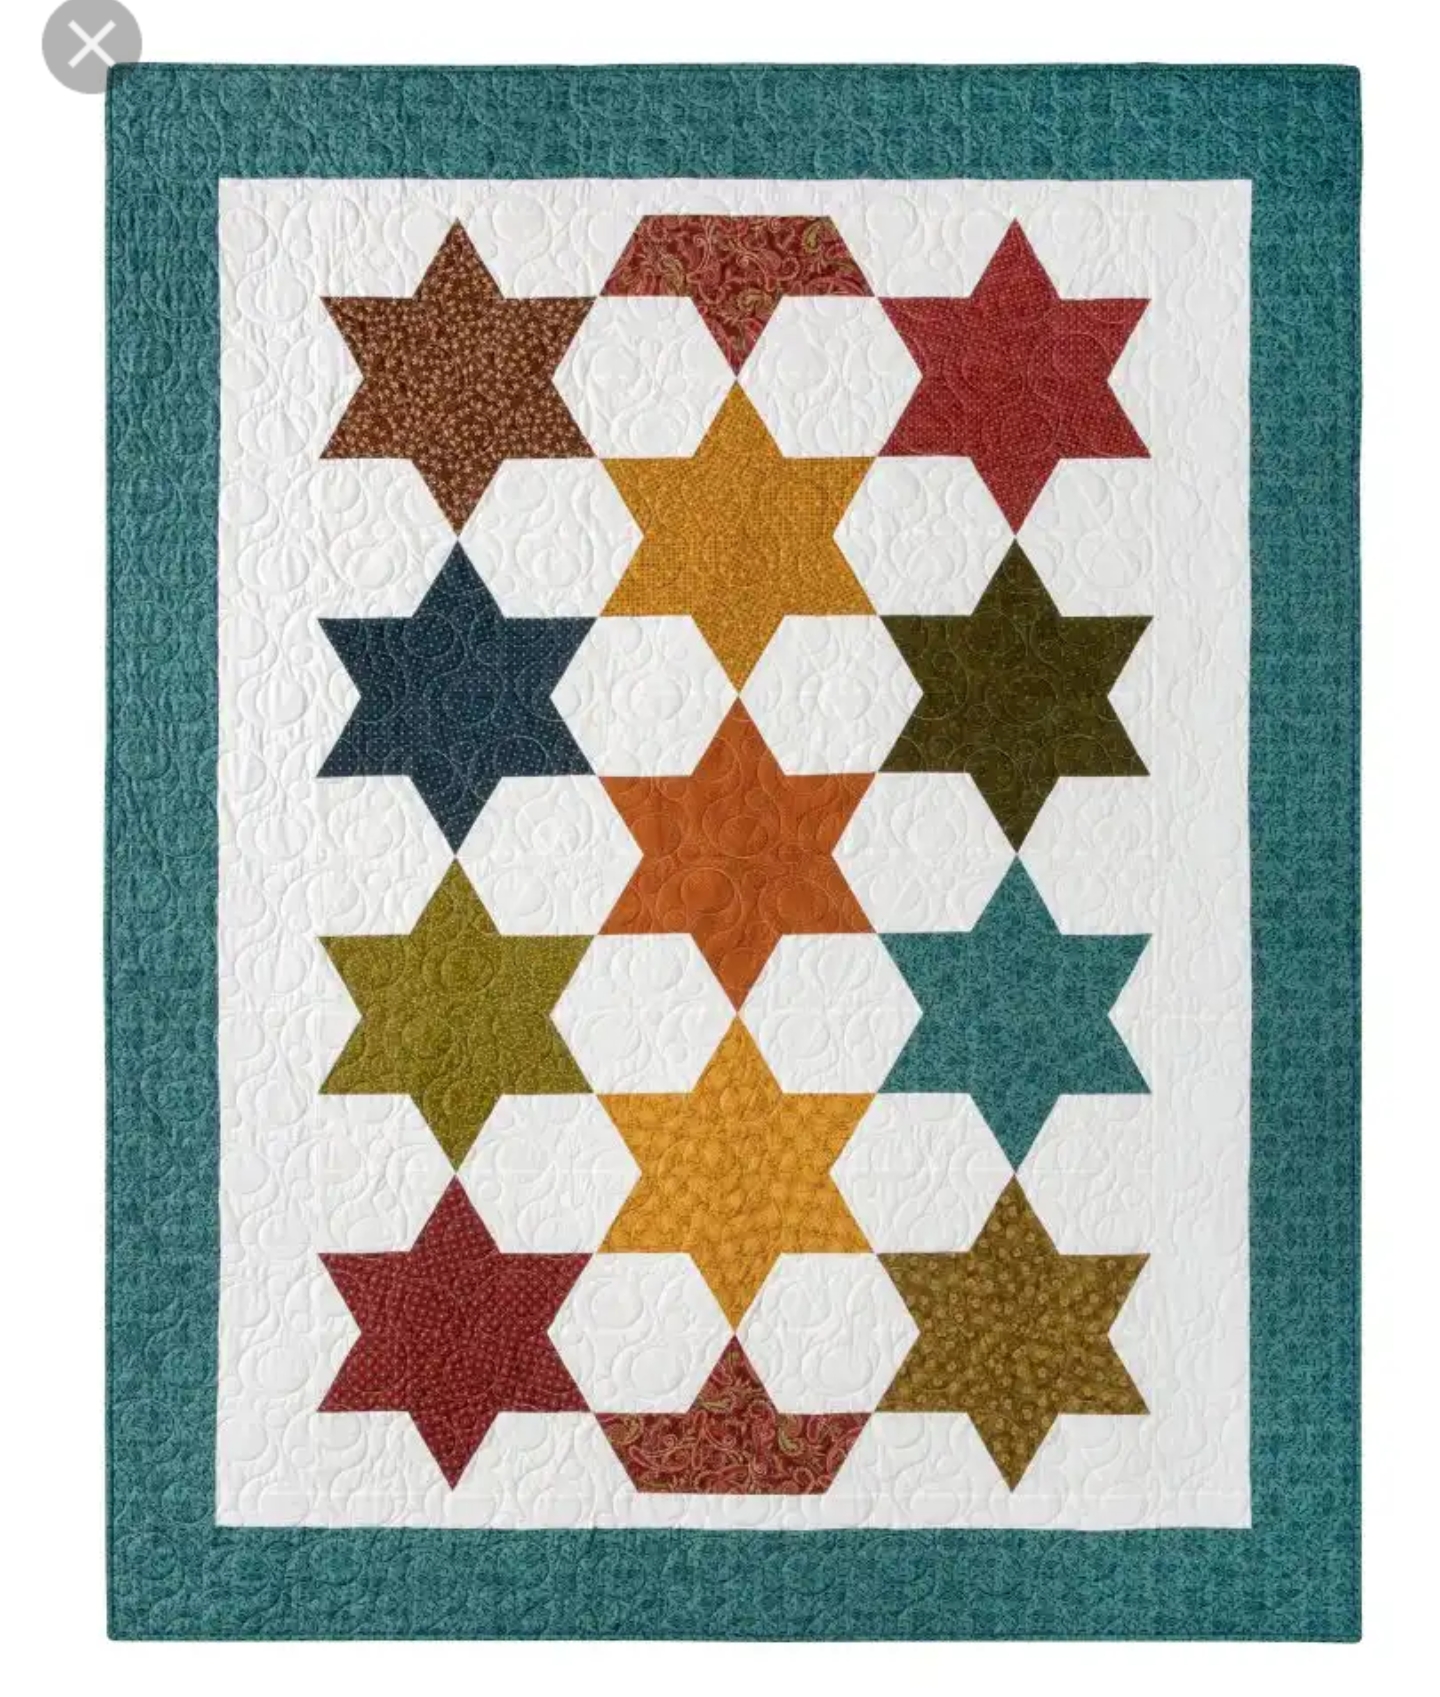
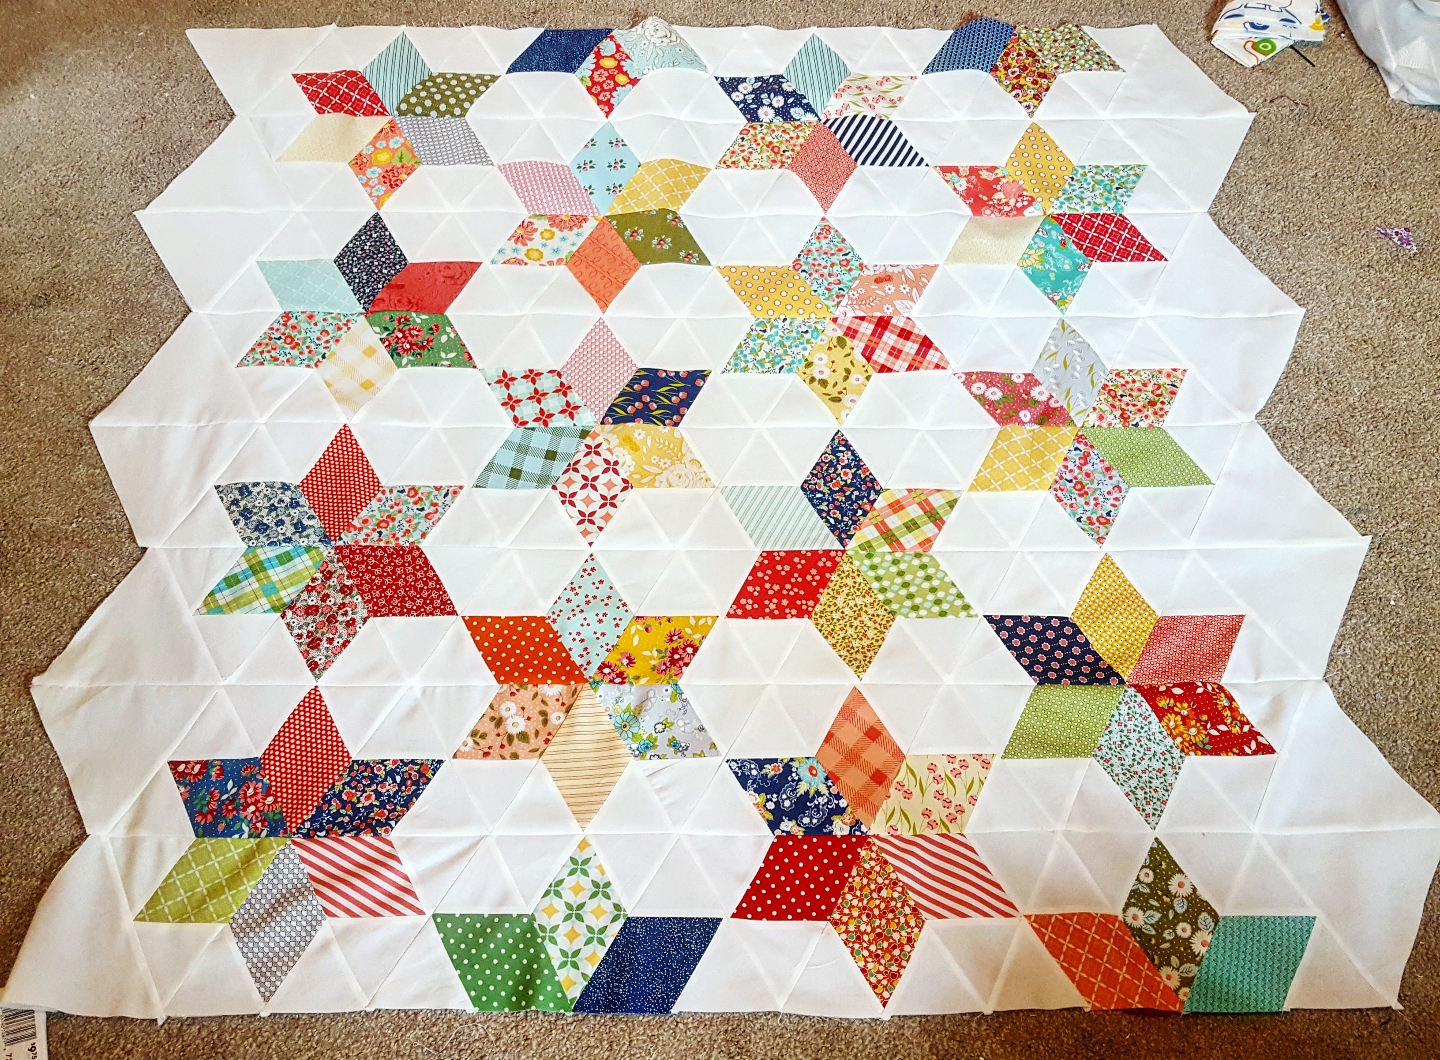
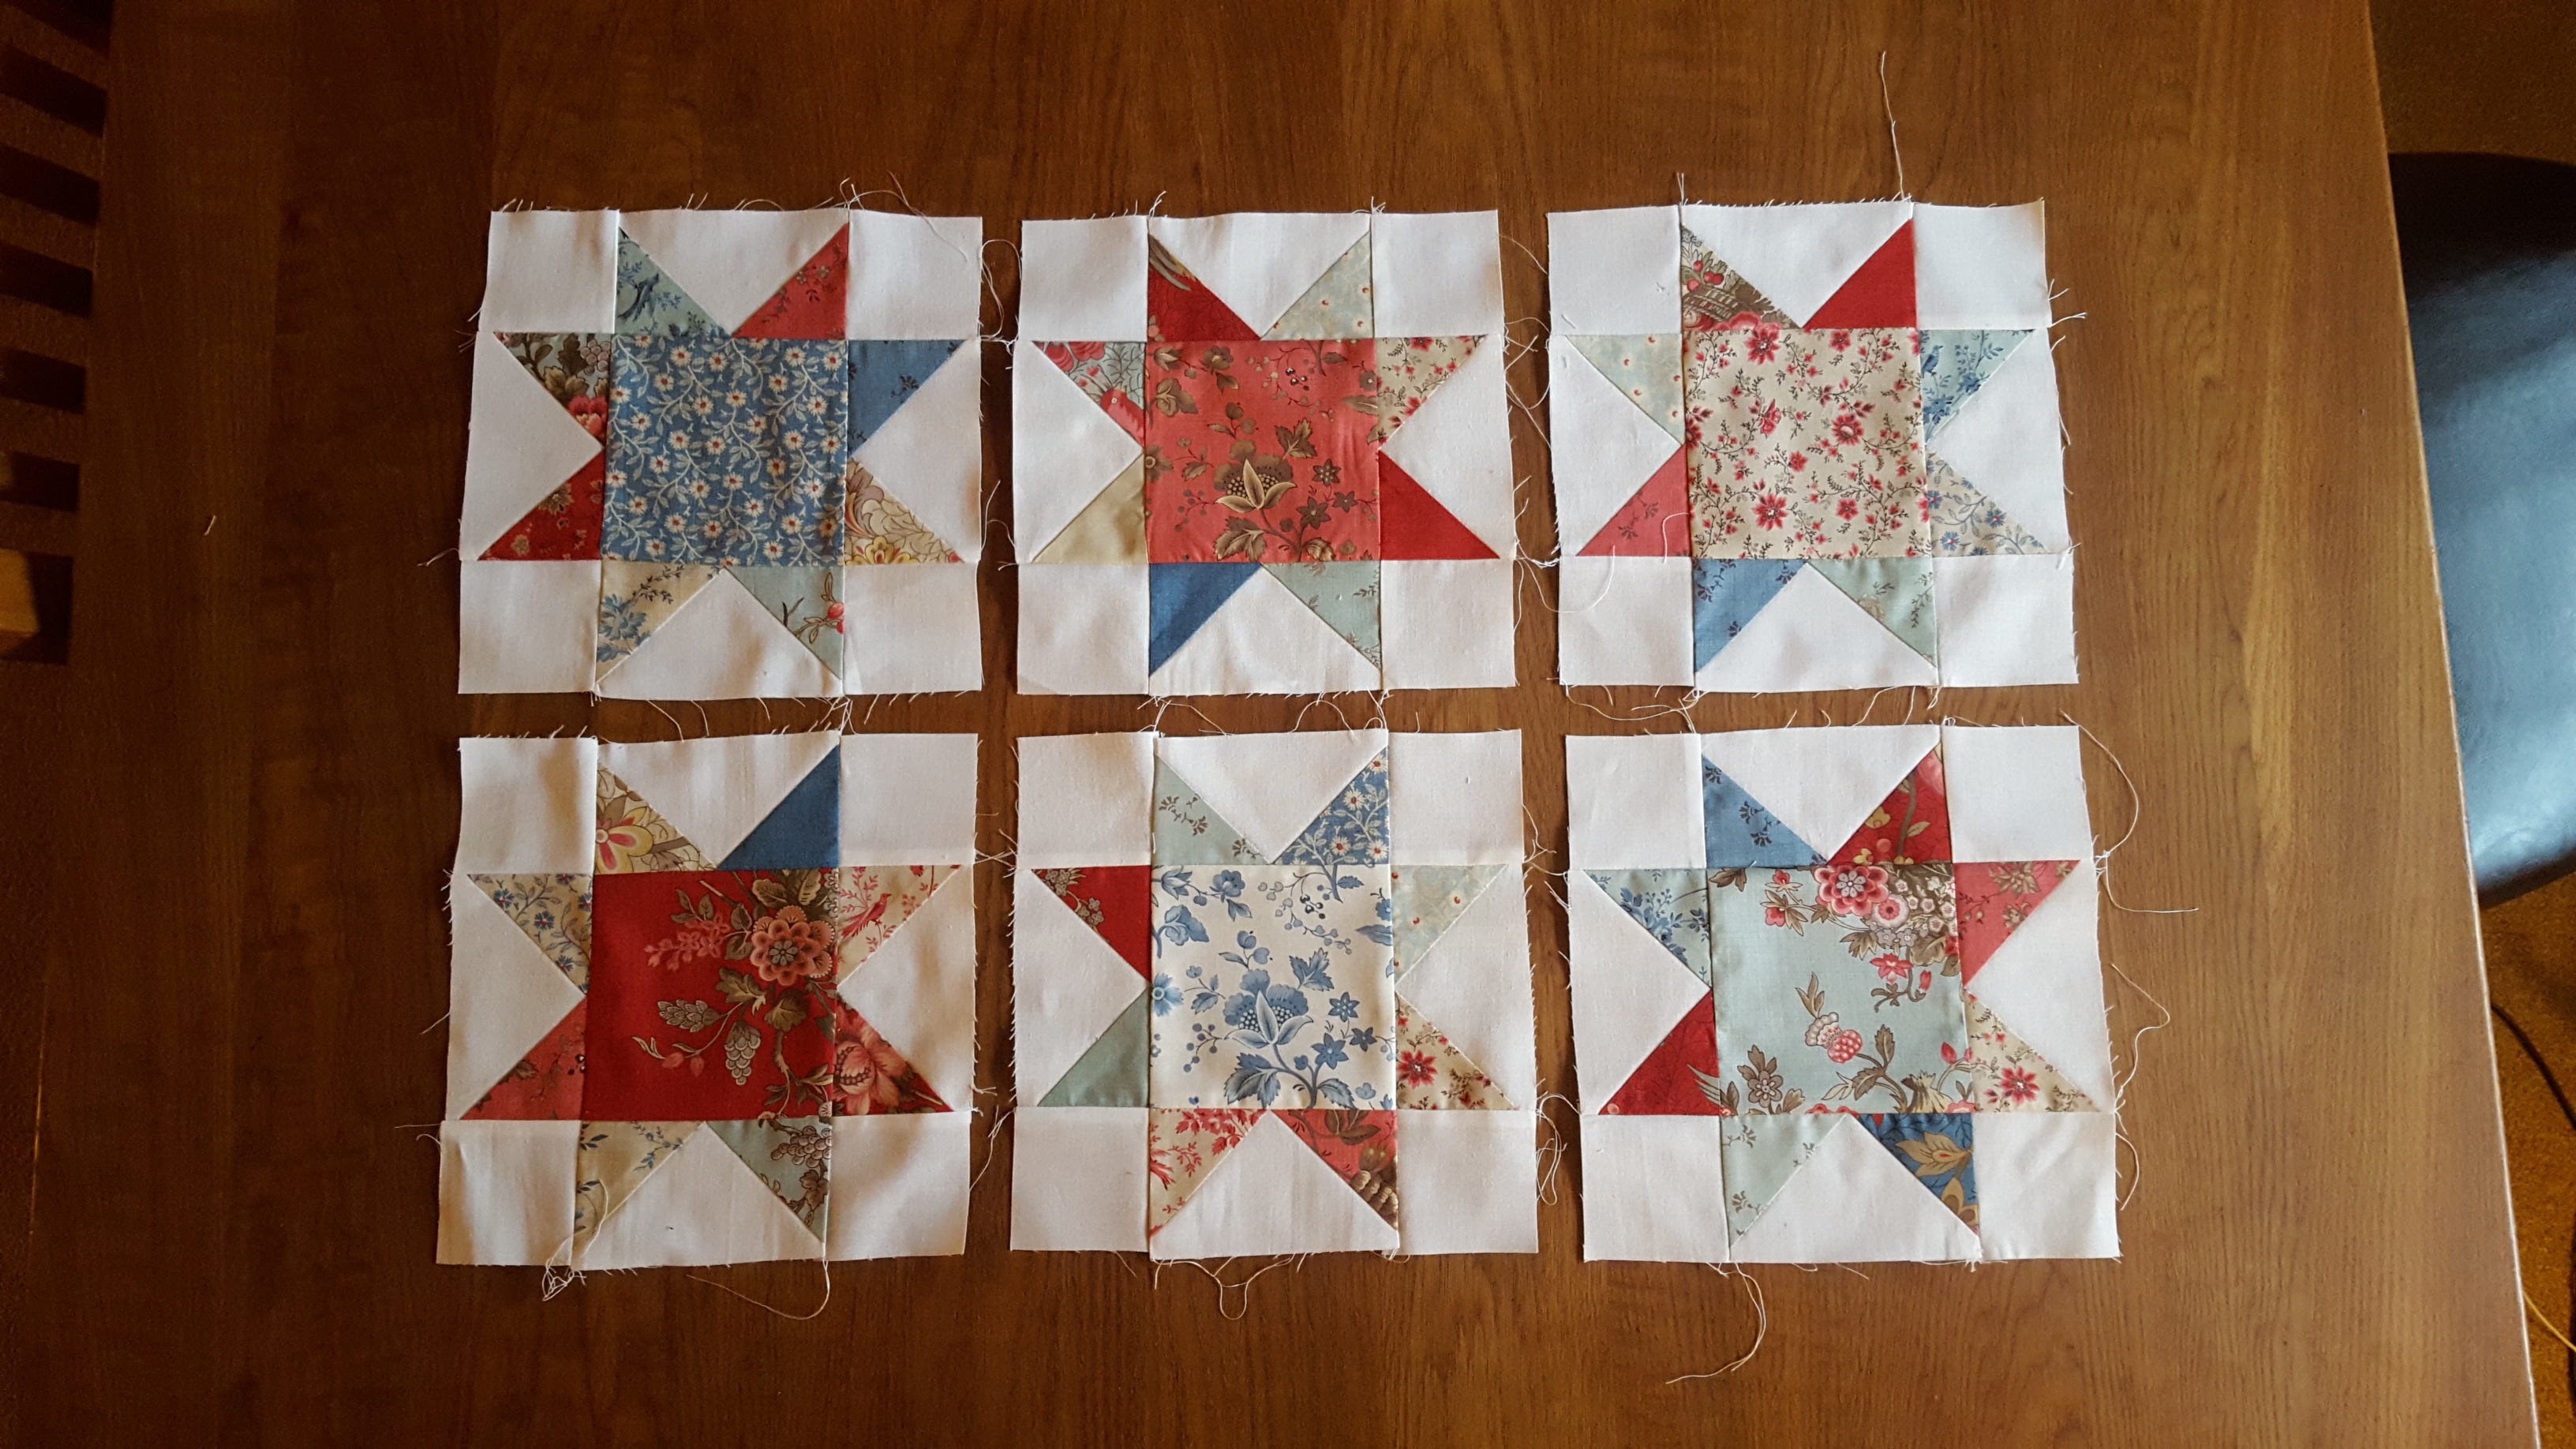
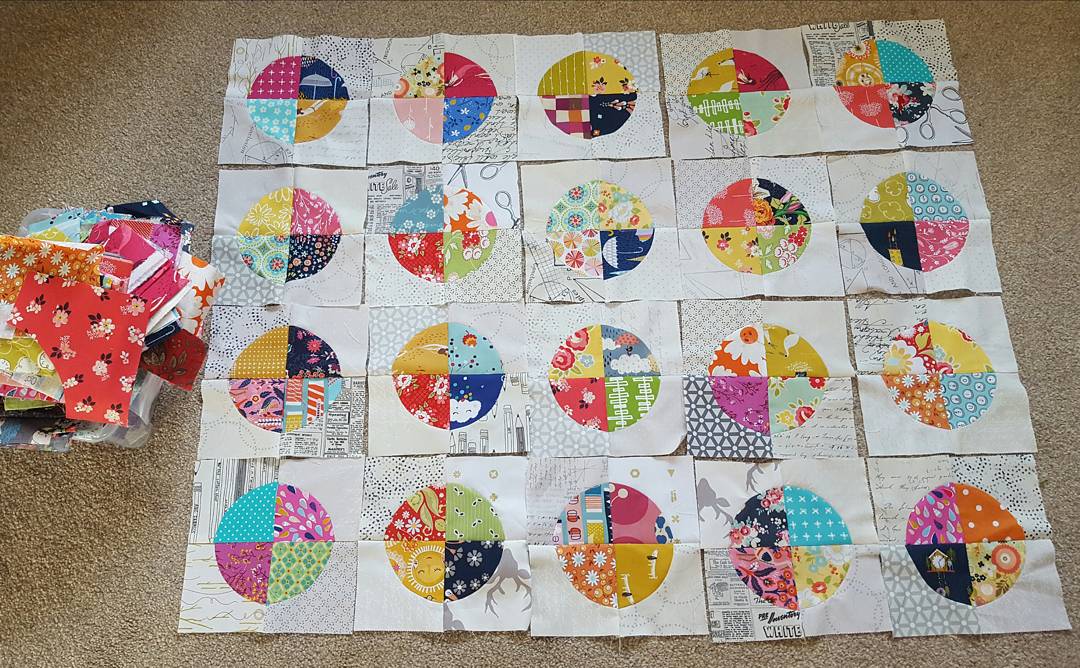
There are so many beautiful projects to choose from, the only difficult part was narrowing it down to just one! I think because the projects are very pretty and not too difficult, it makes you want to start sewing. In fact it gave me the inspiration boost I needed after the whirlwind of people, cheese and minty chocolate that was Christmas. Anyway, I chose this project:

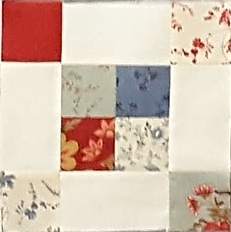
Nighttime photo of the image in my book copy! But you get the idea. Very pretty fabrics; in fact the book is full of florals and prettiness, many of which I have in my stash which is possibly why I connect with the book so much. But Elise said to use my imagination and think outside the box – show people what other things can be done with the pattern. I knew exactly what I wanted to do:

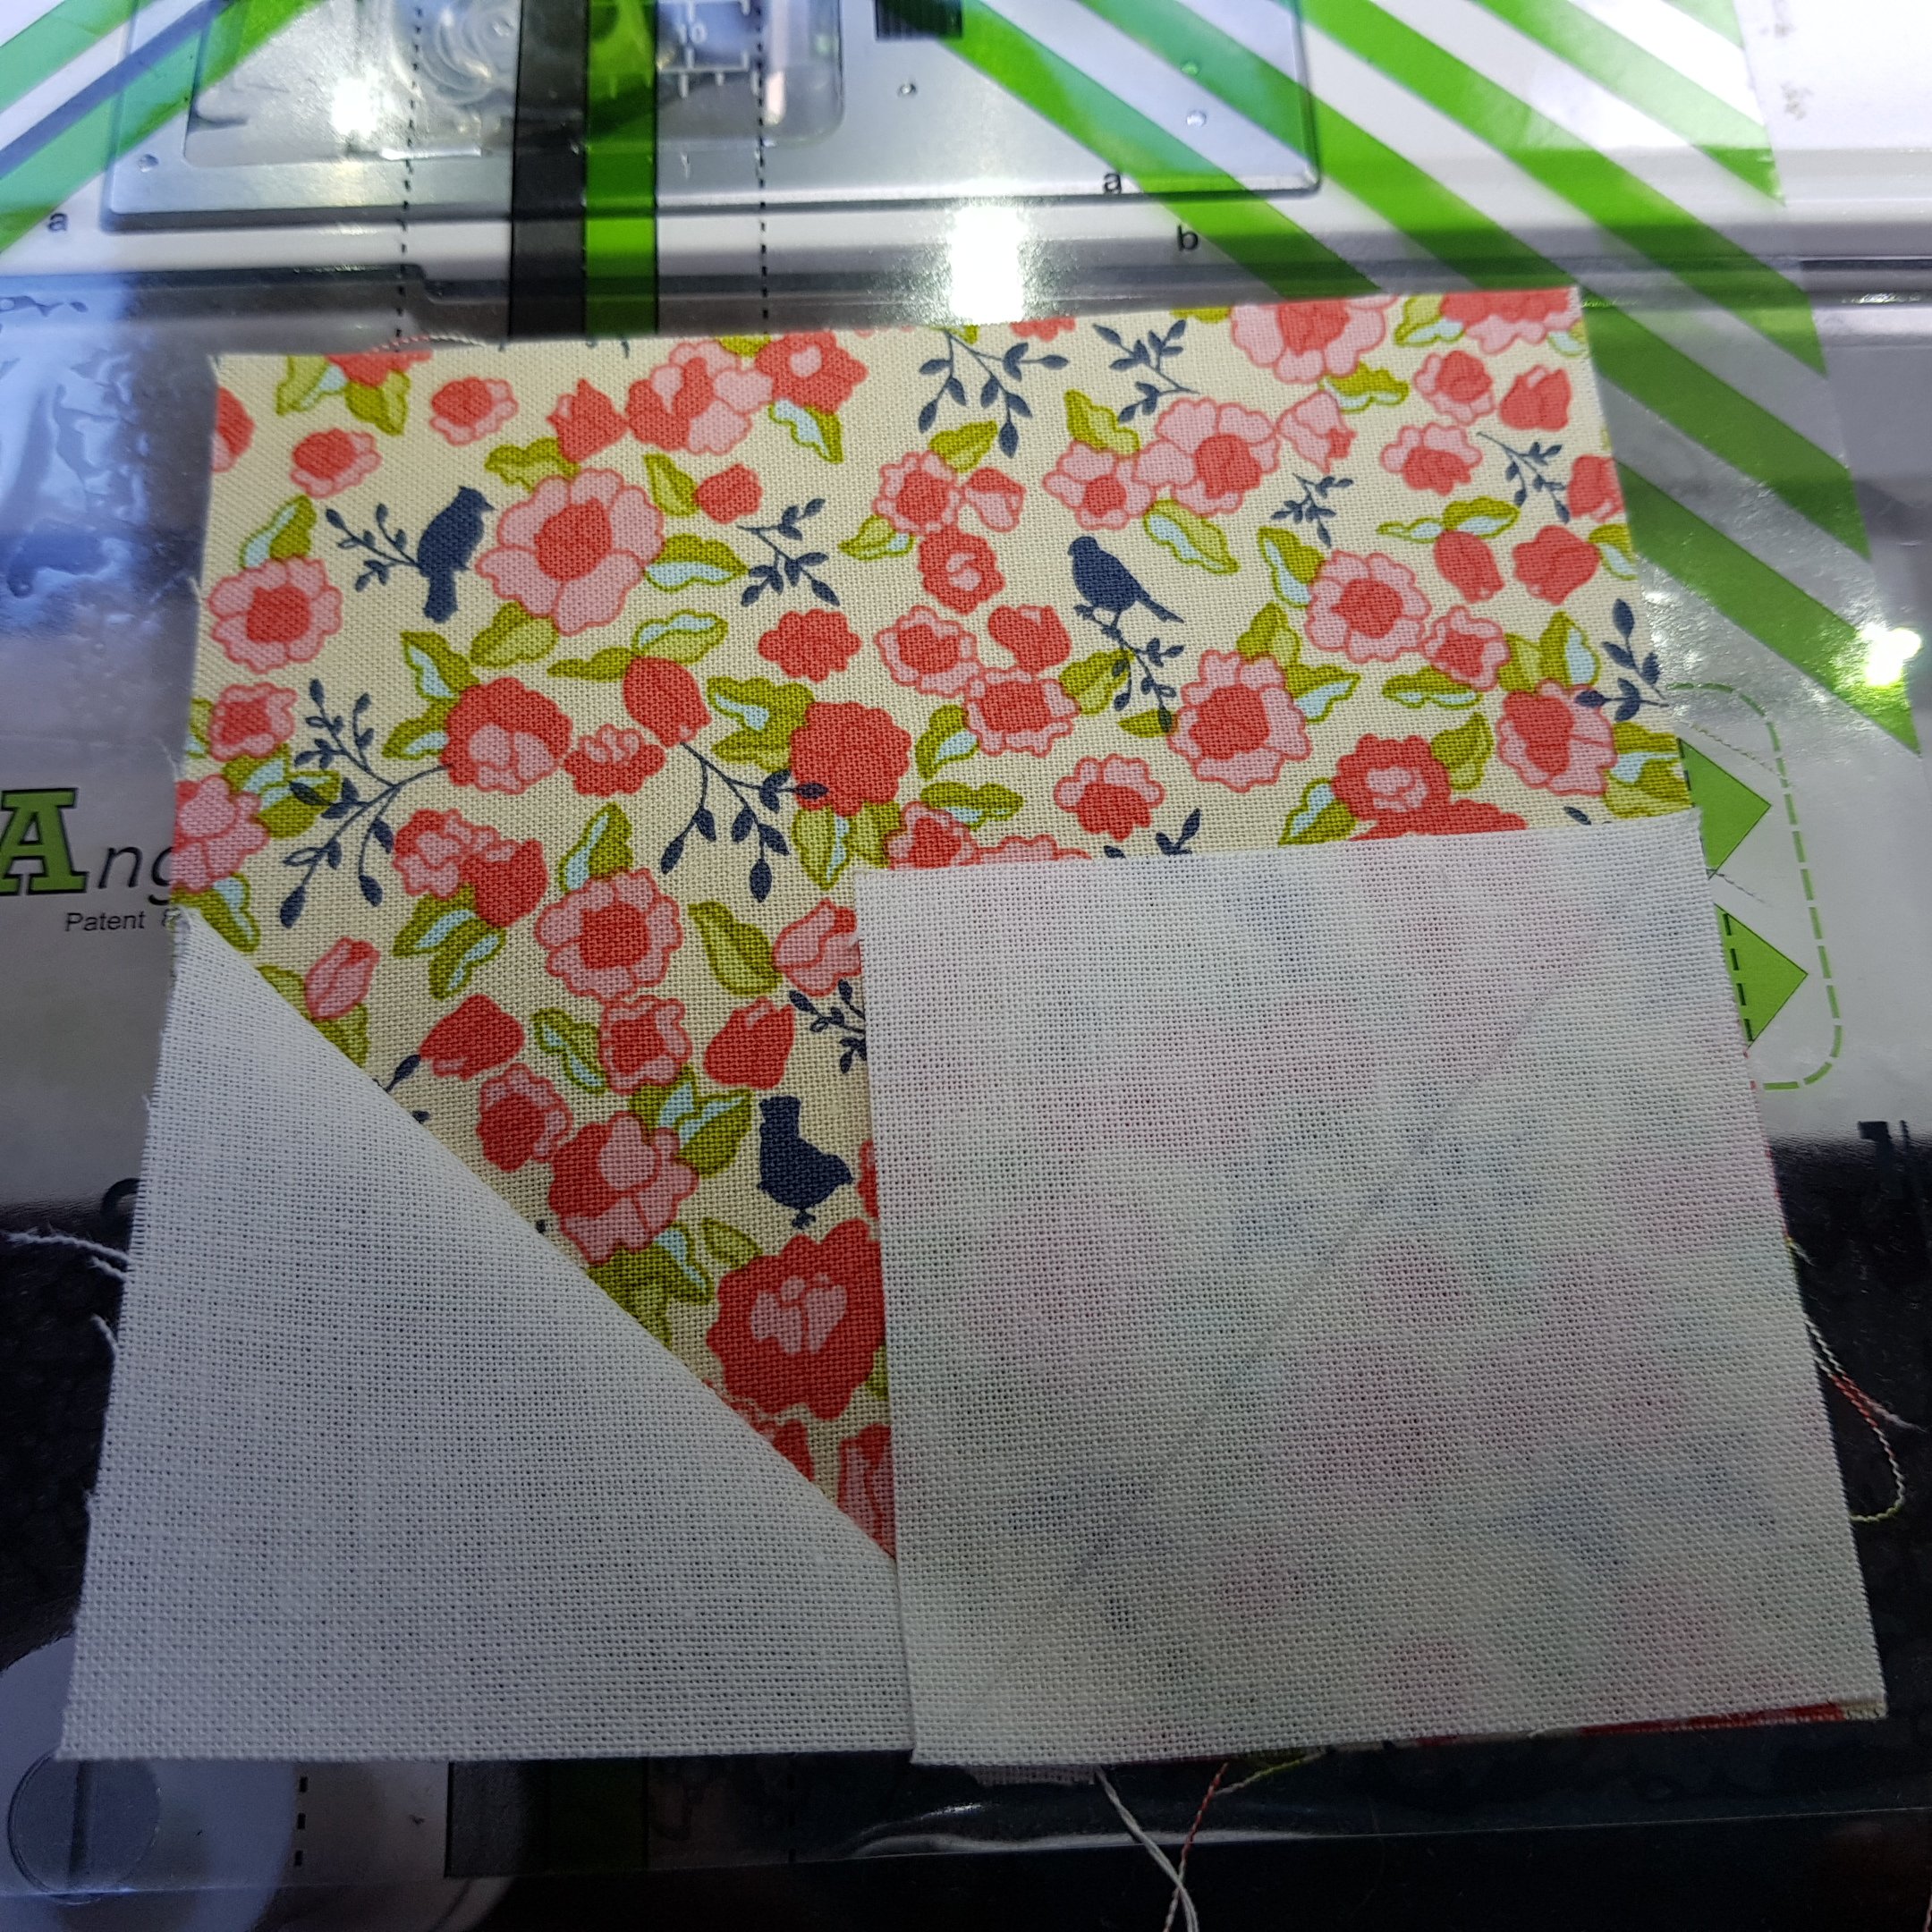
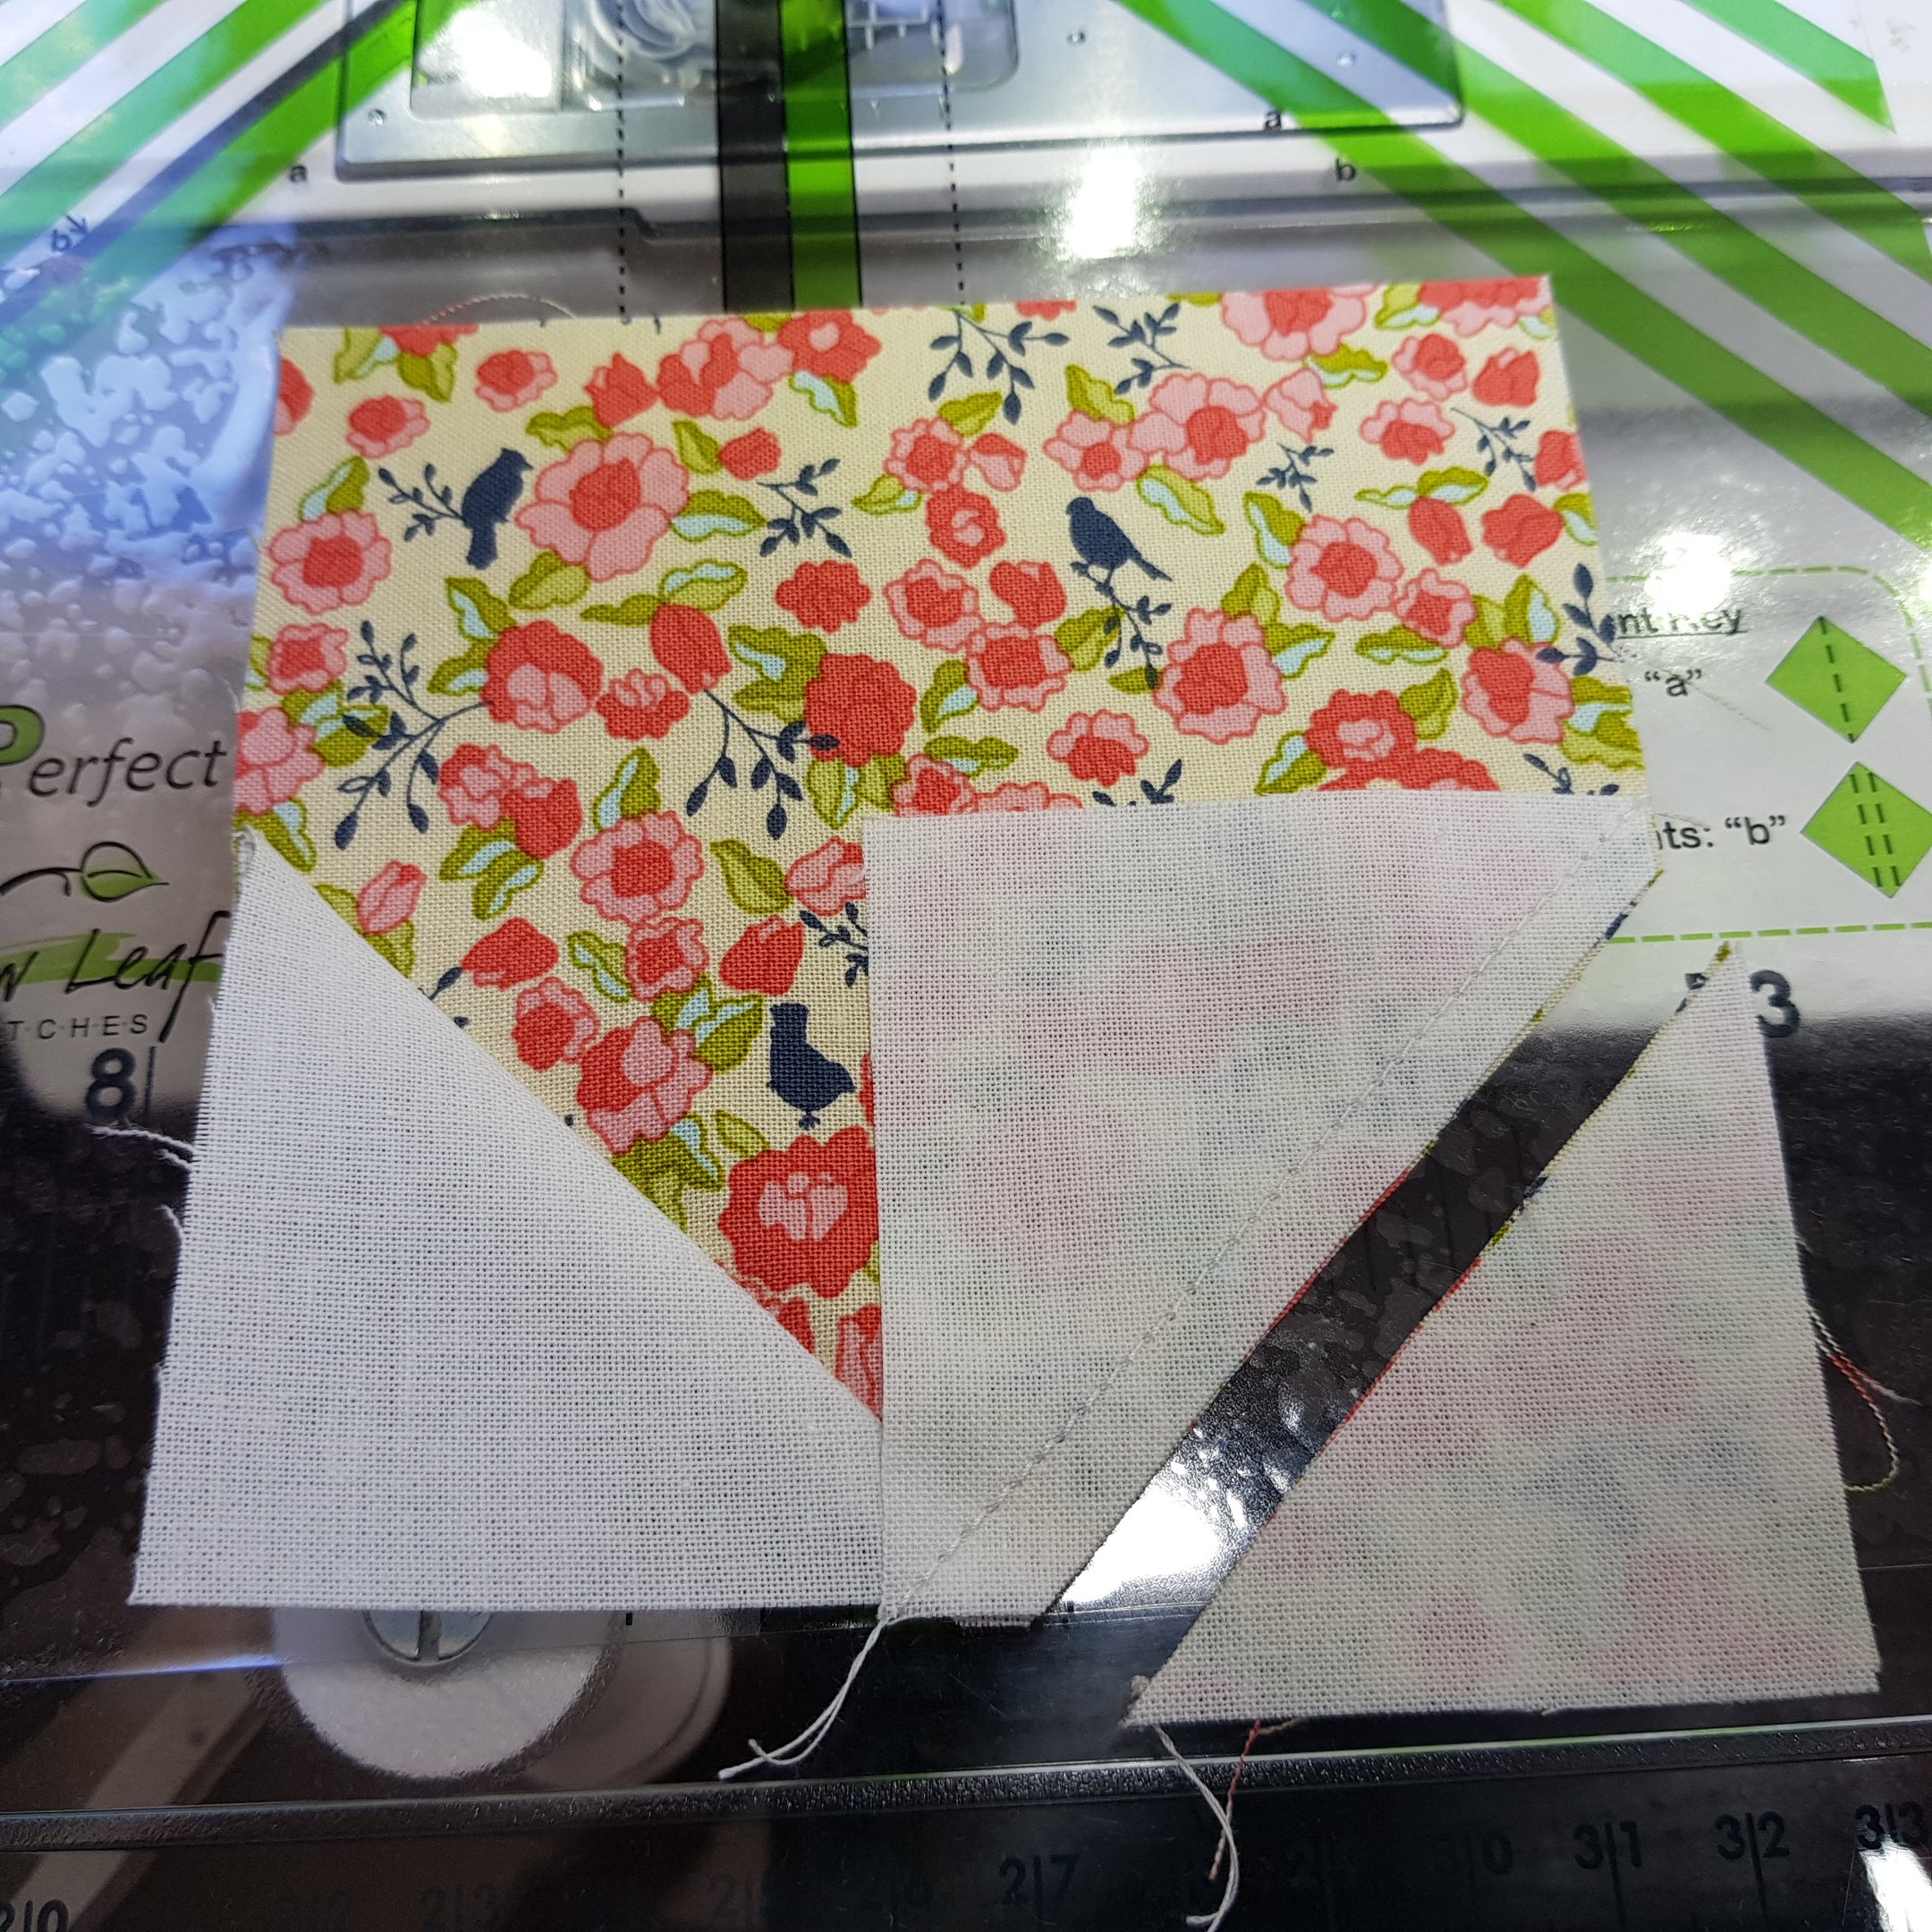
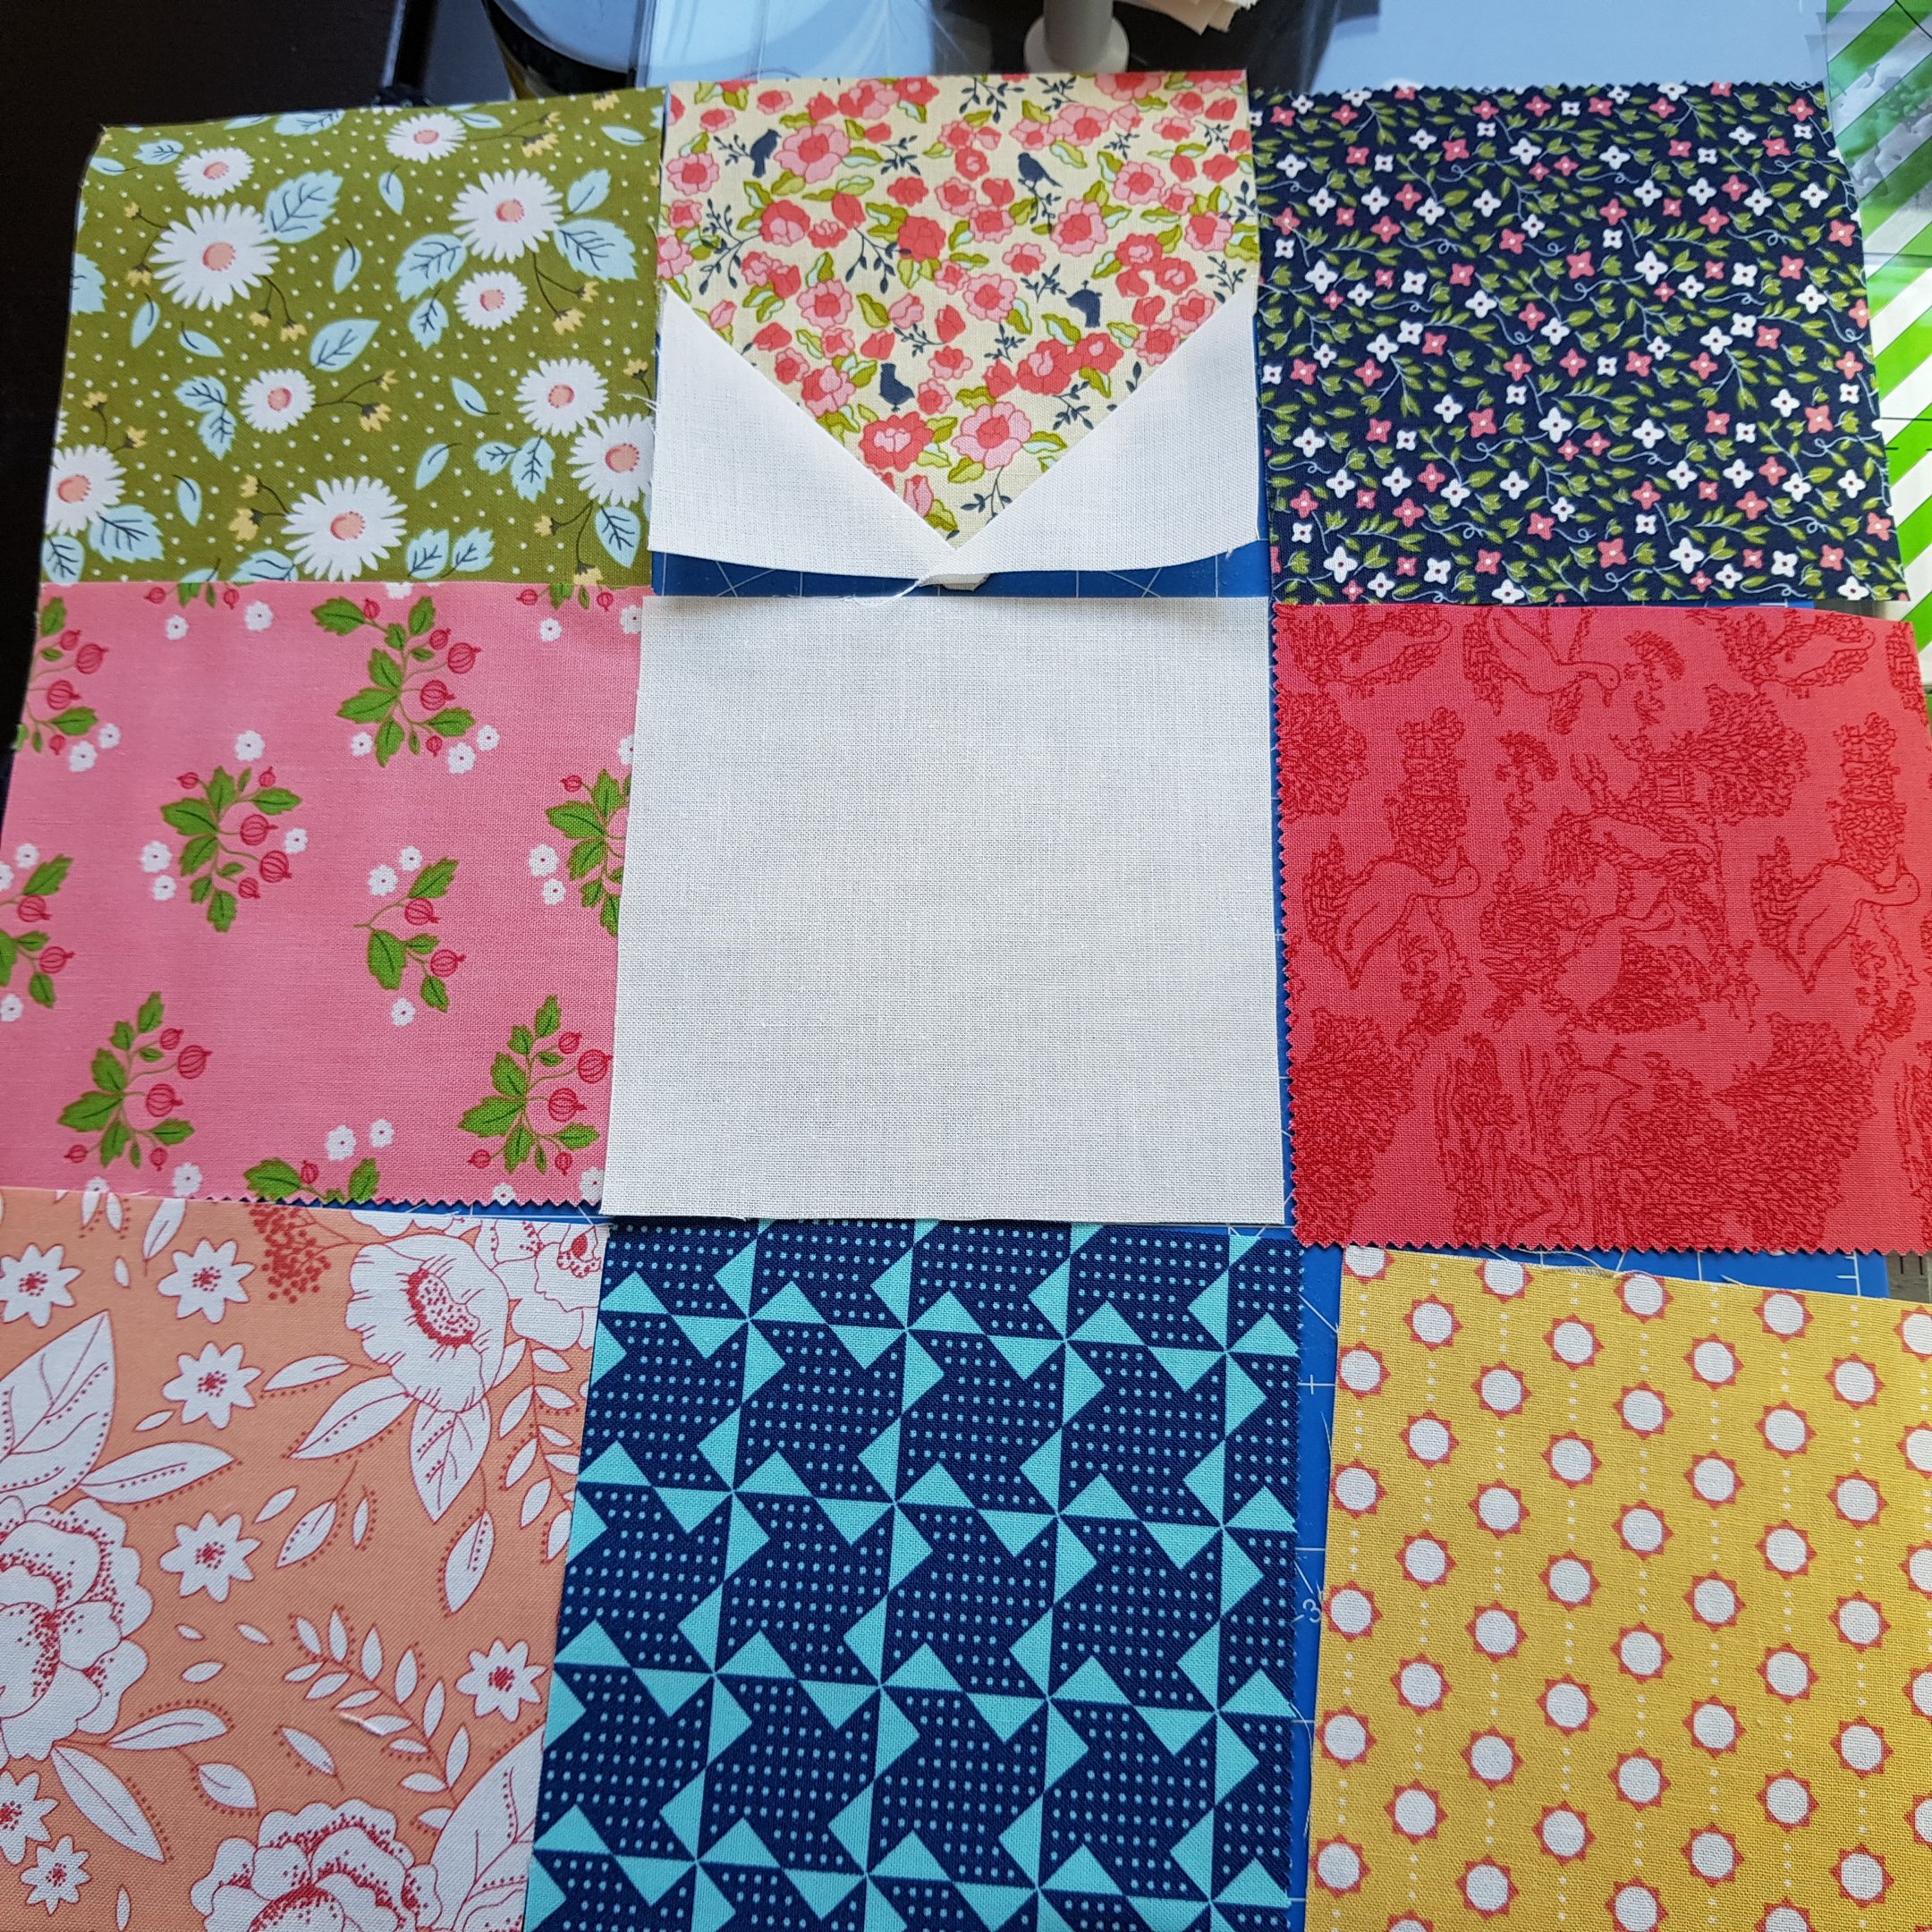
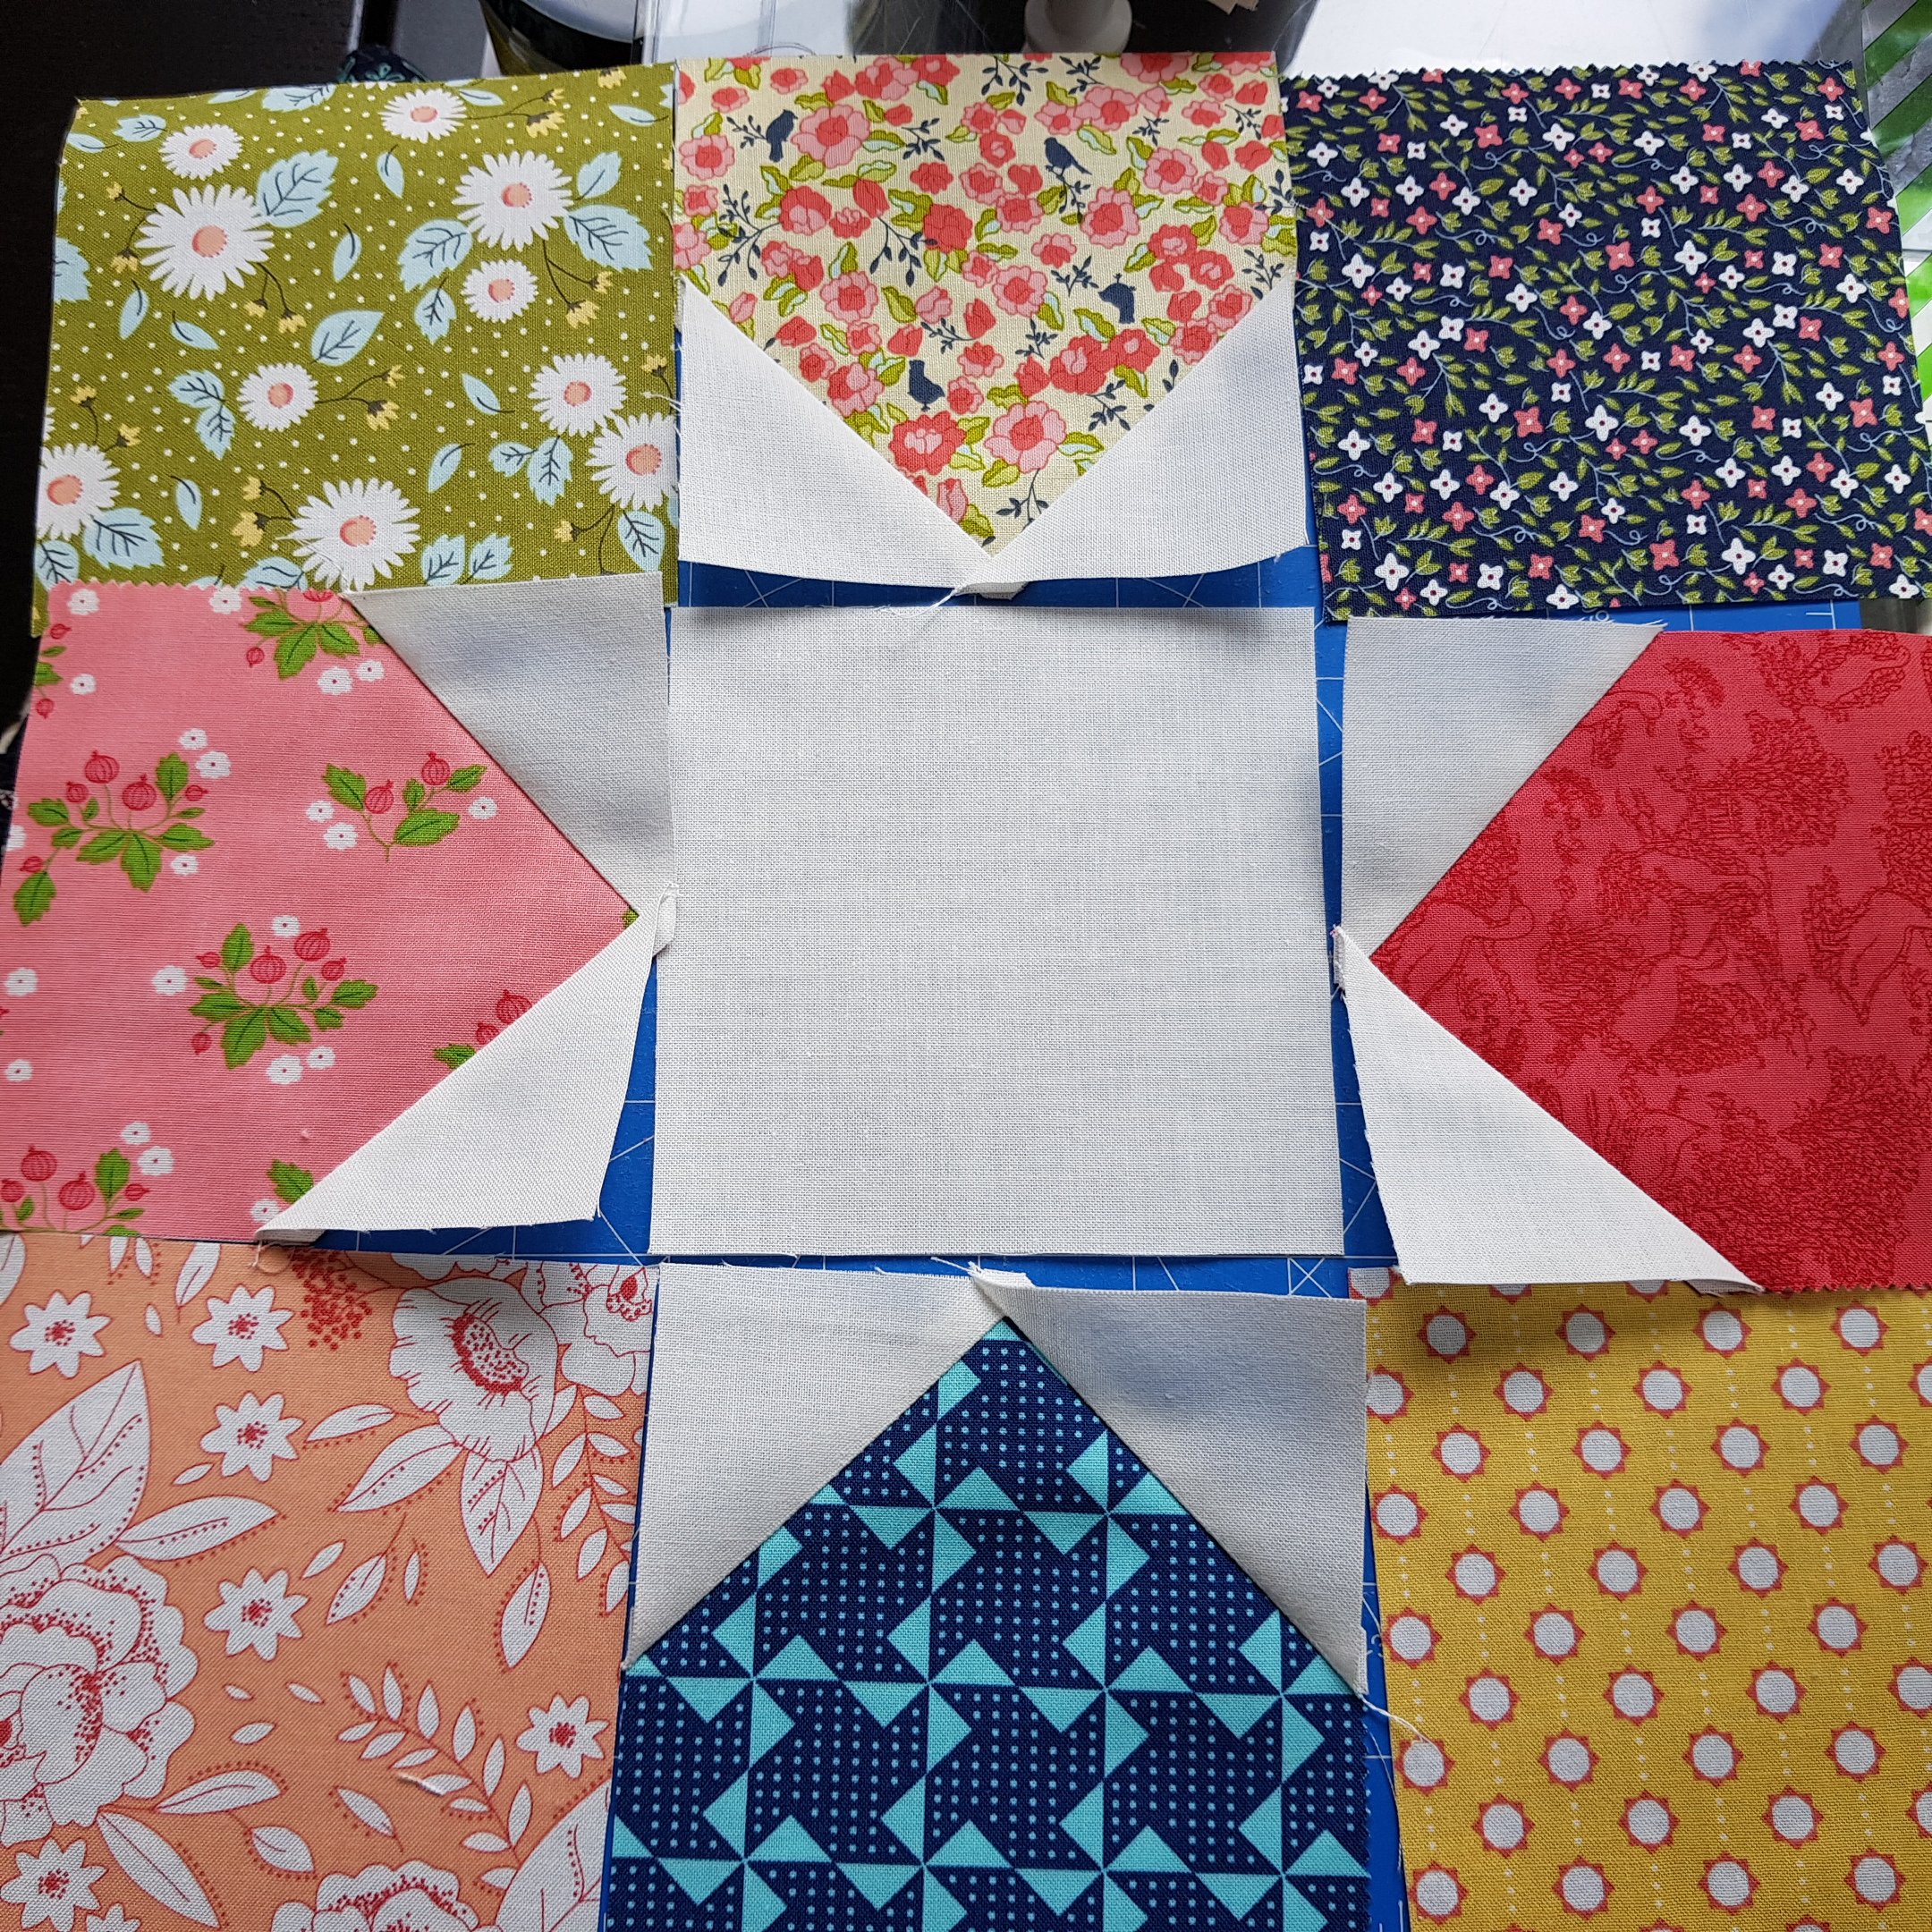
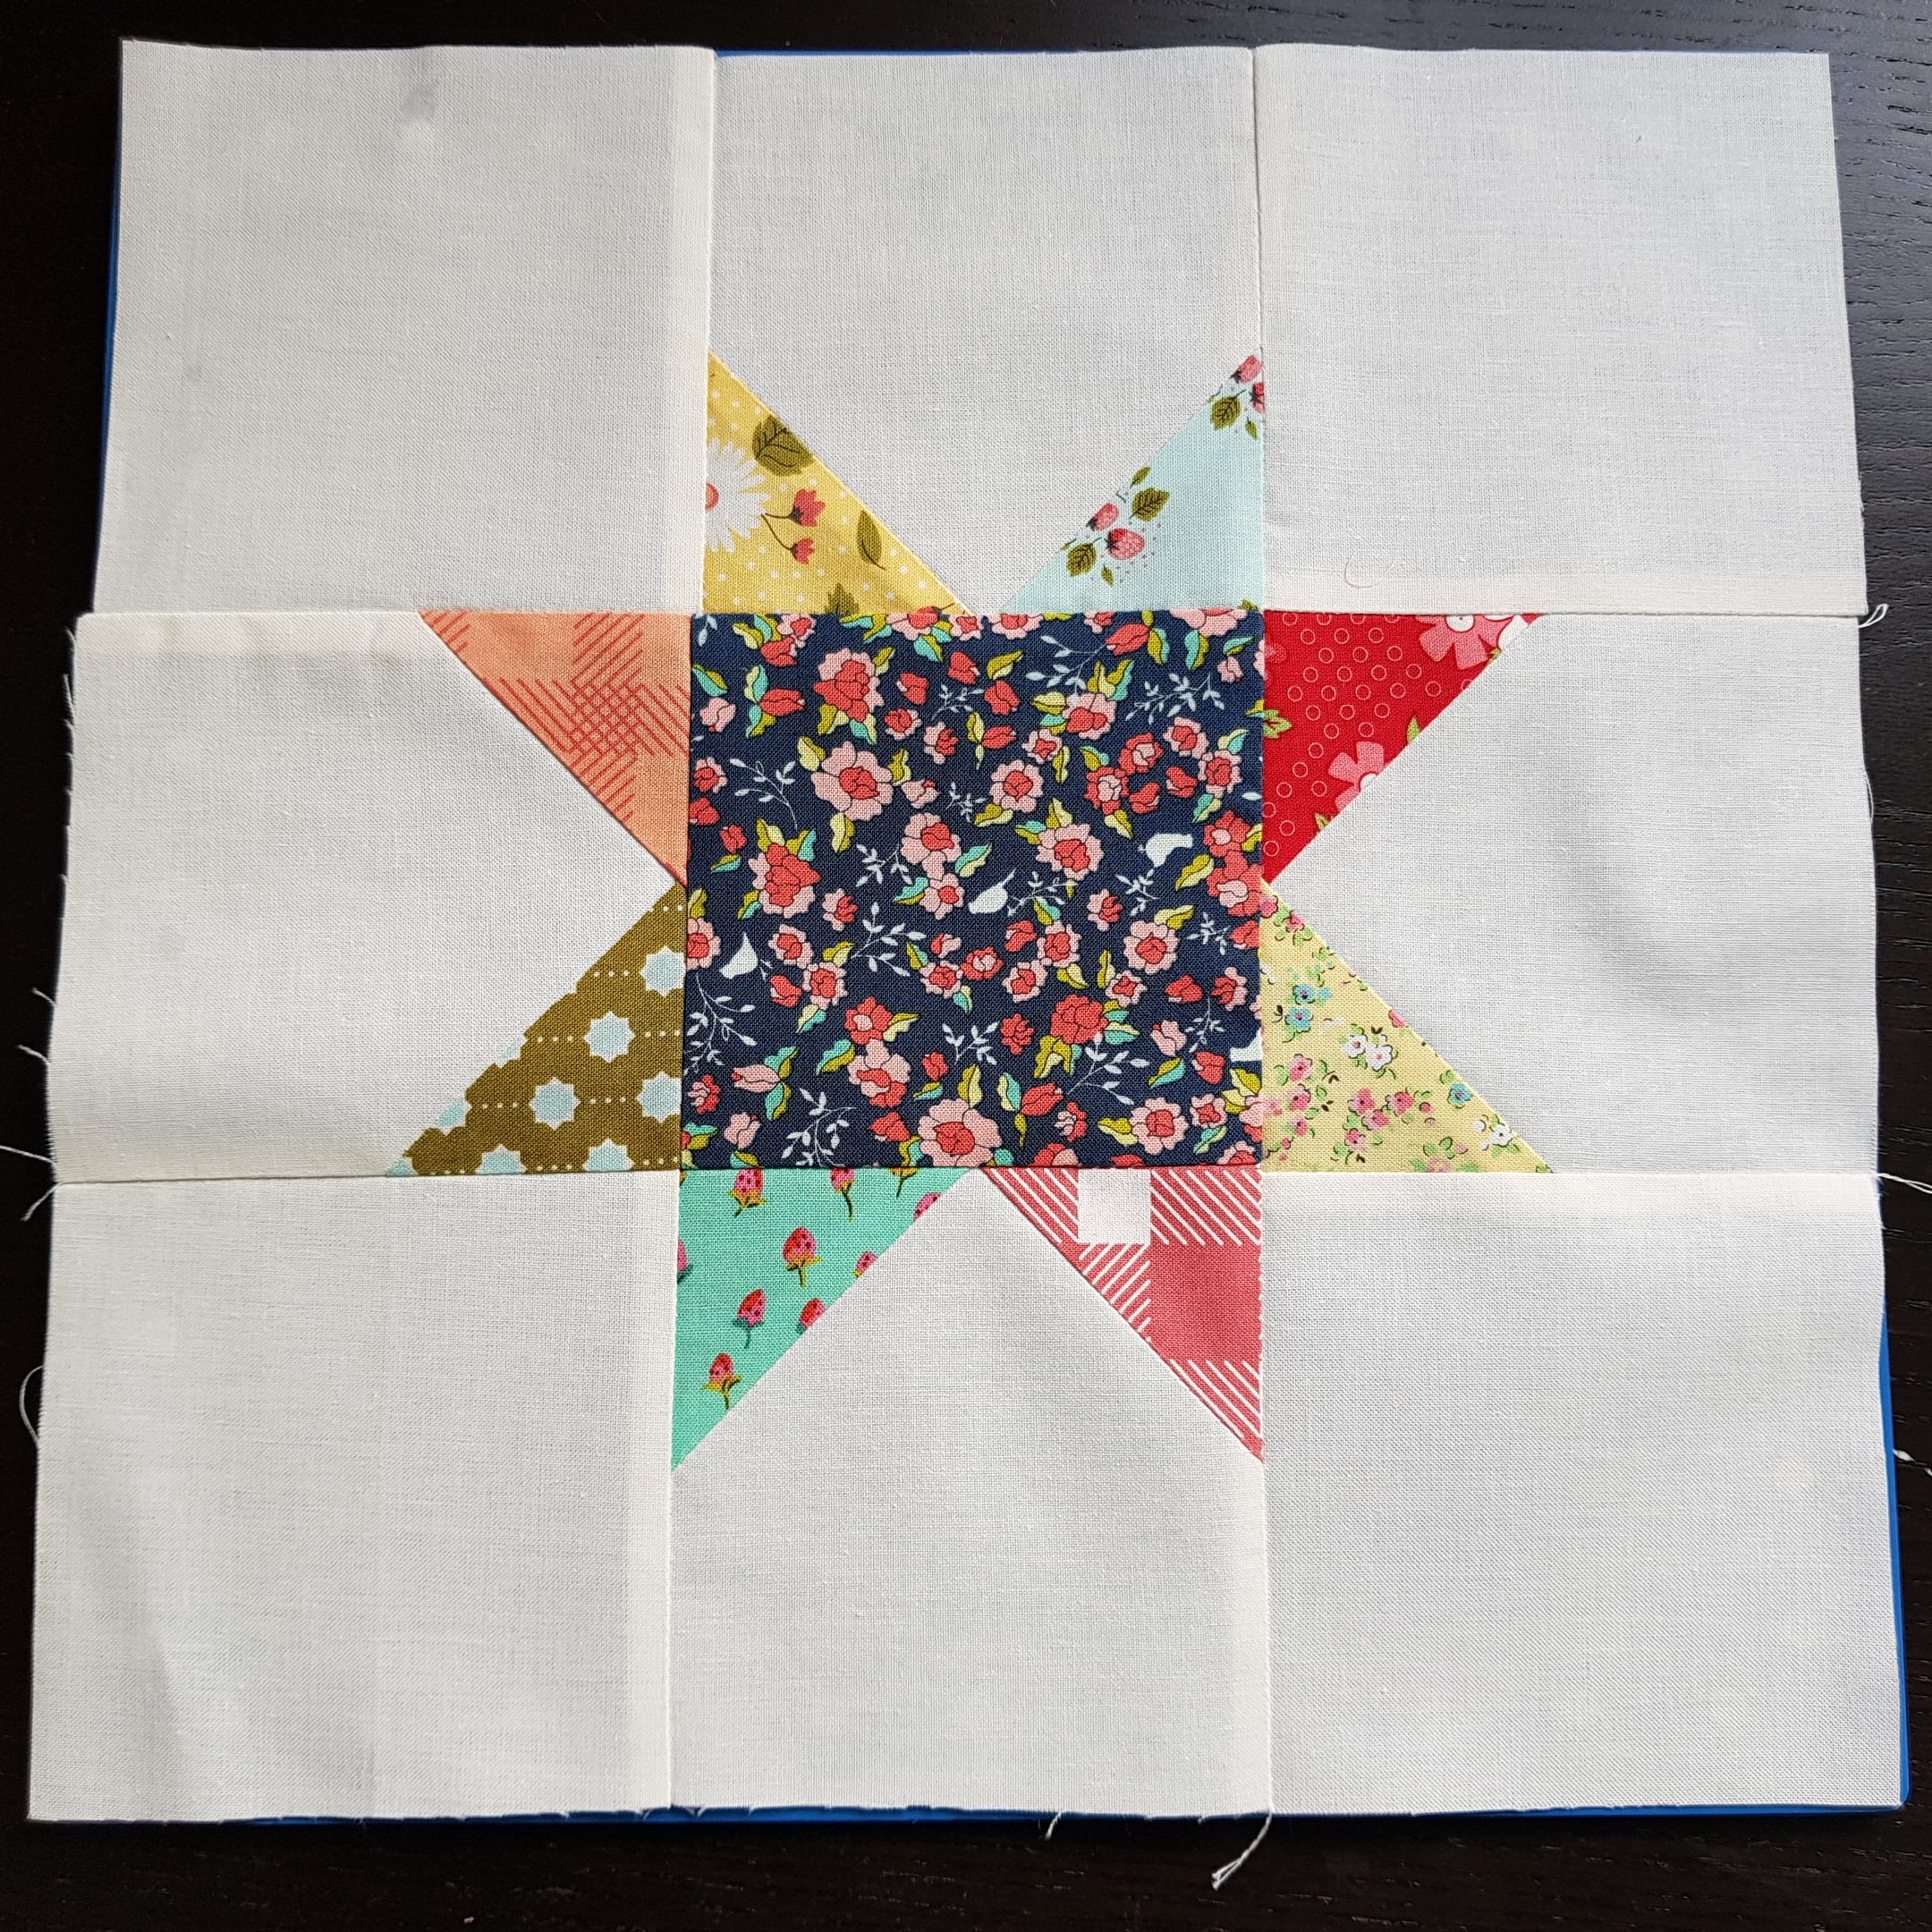
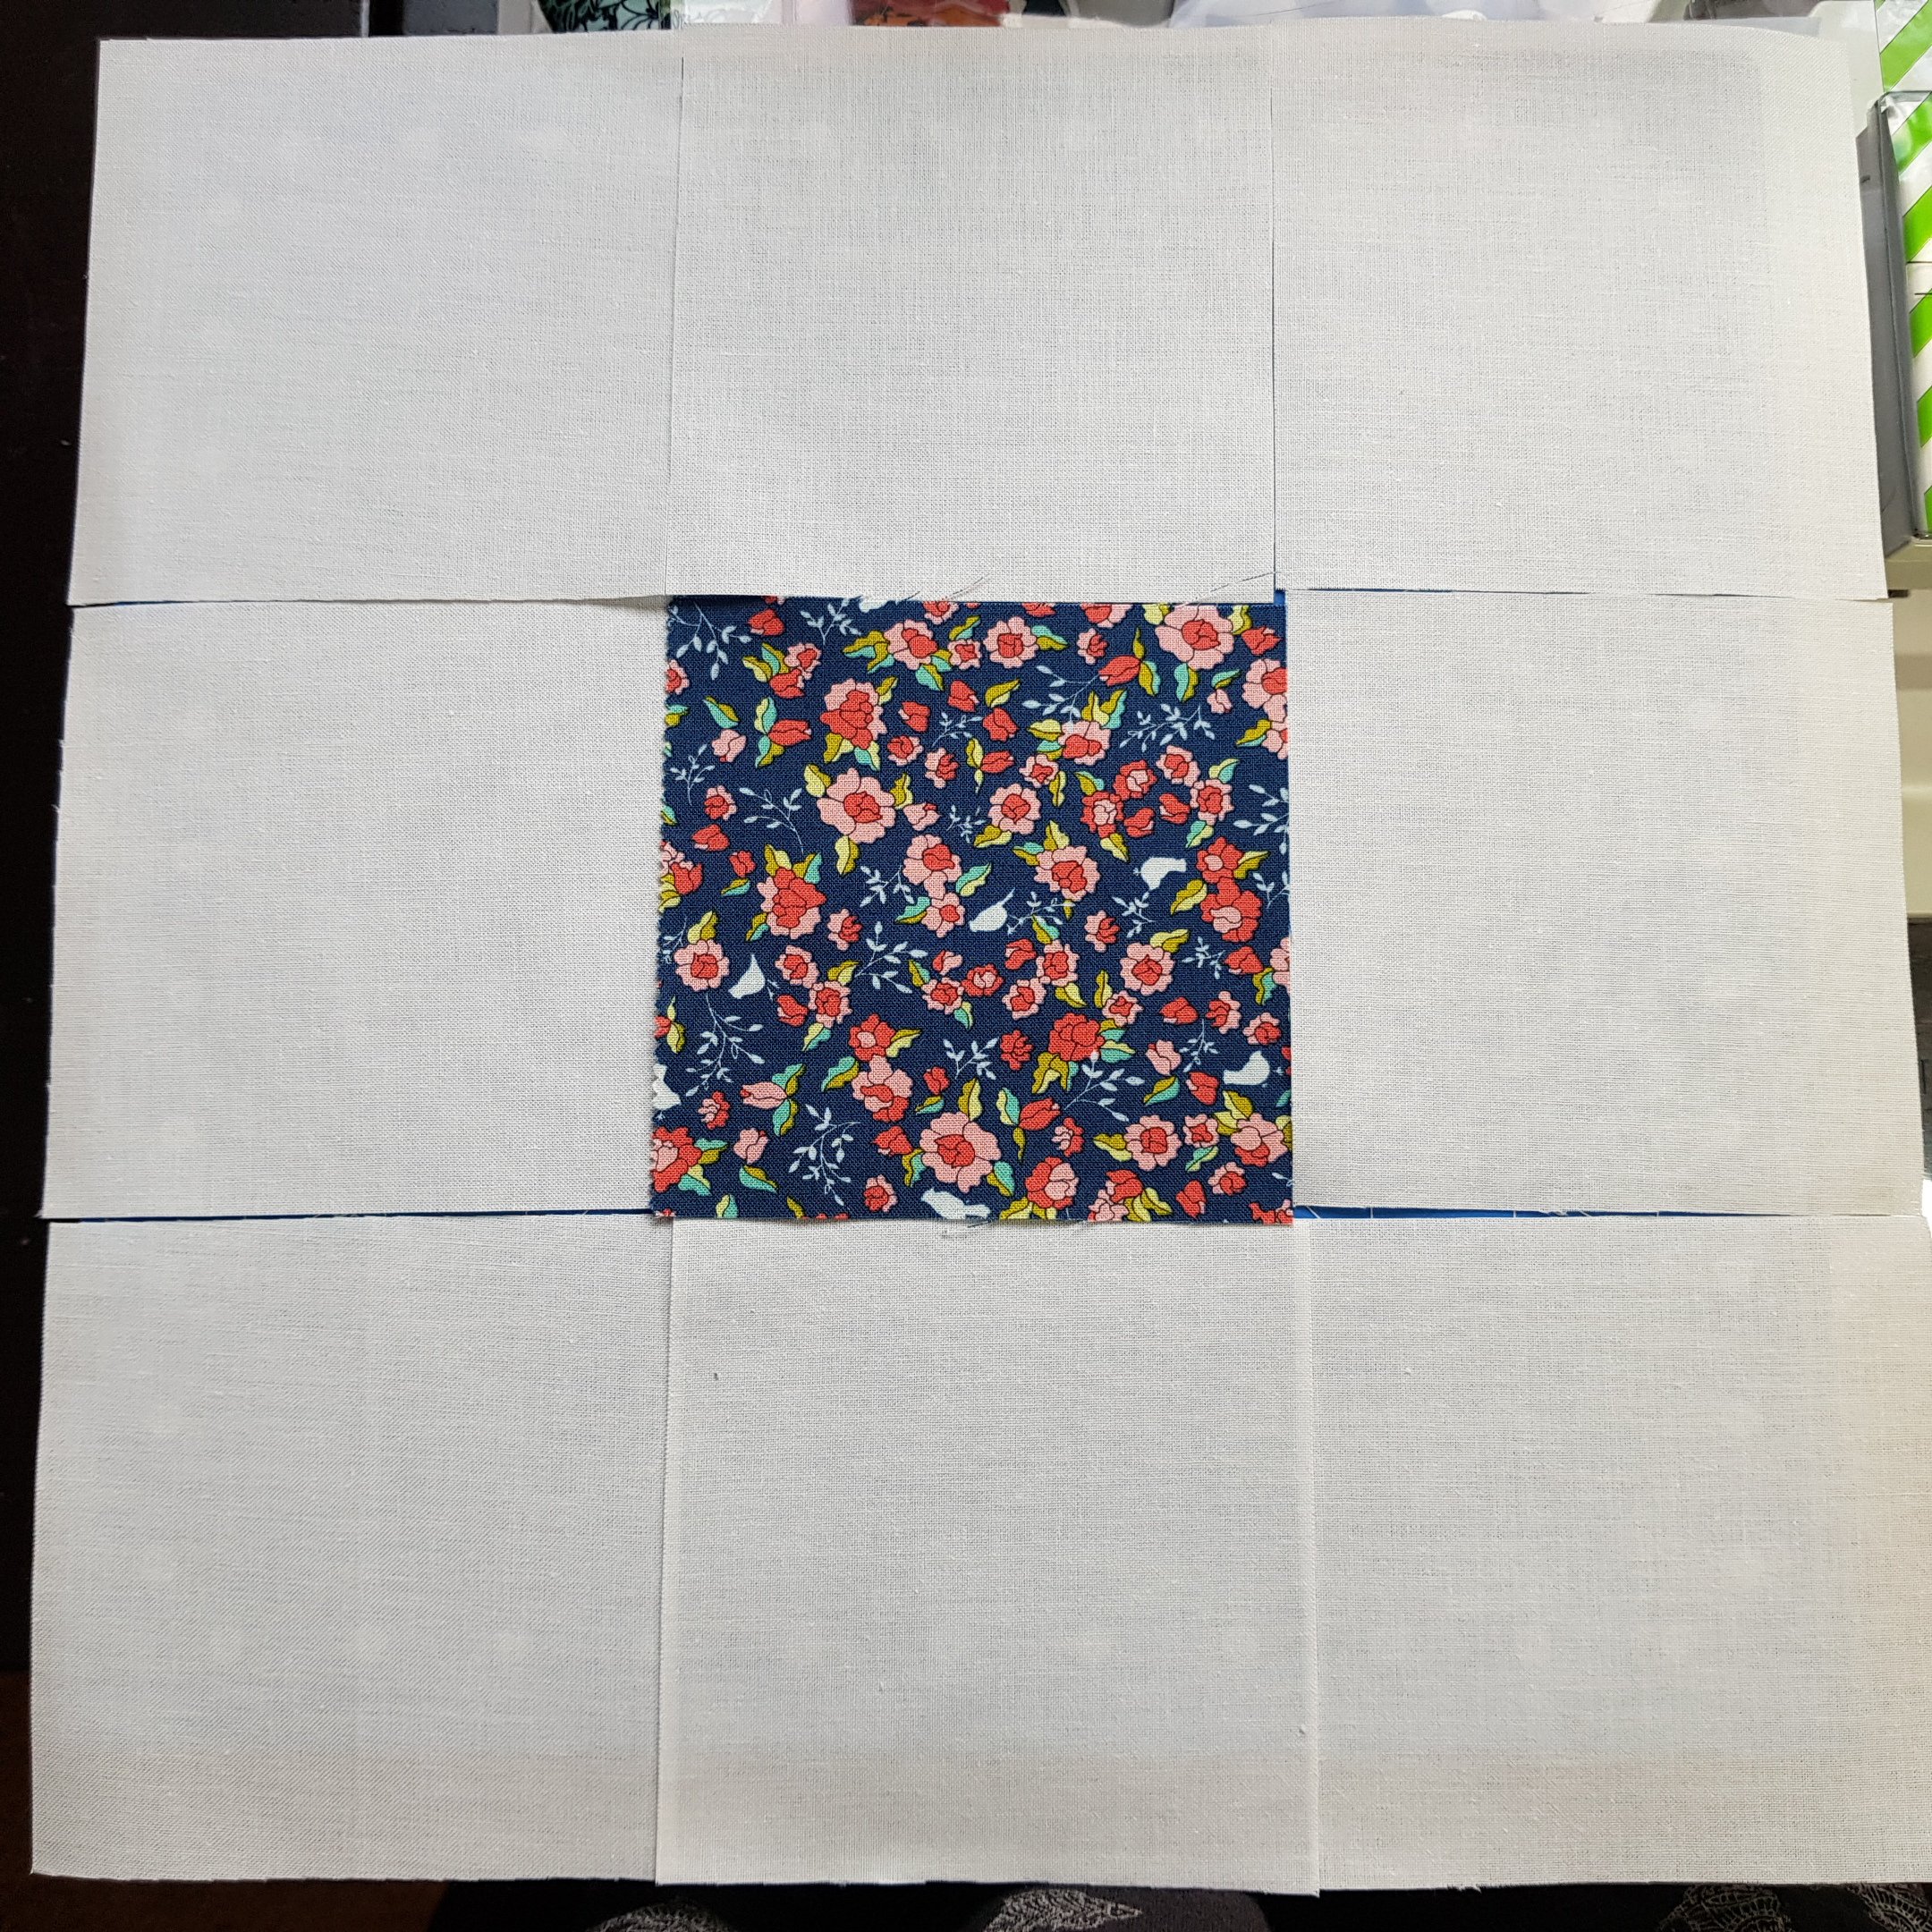
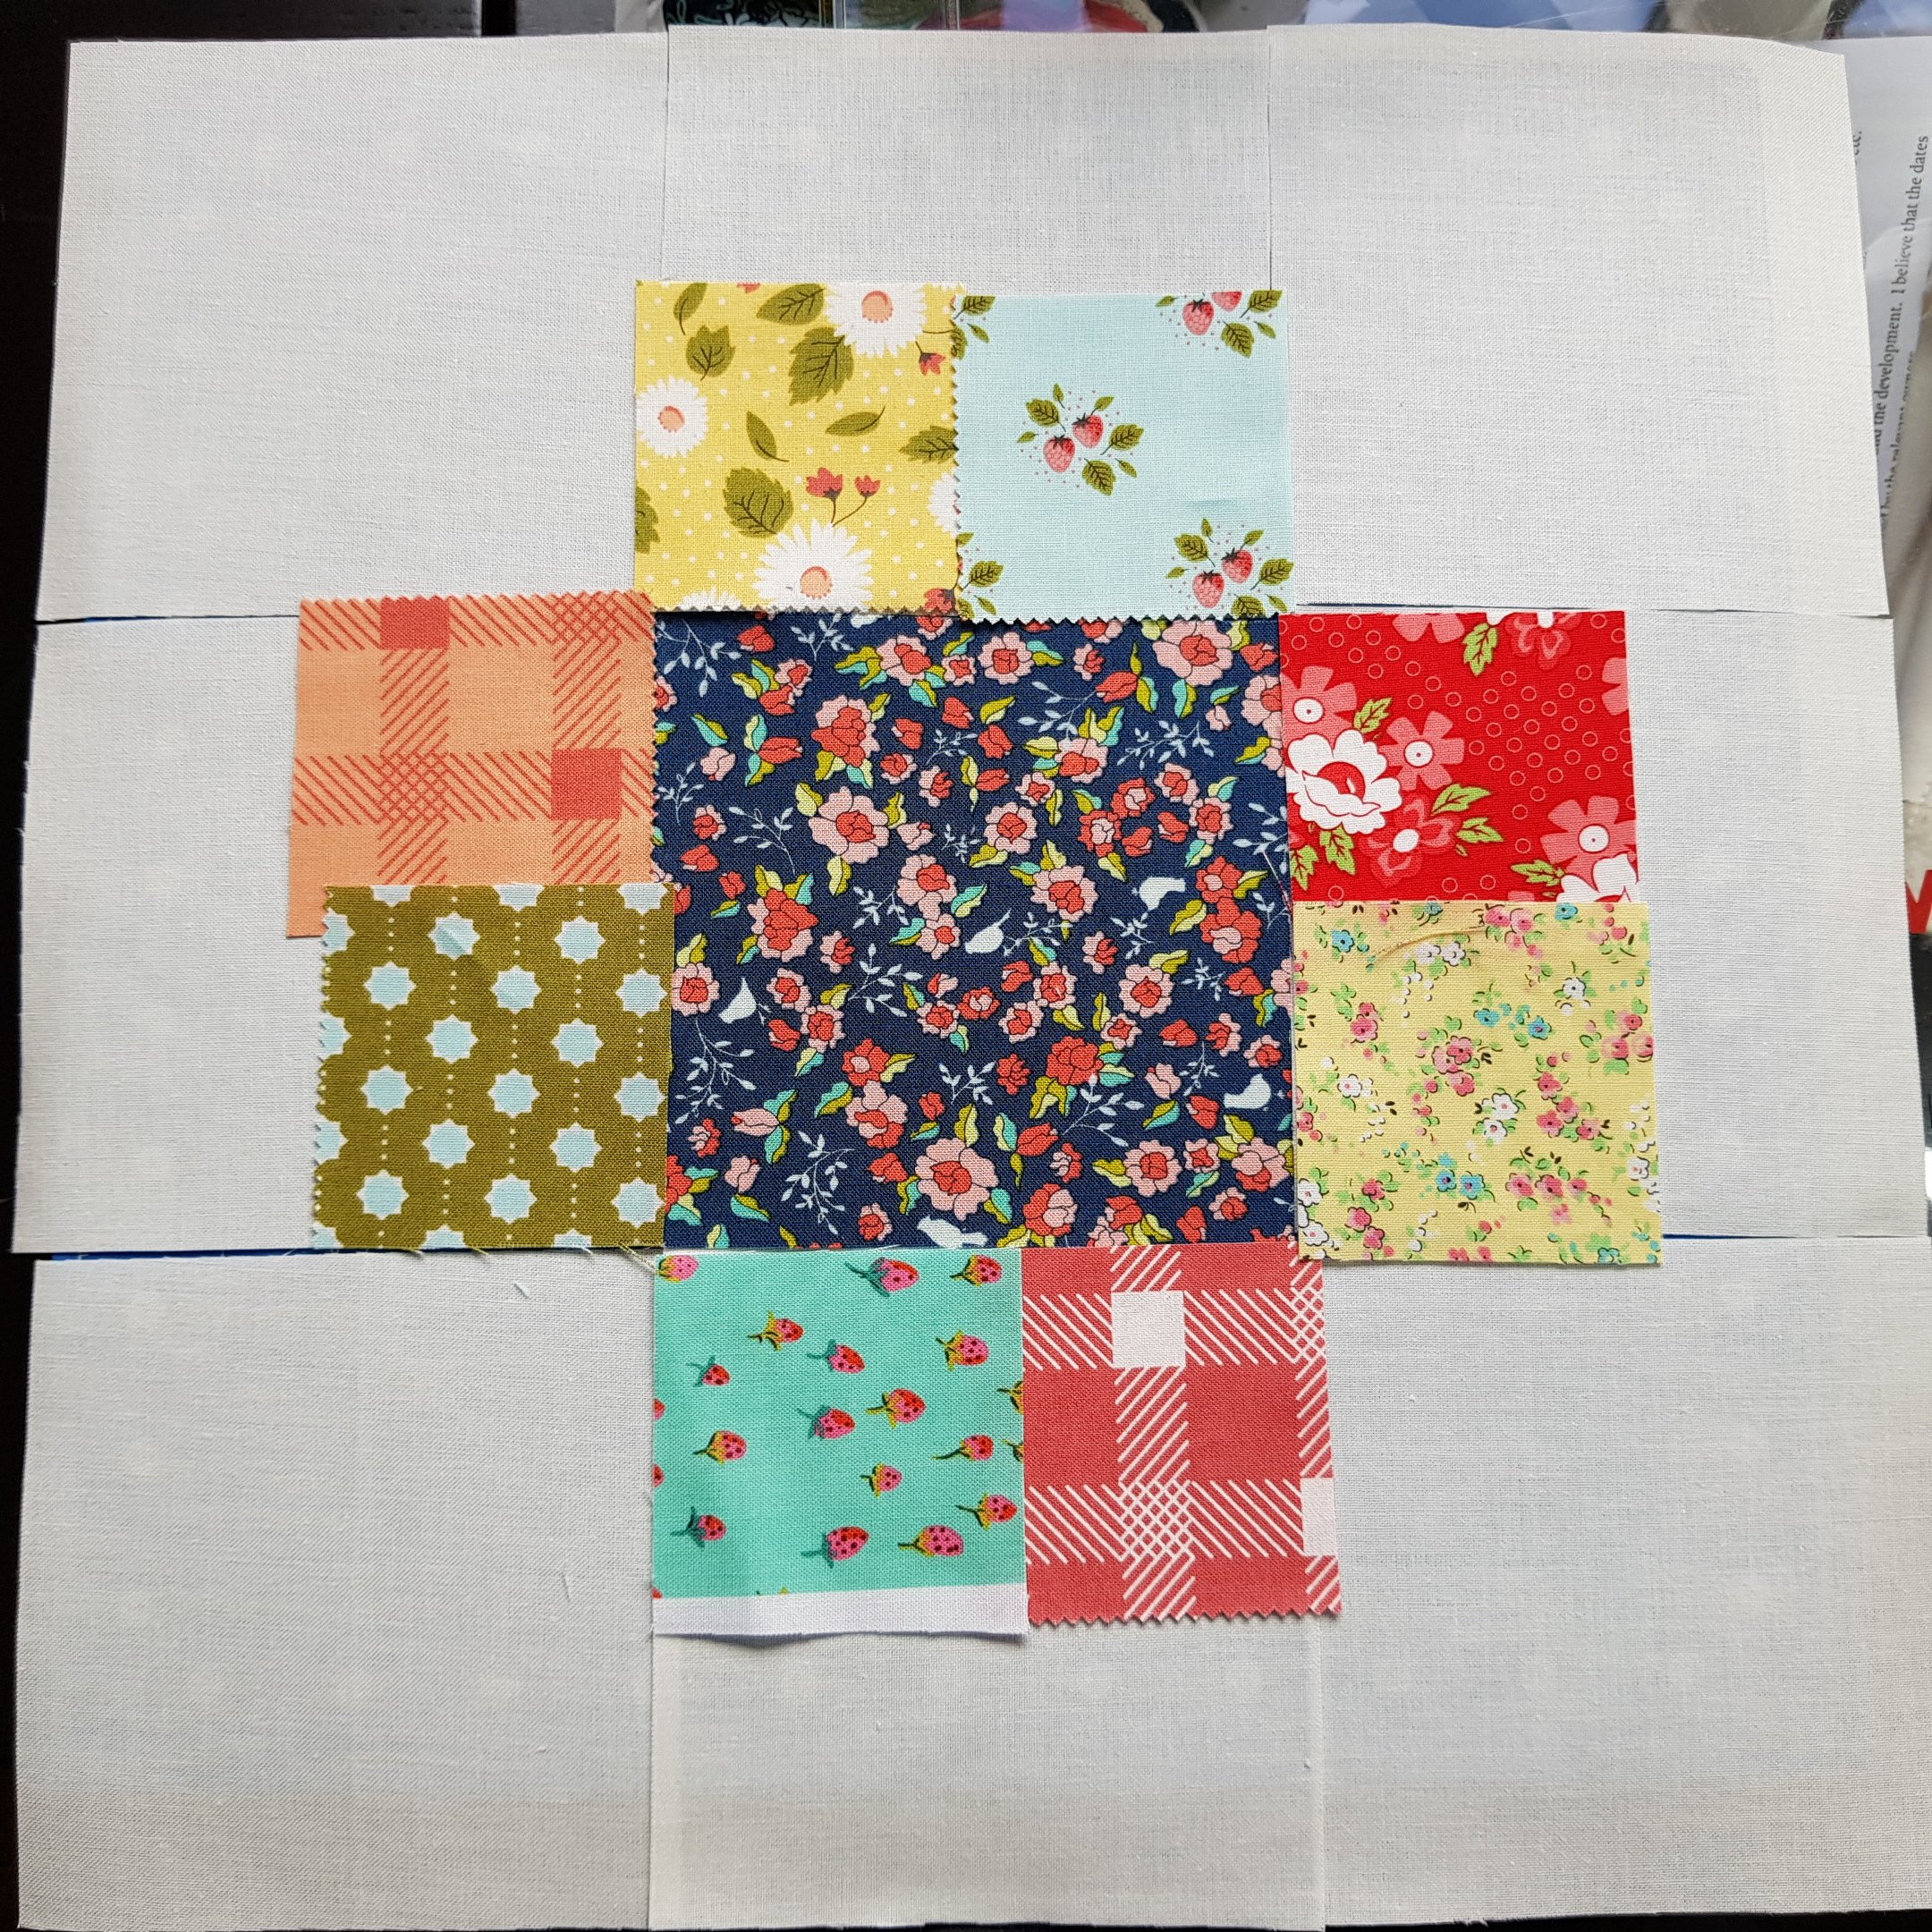
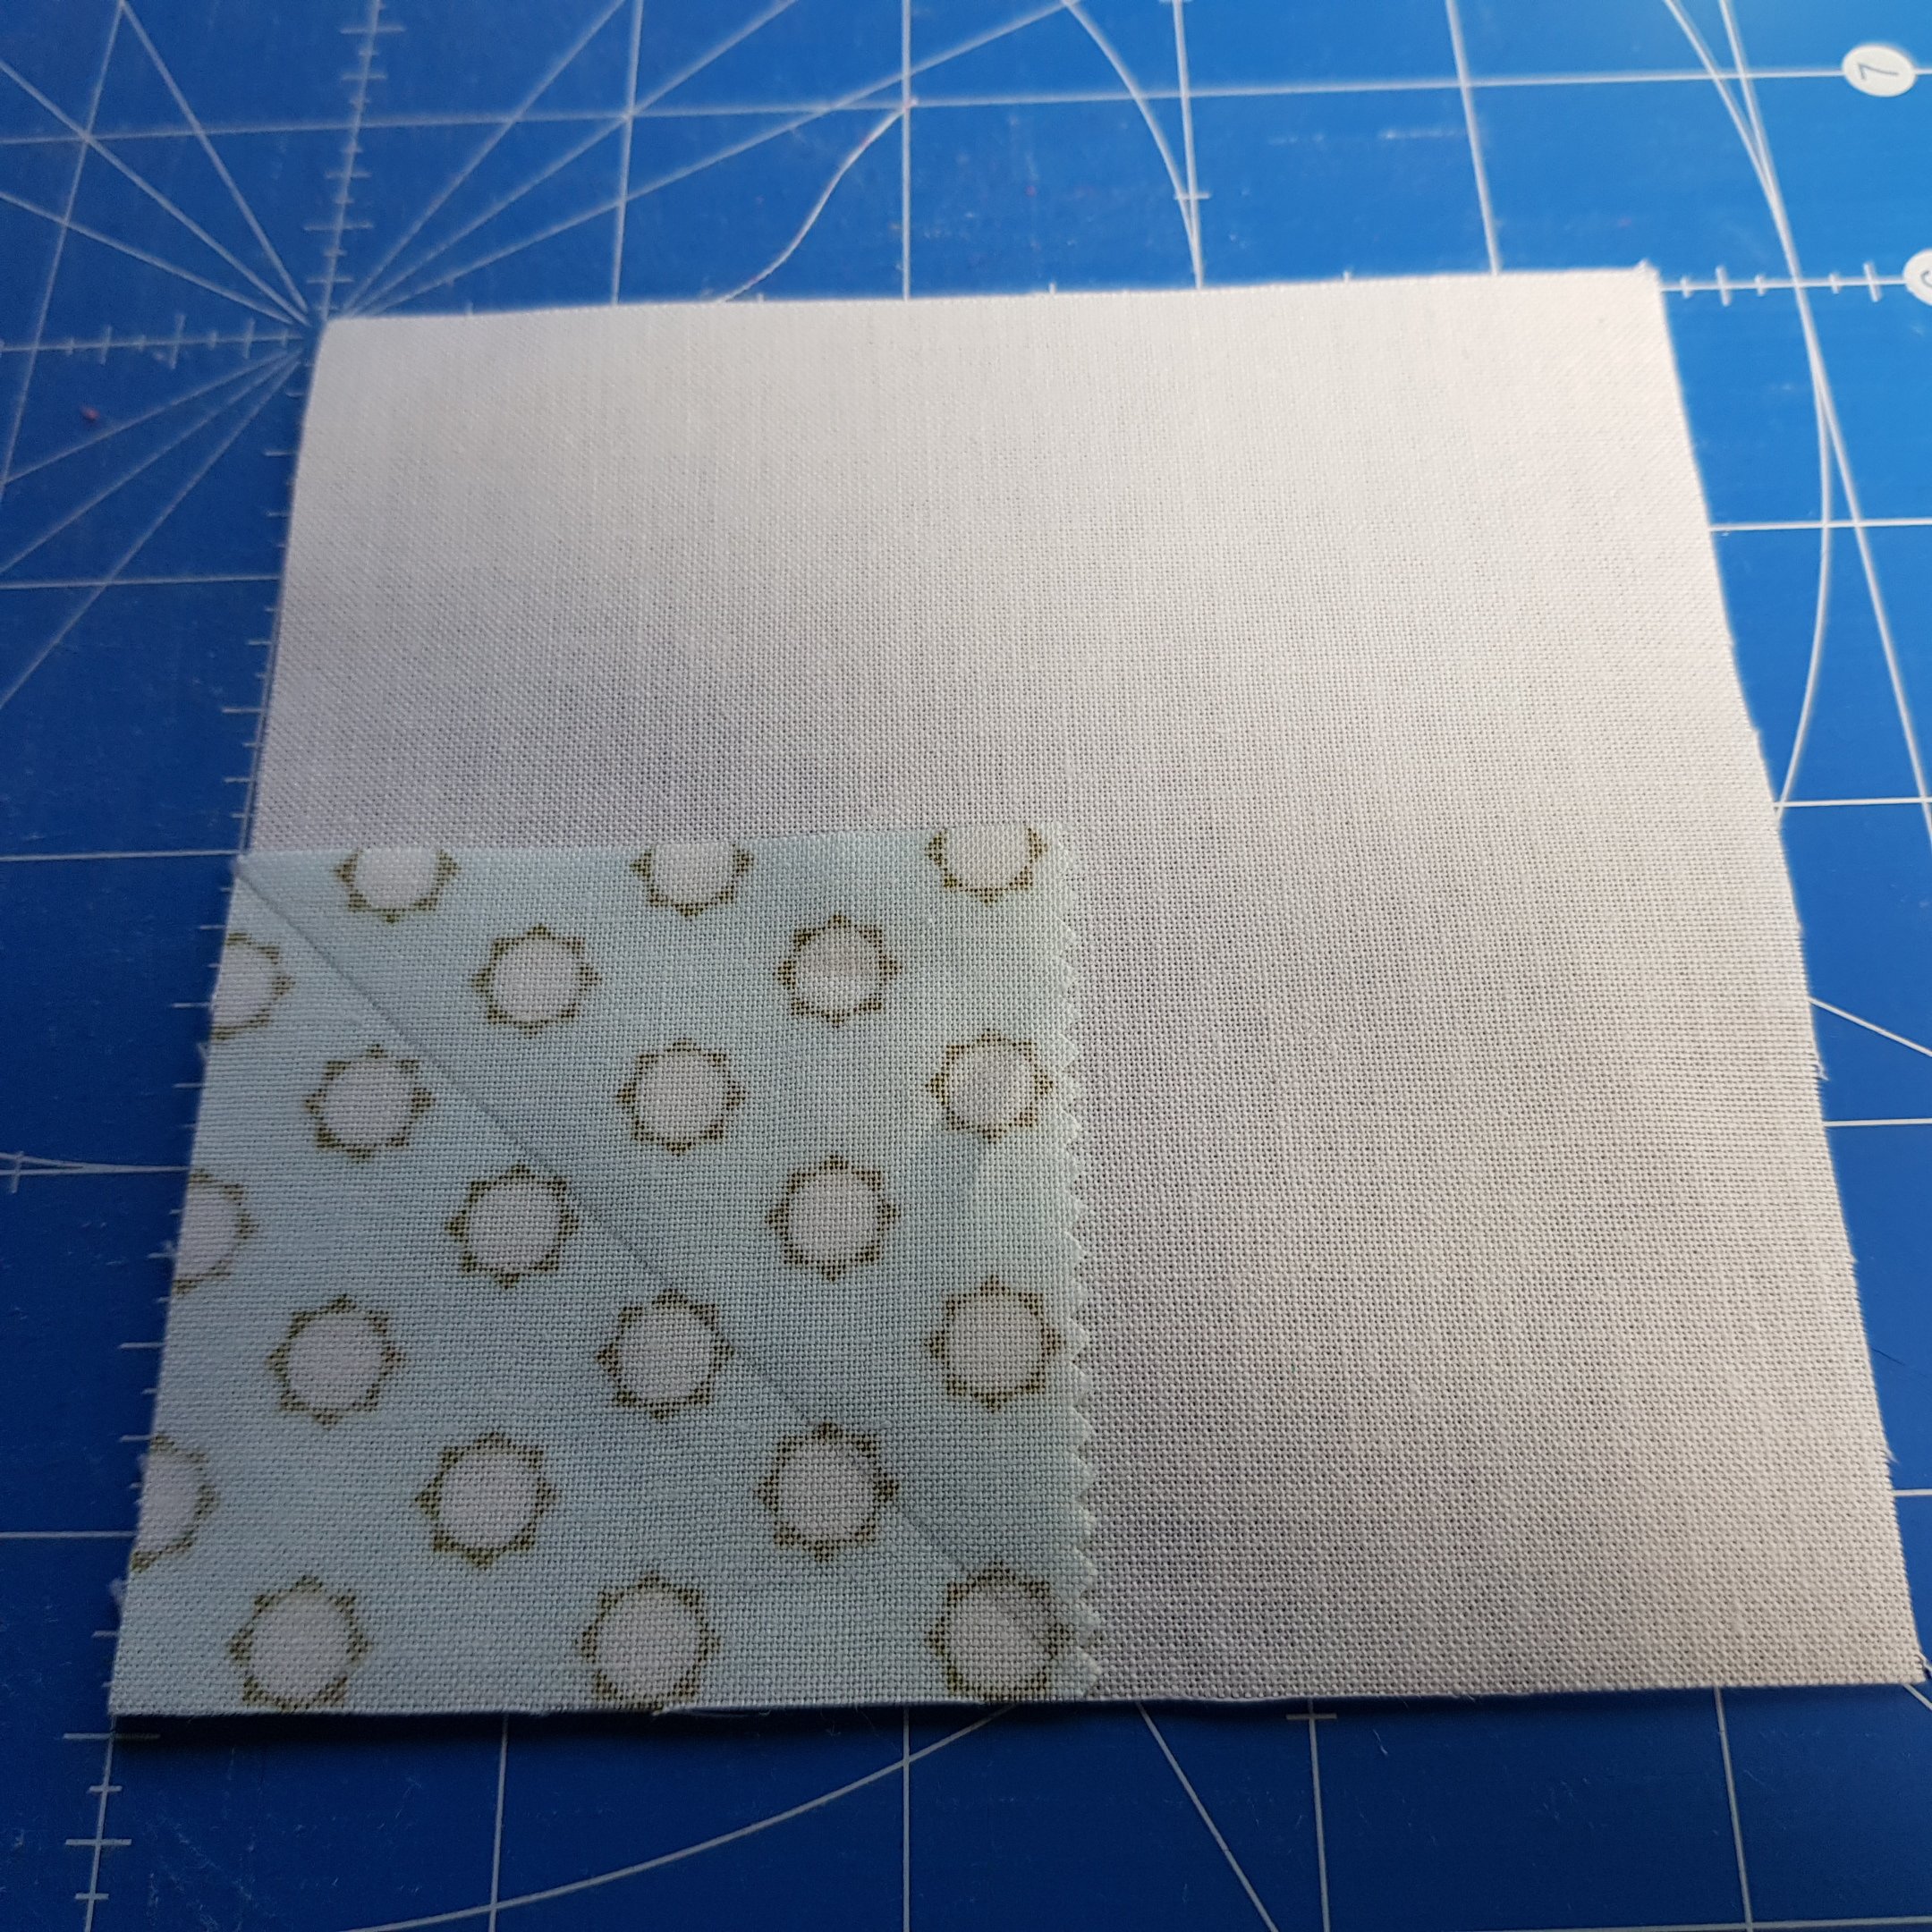
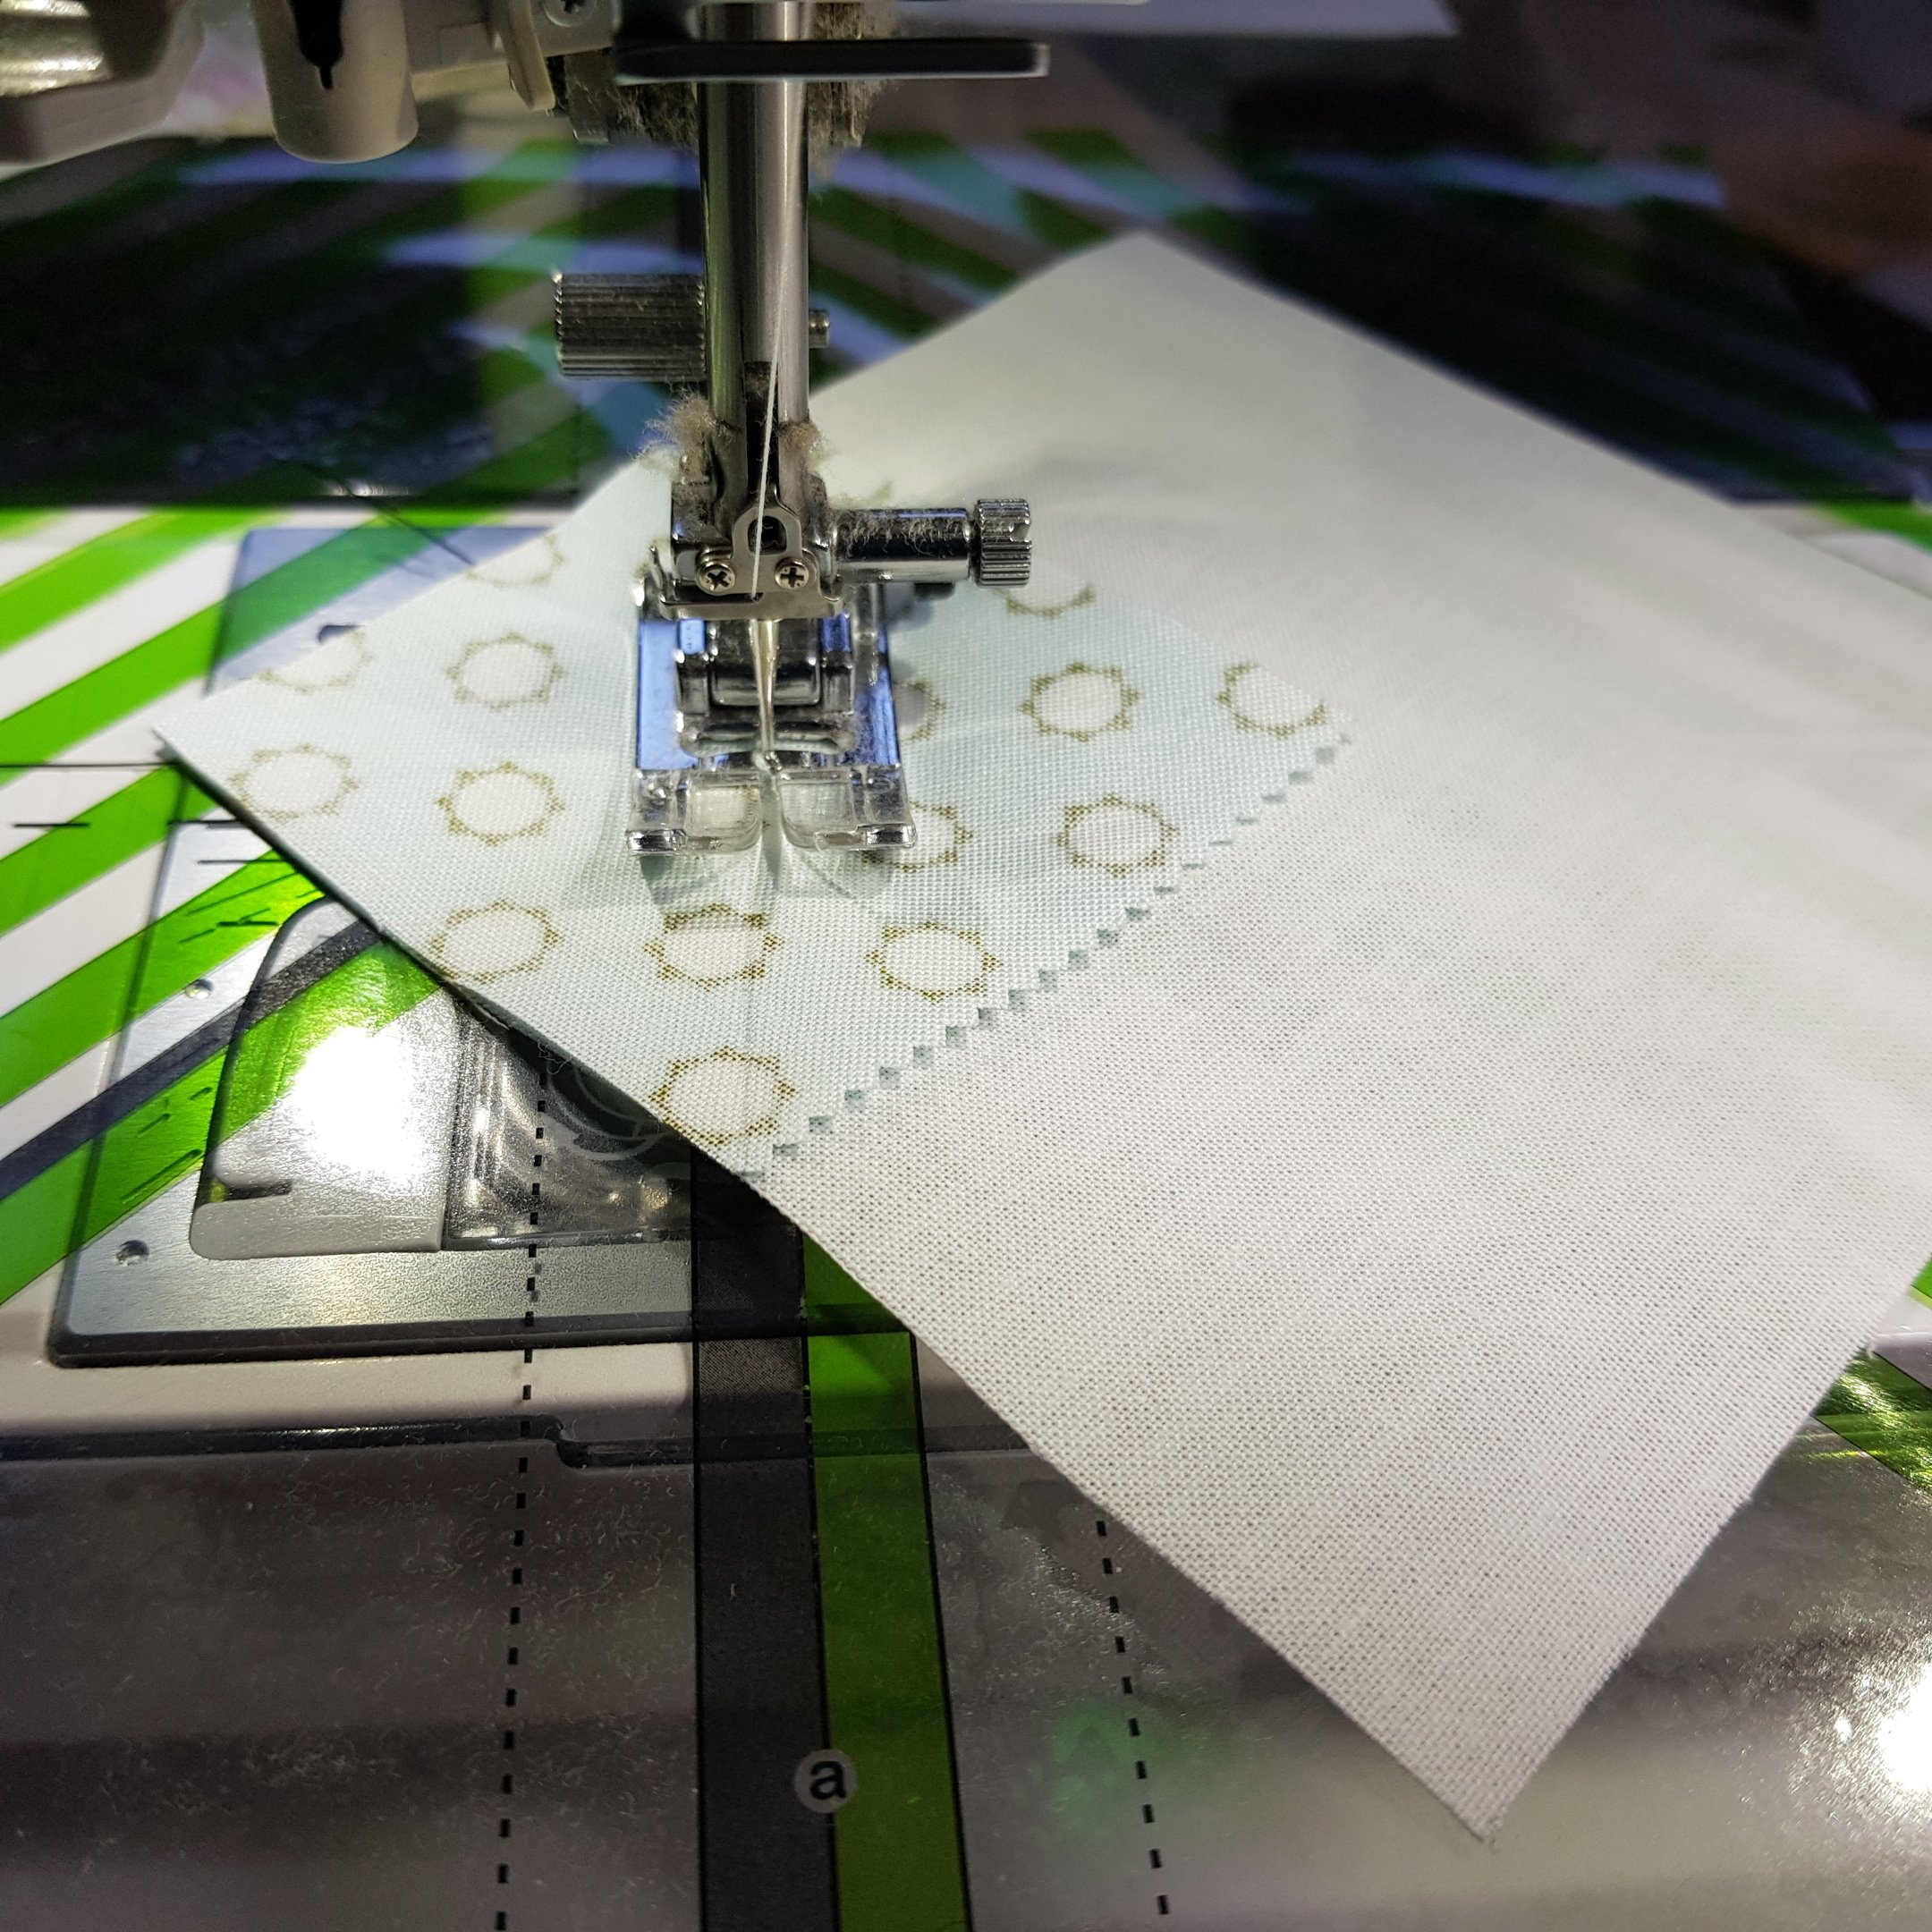
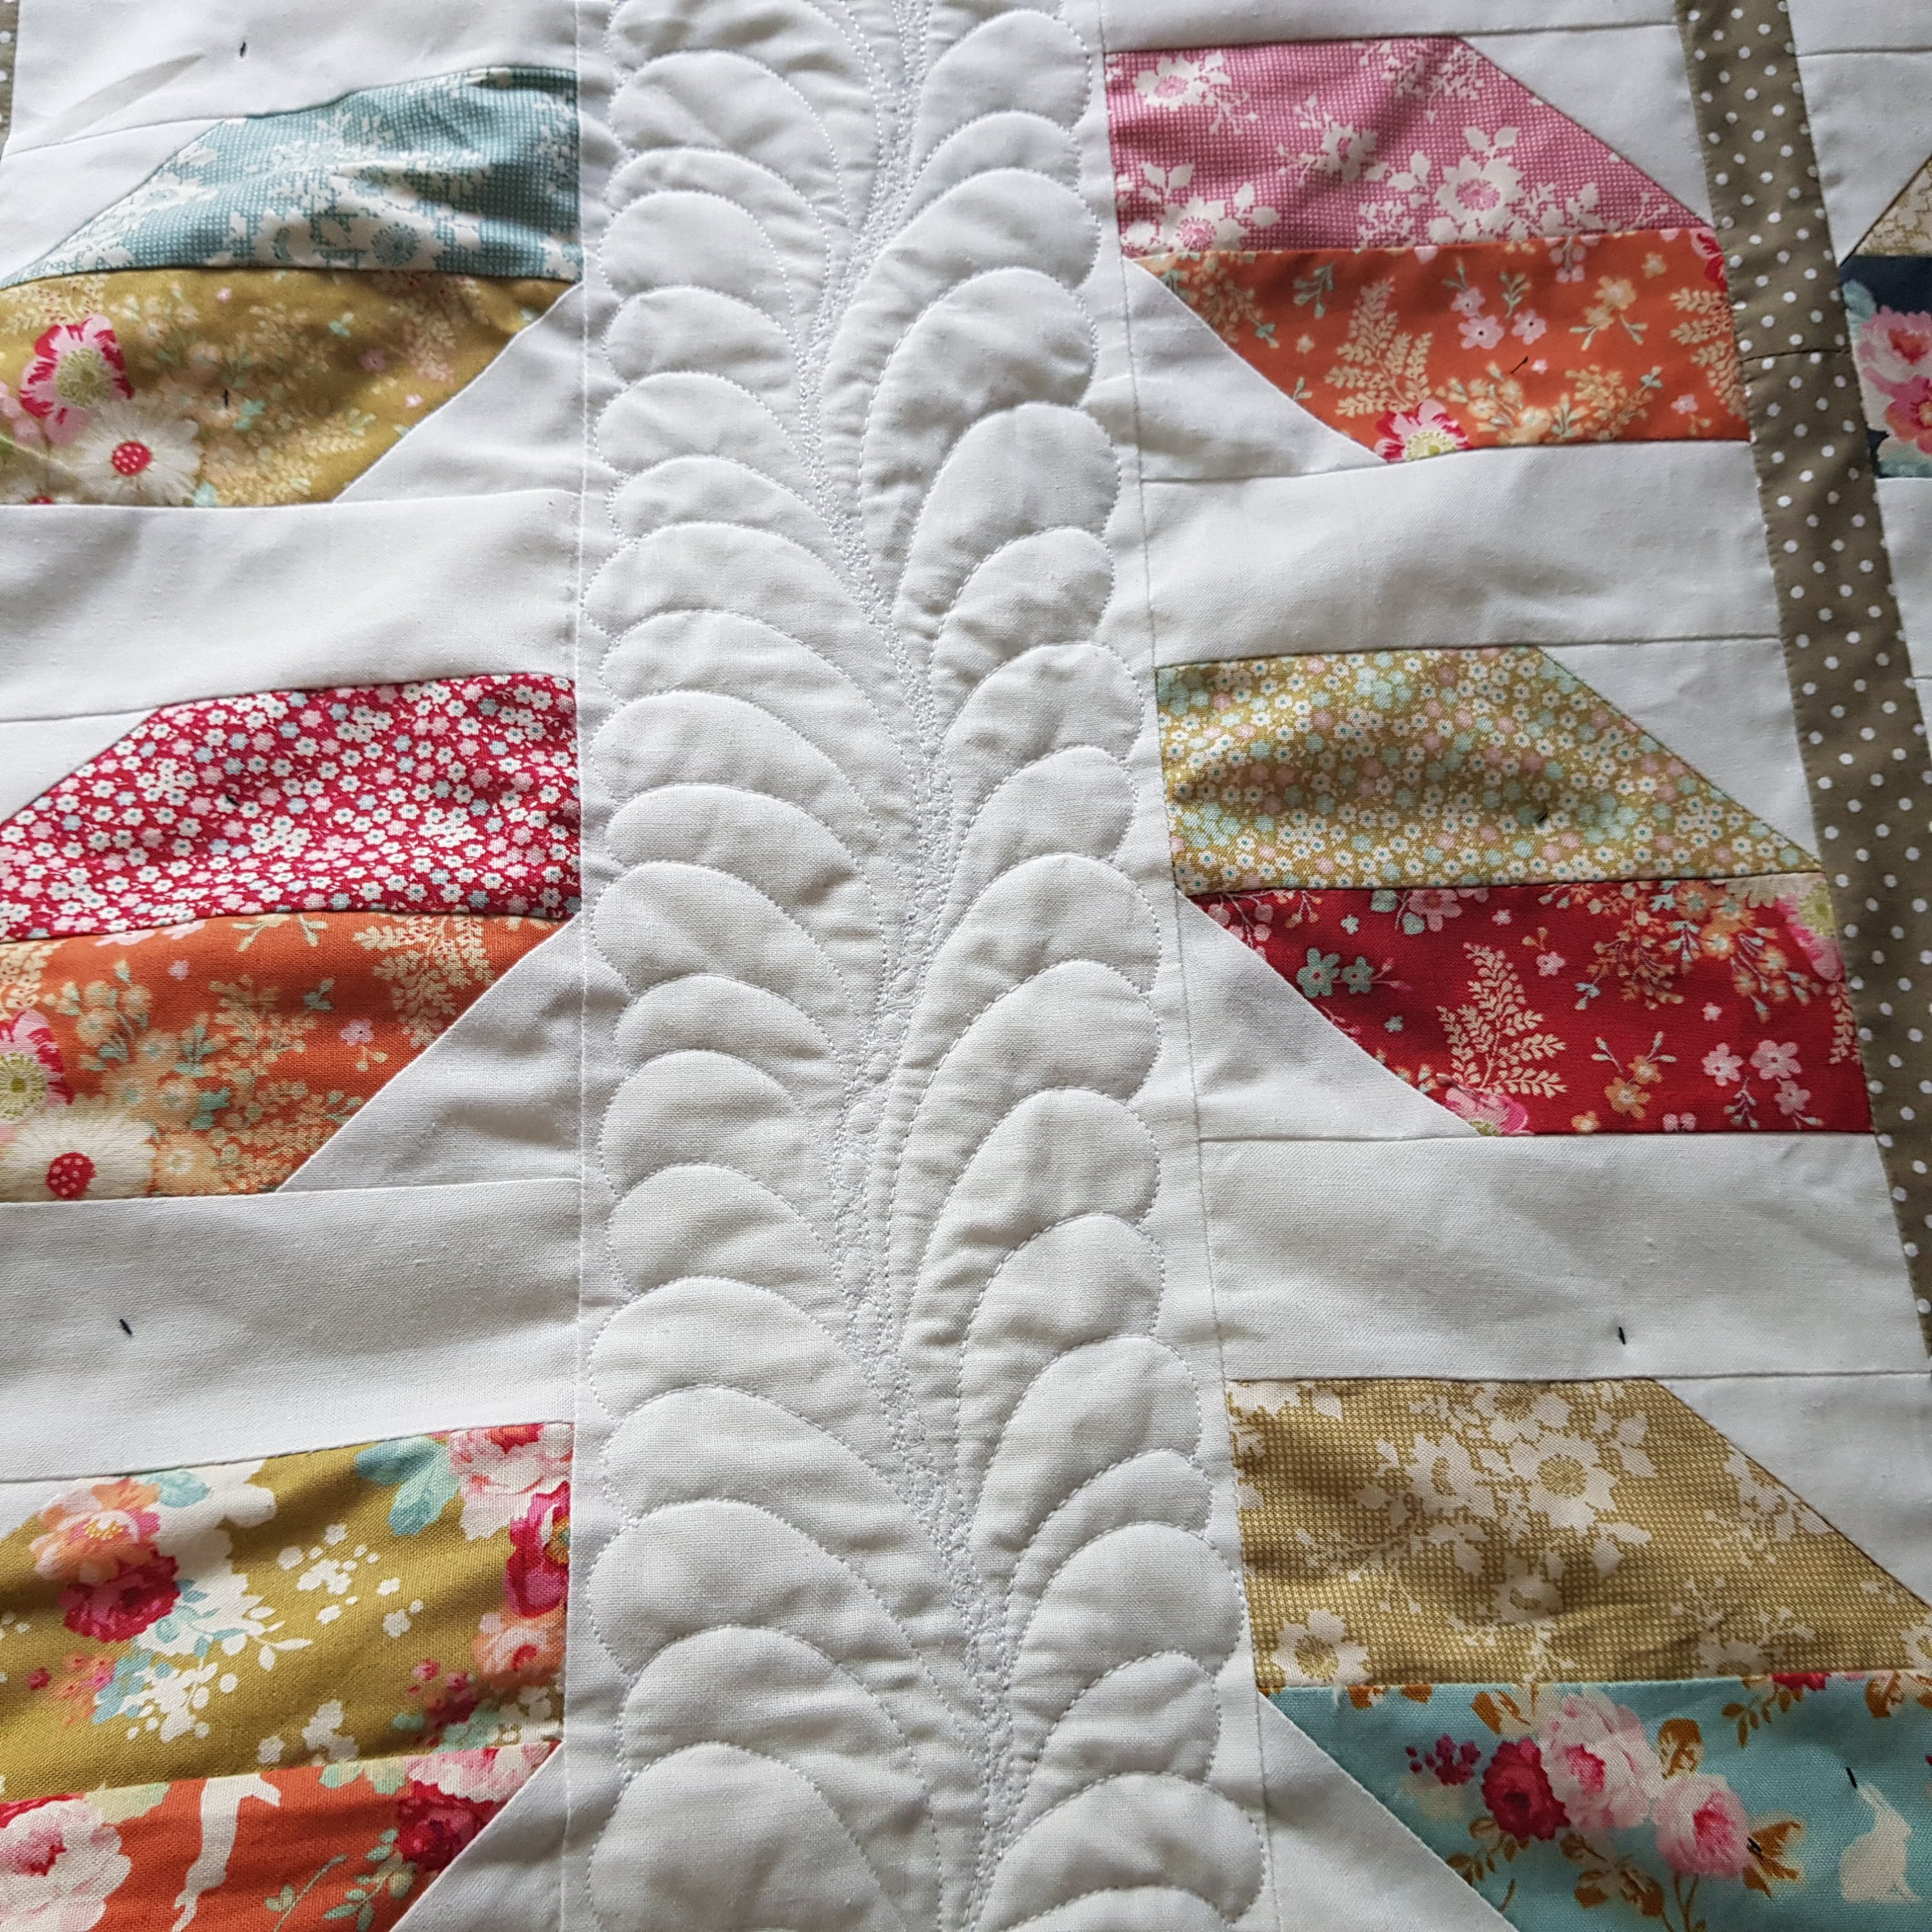
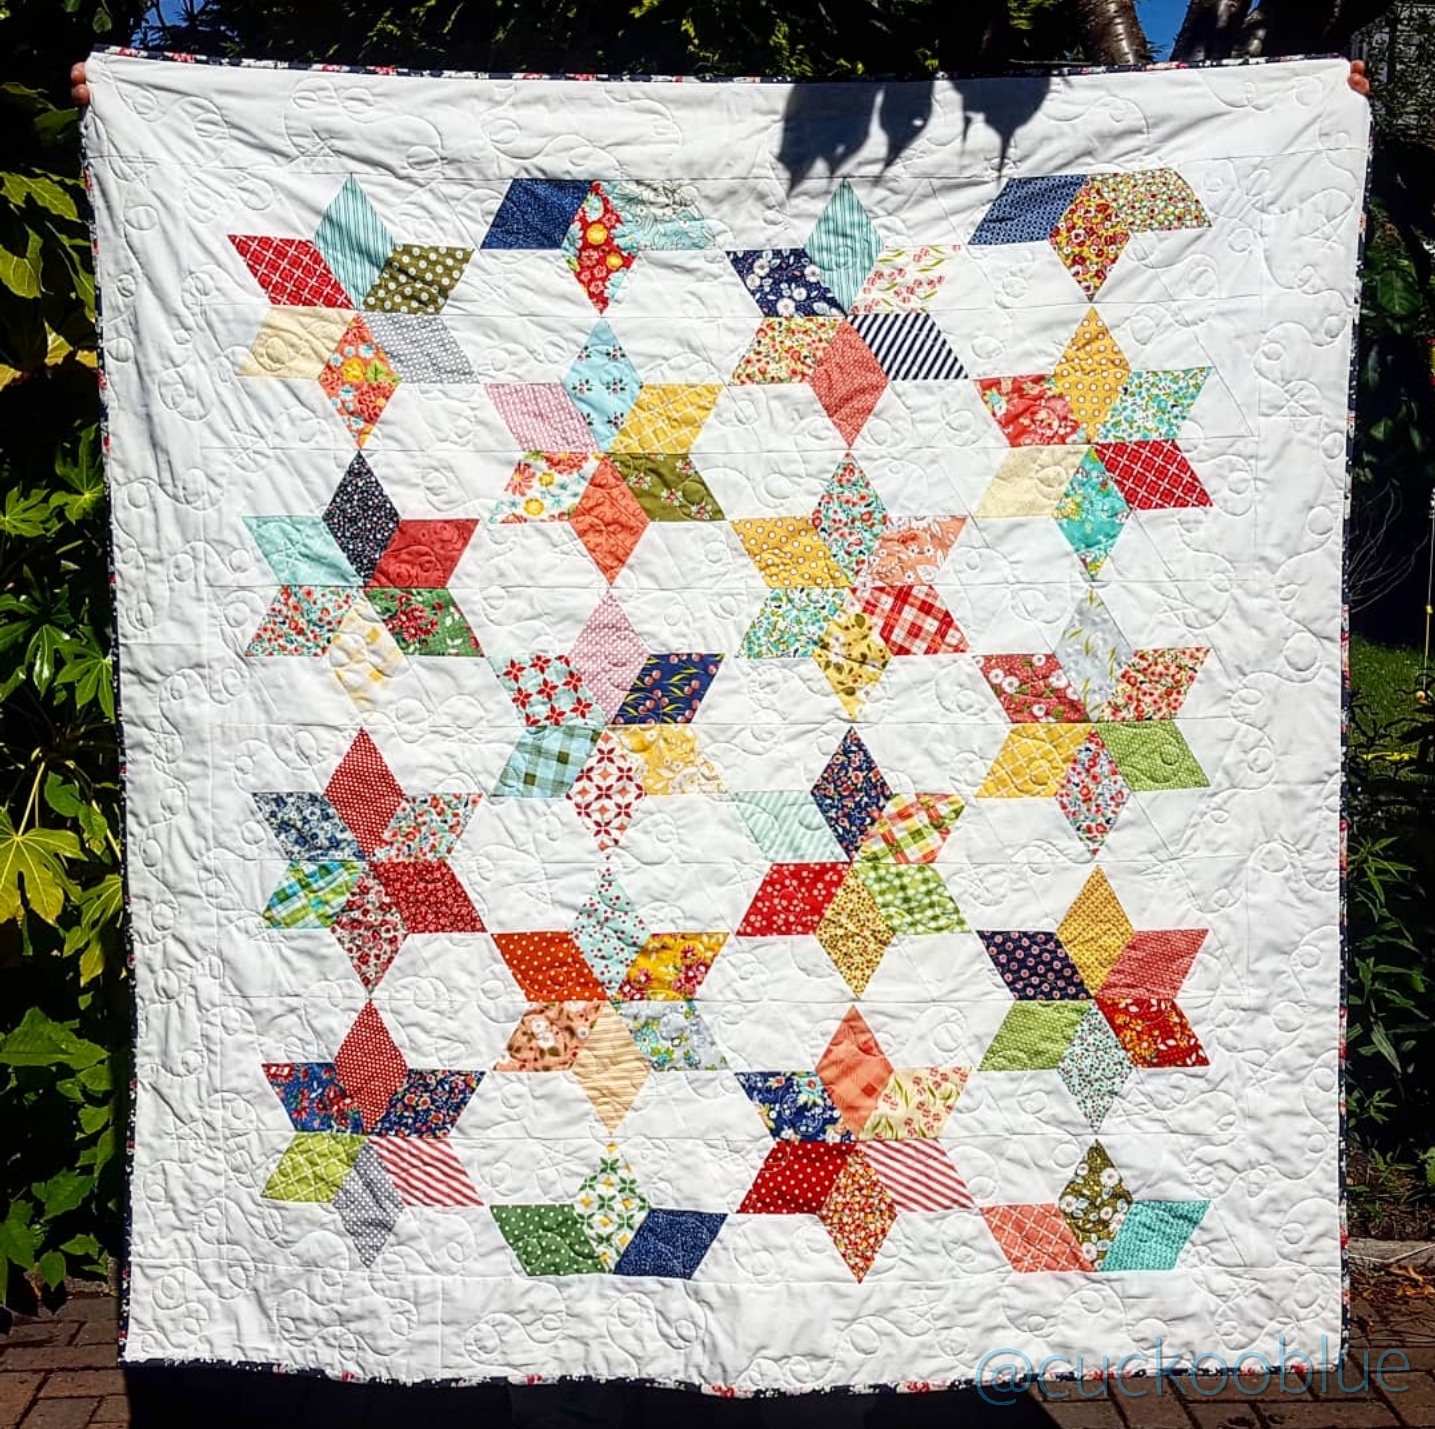
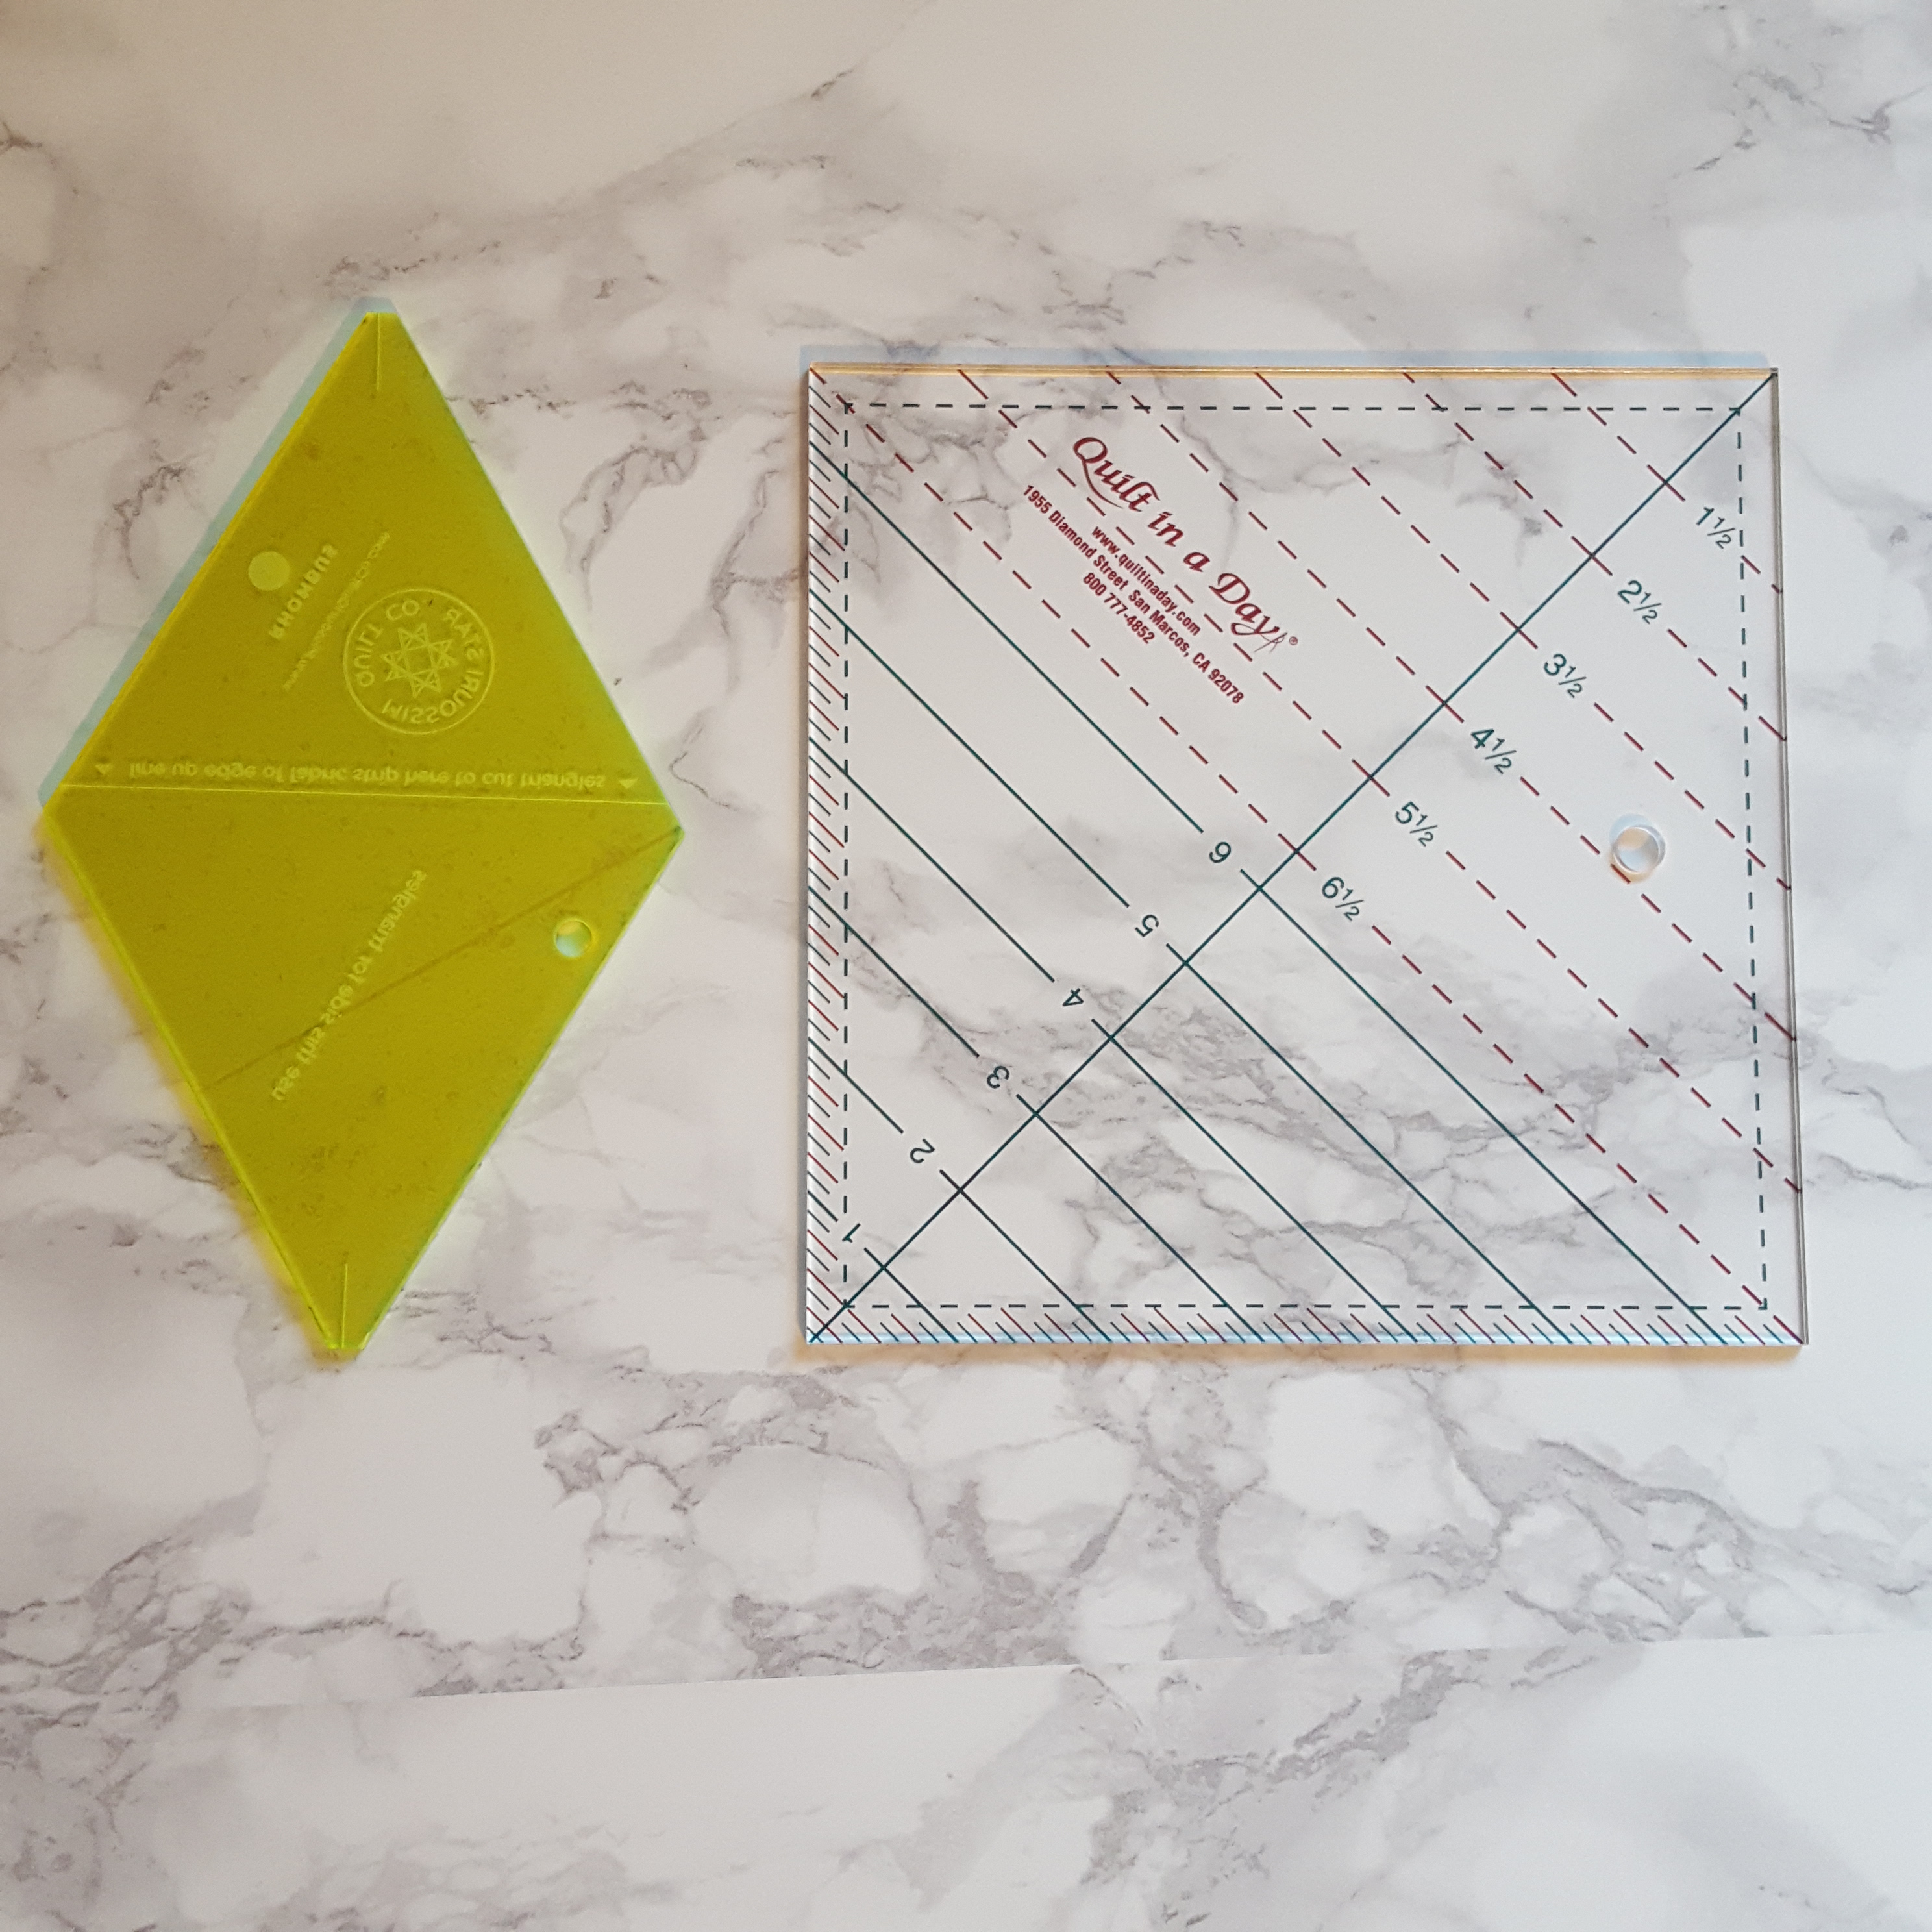
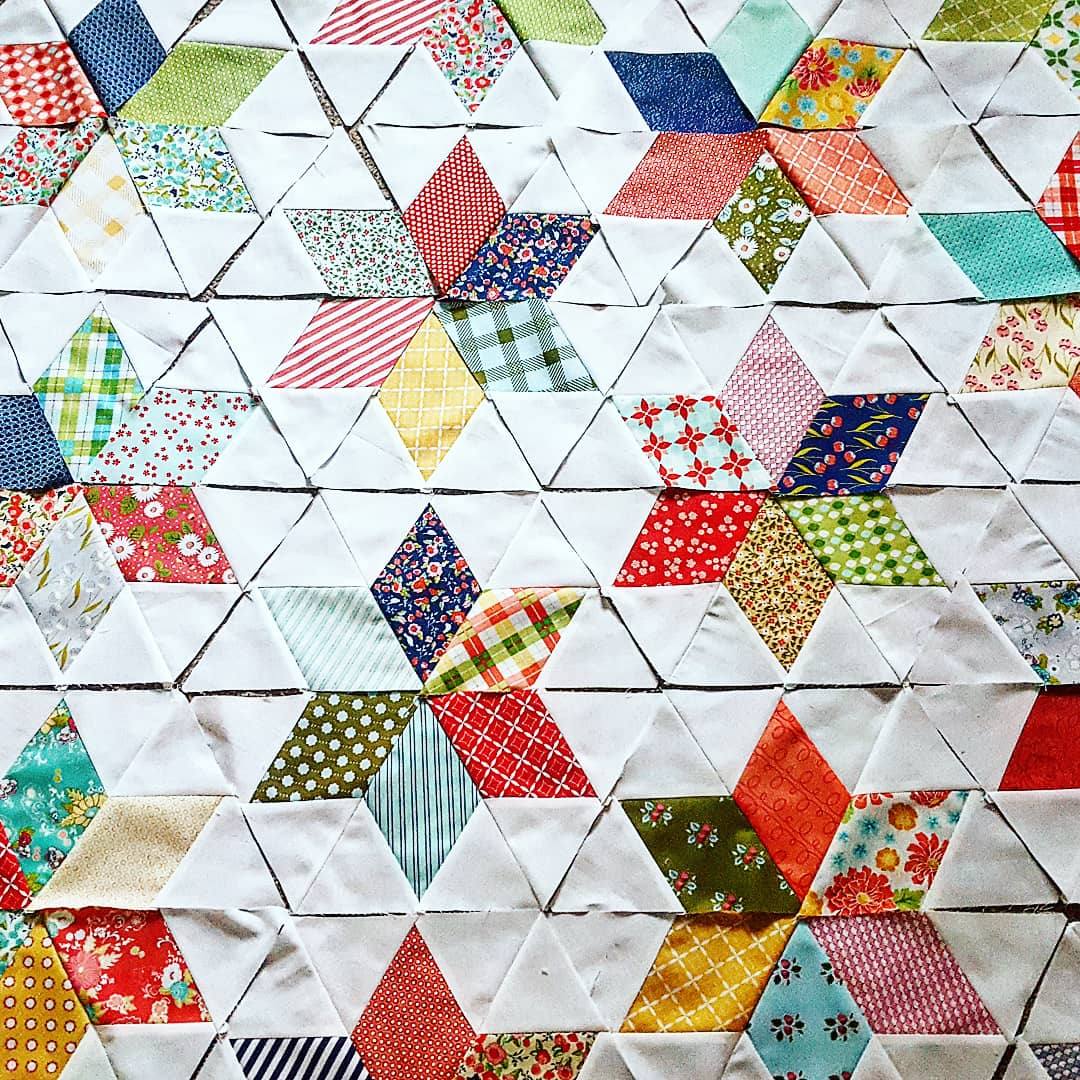
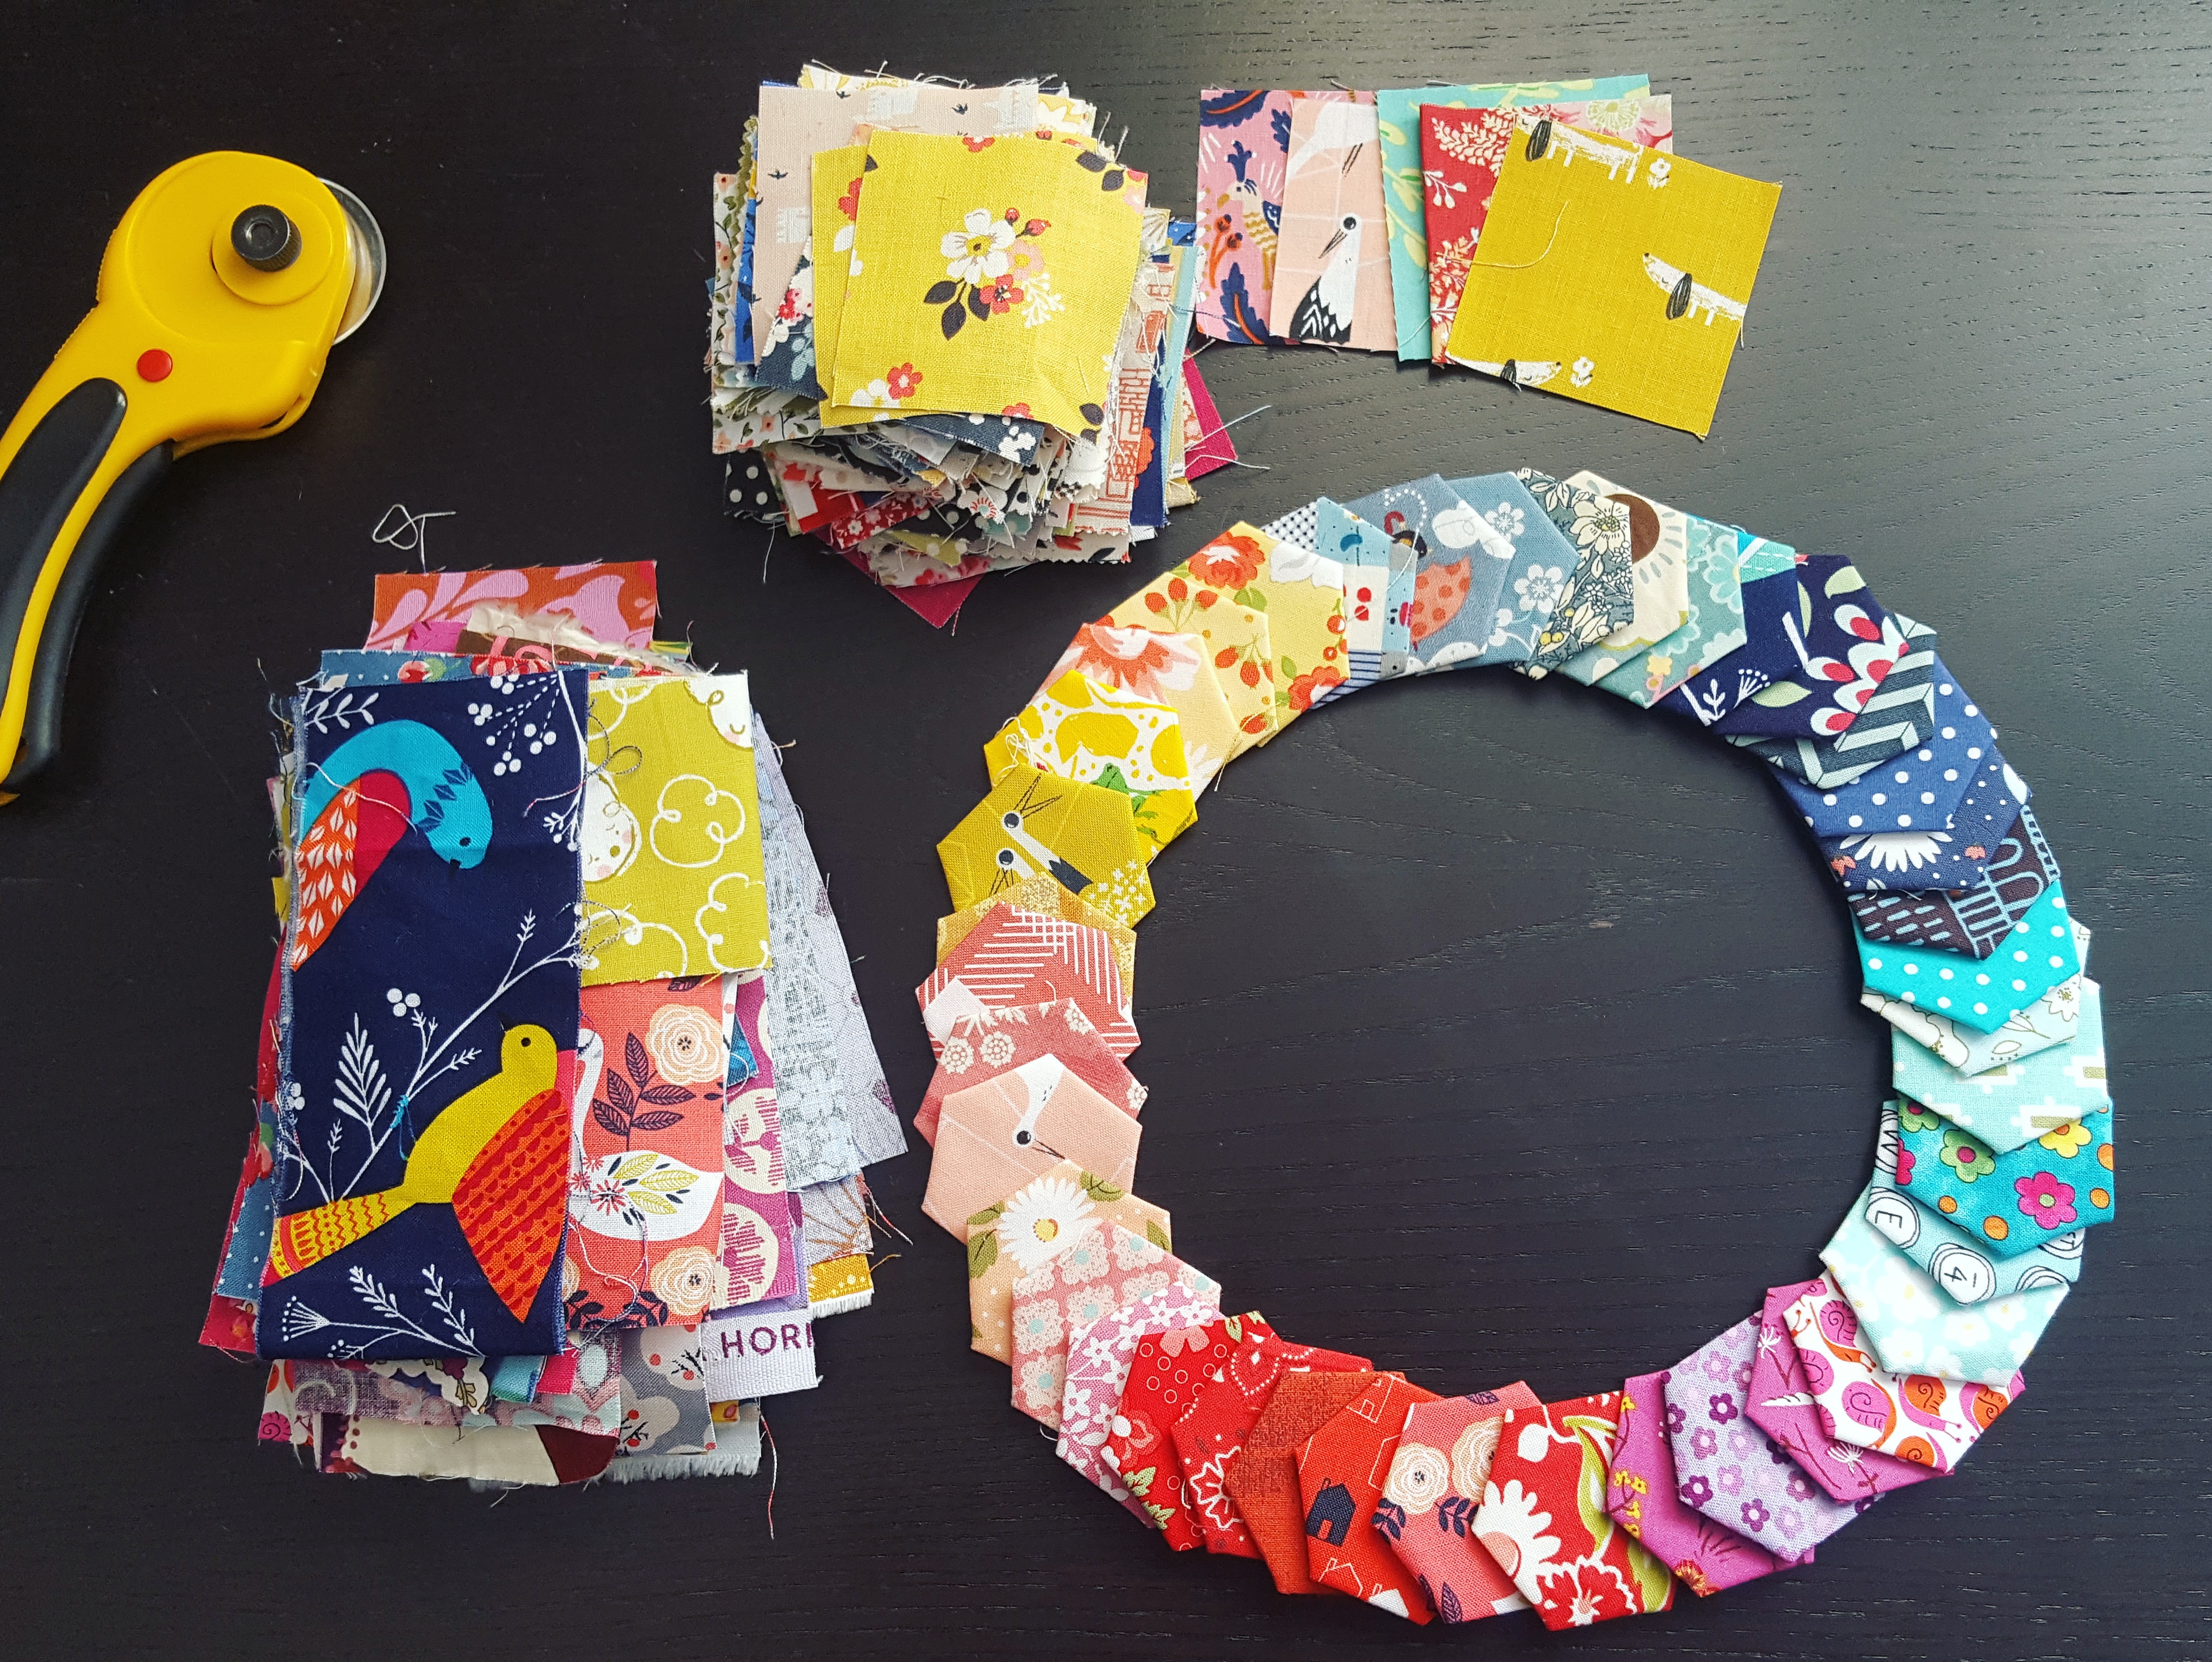
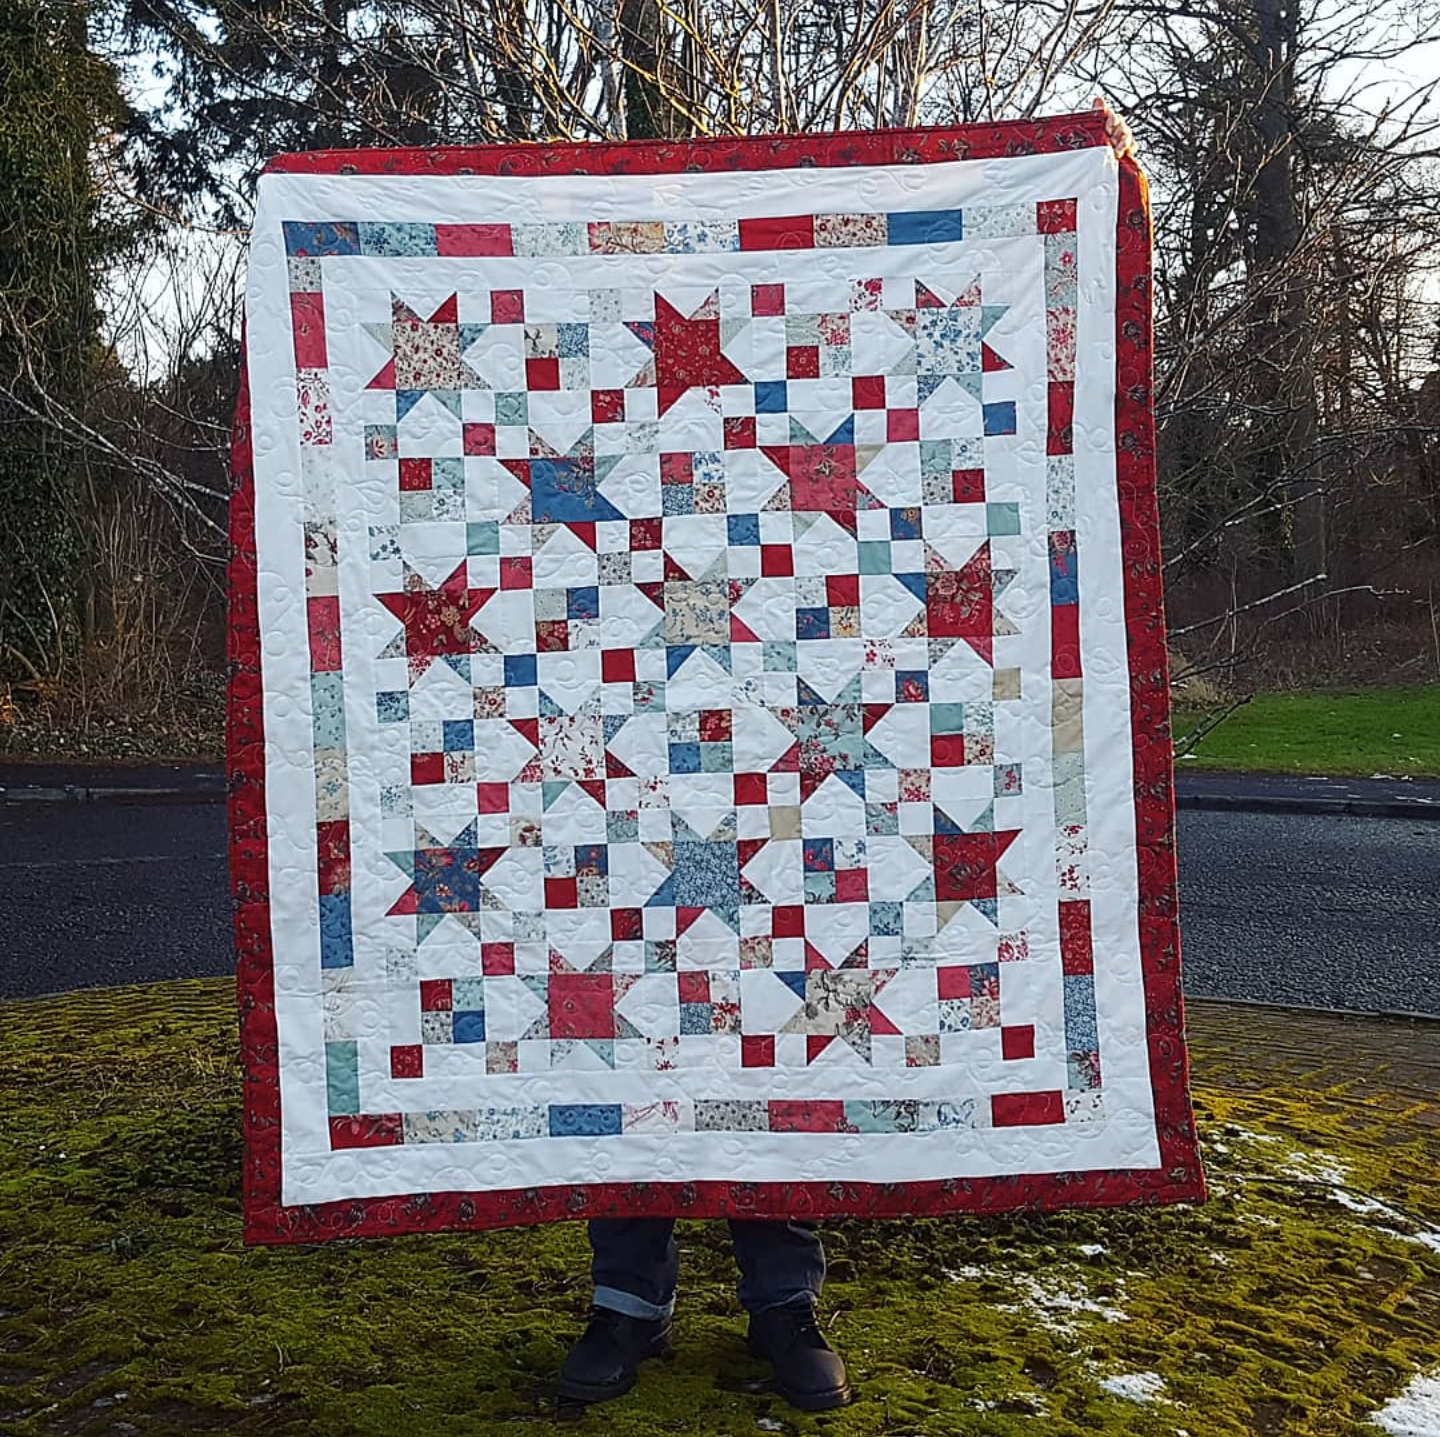
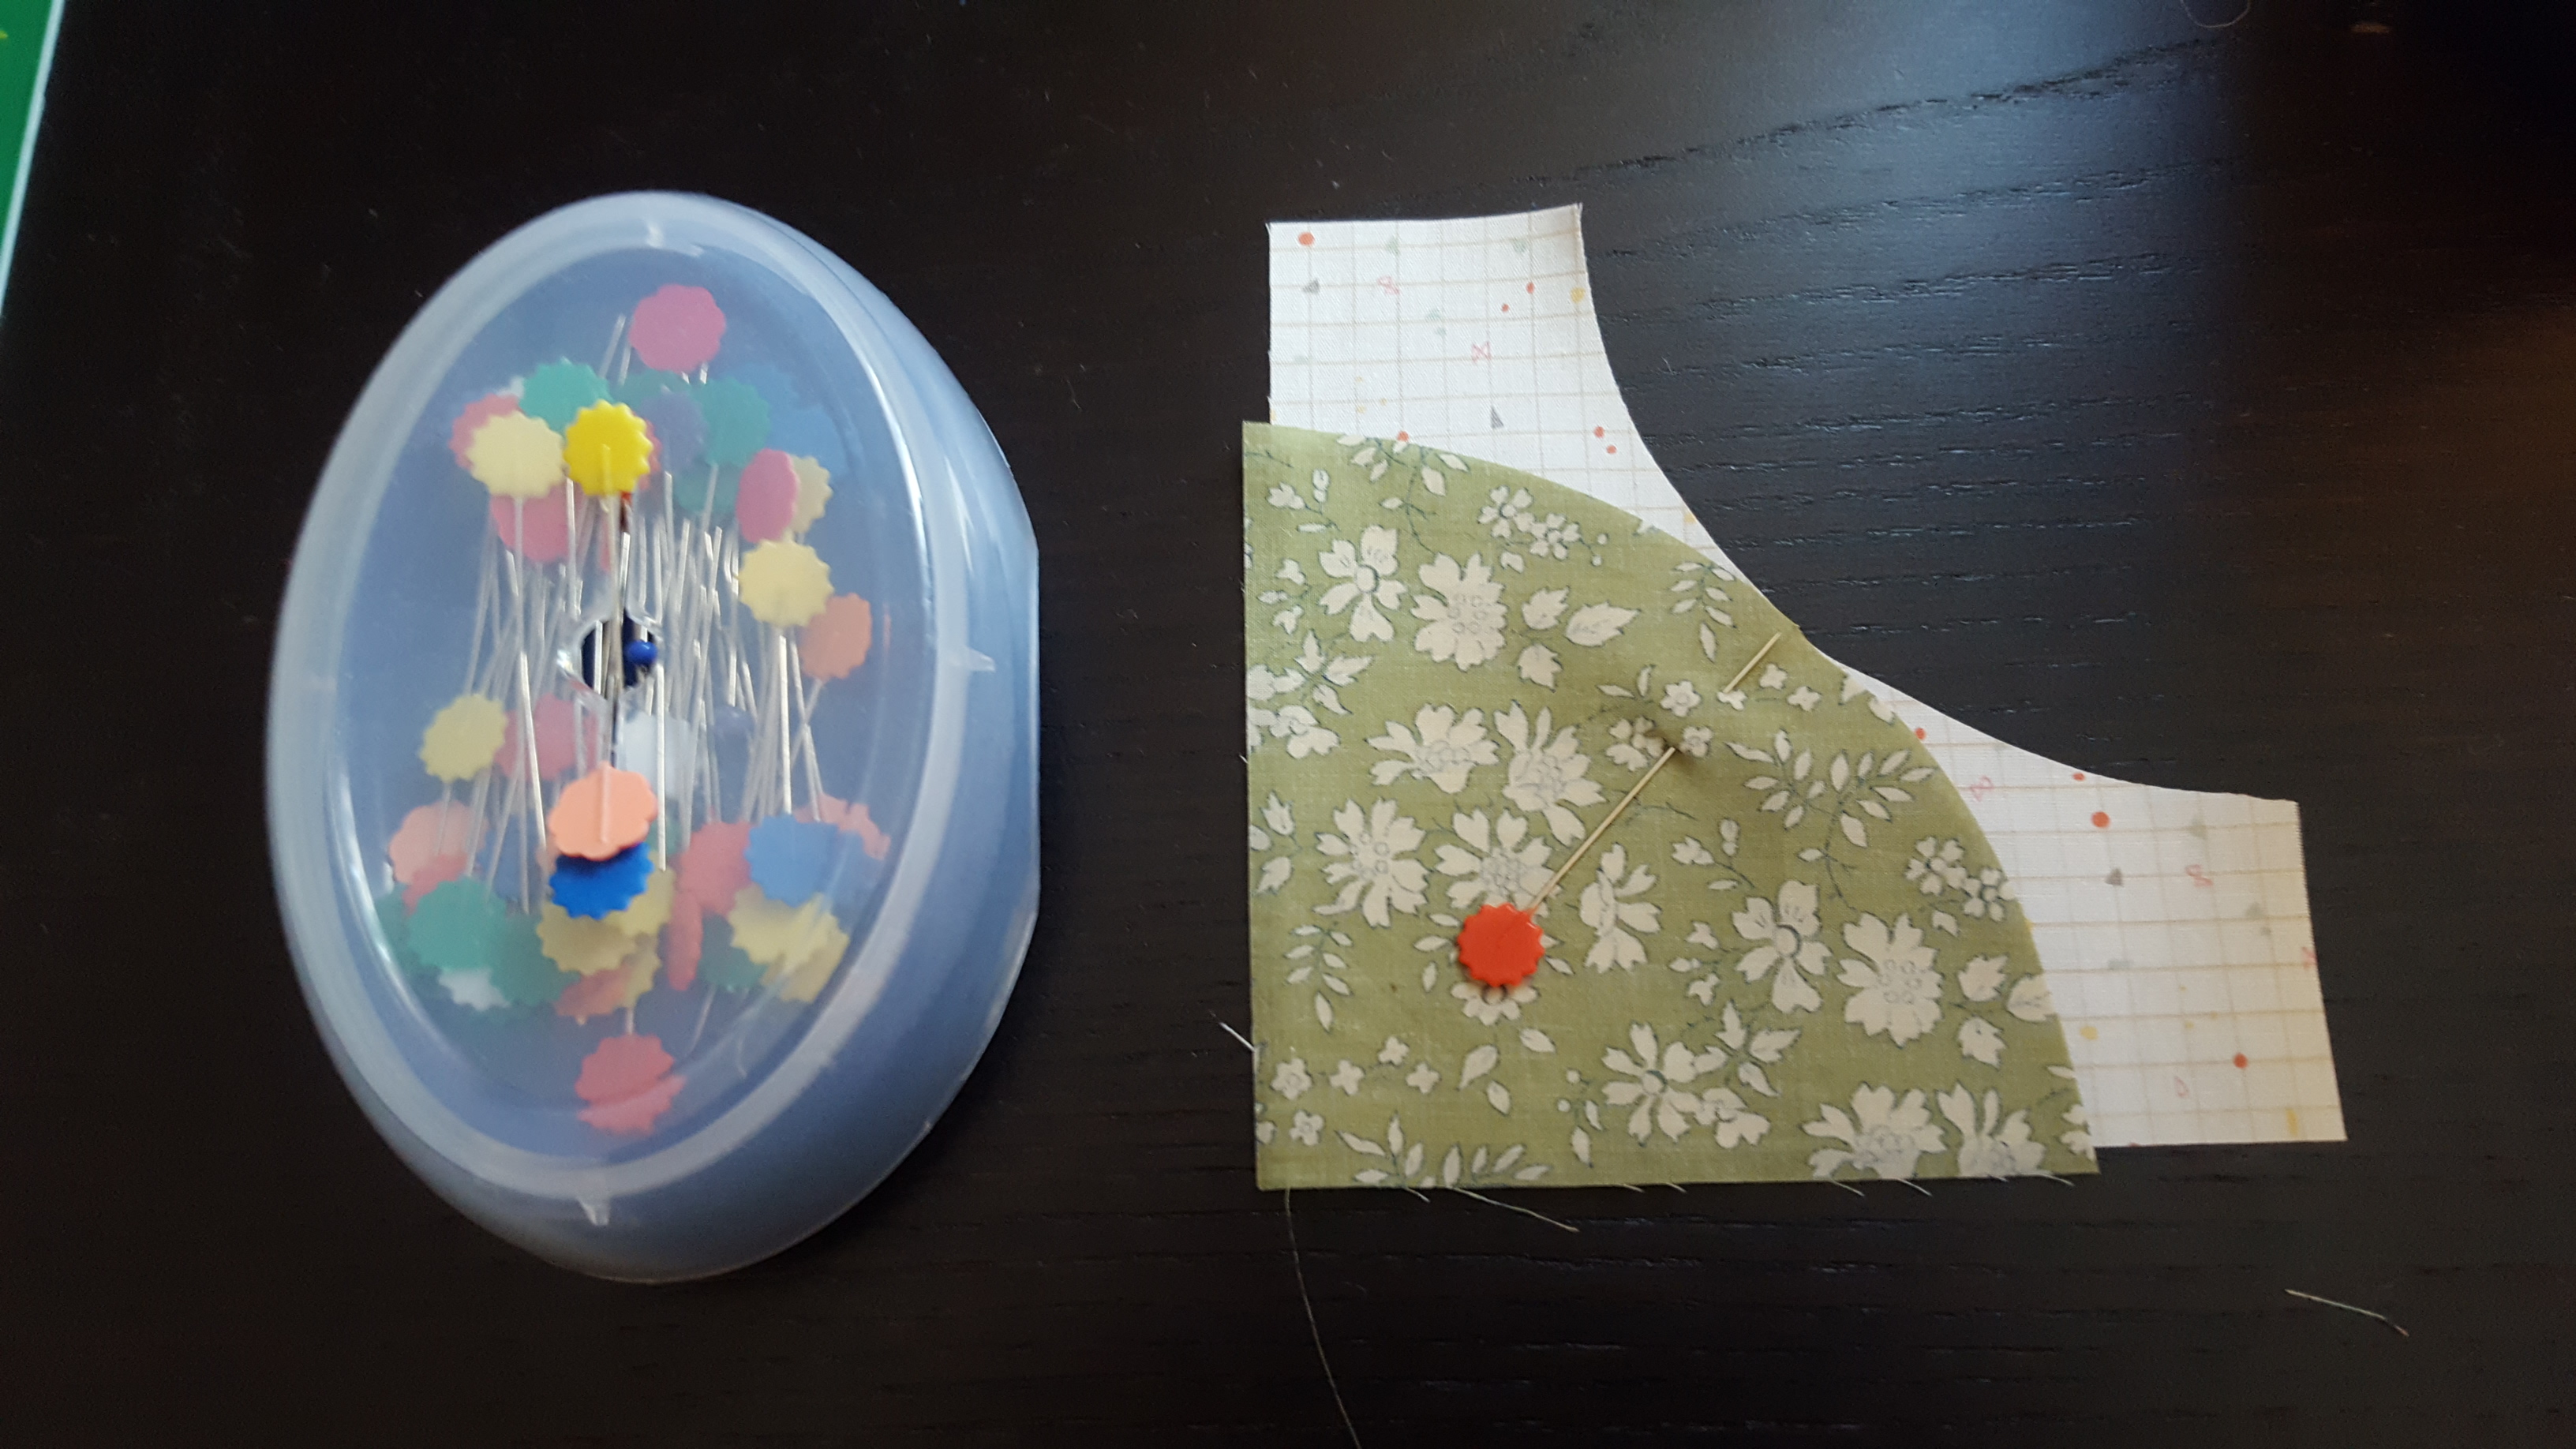
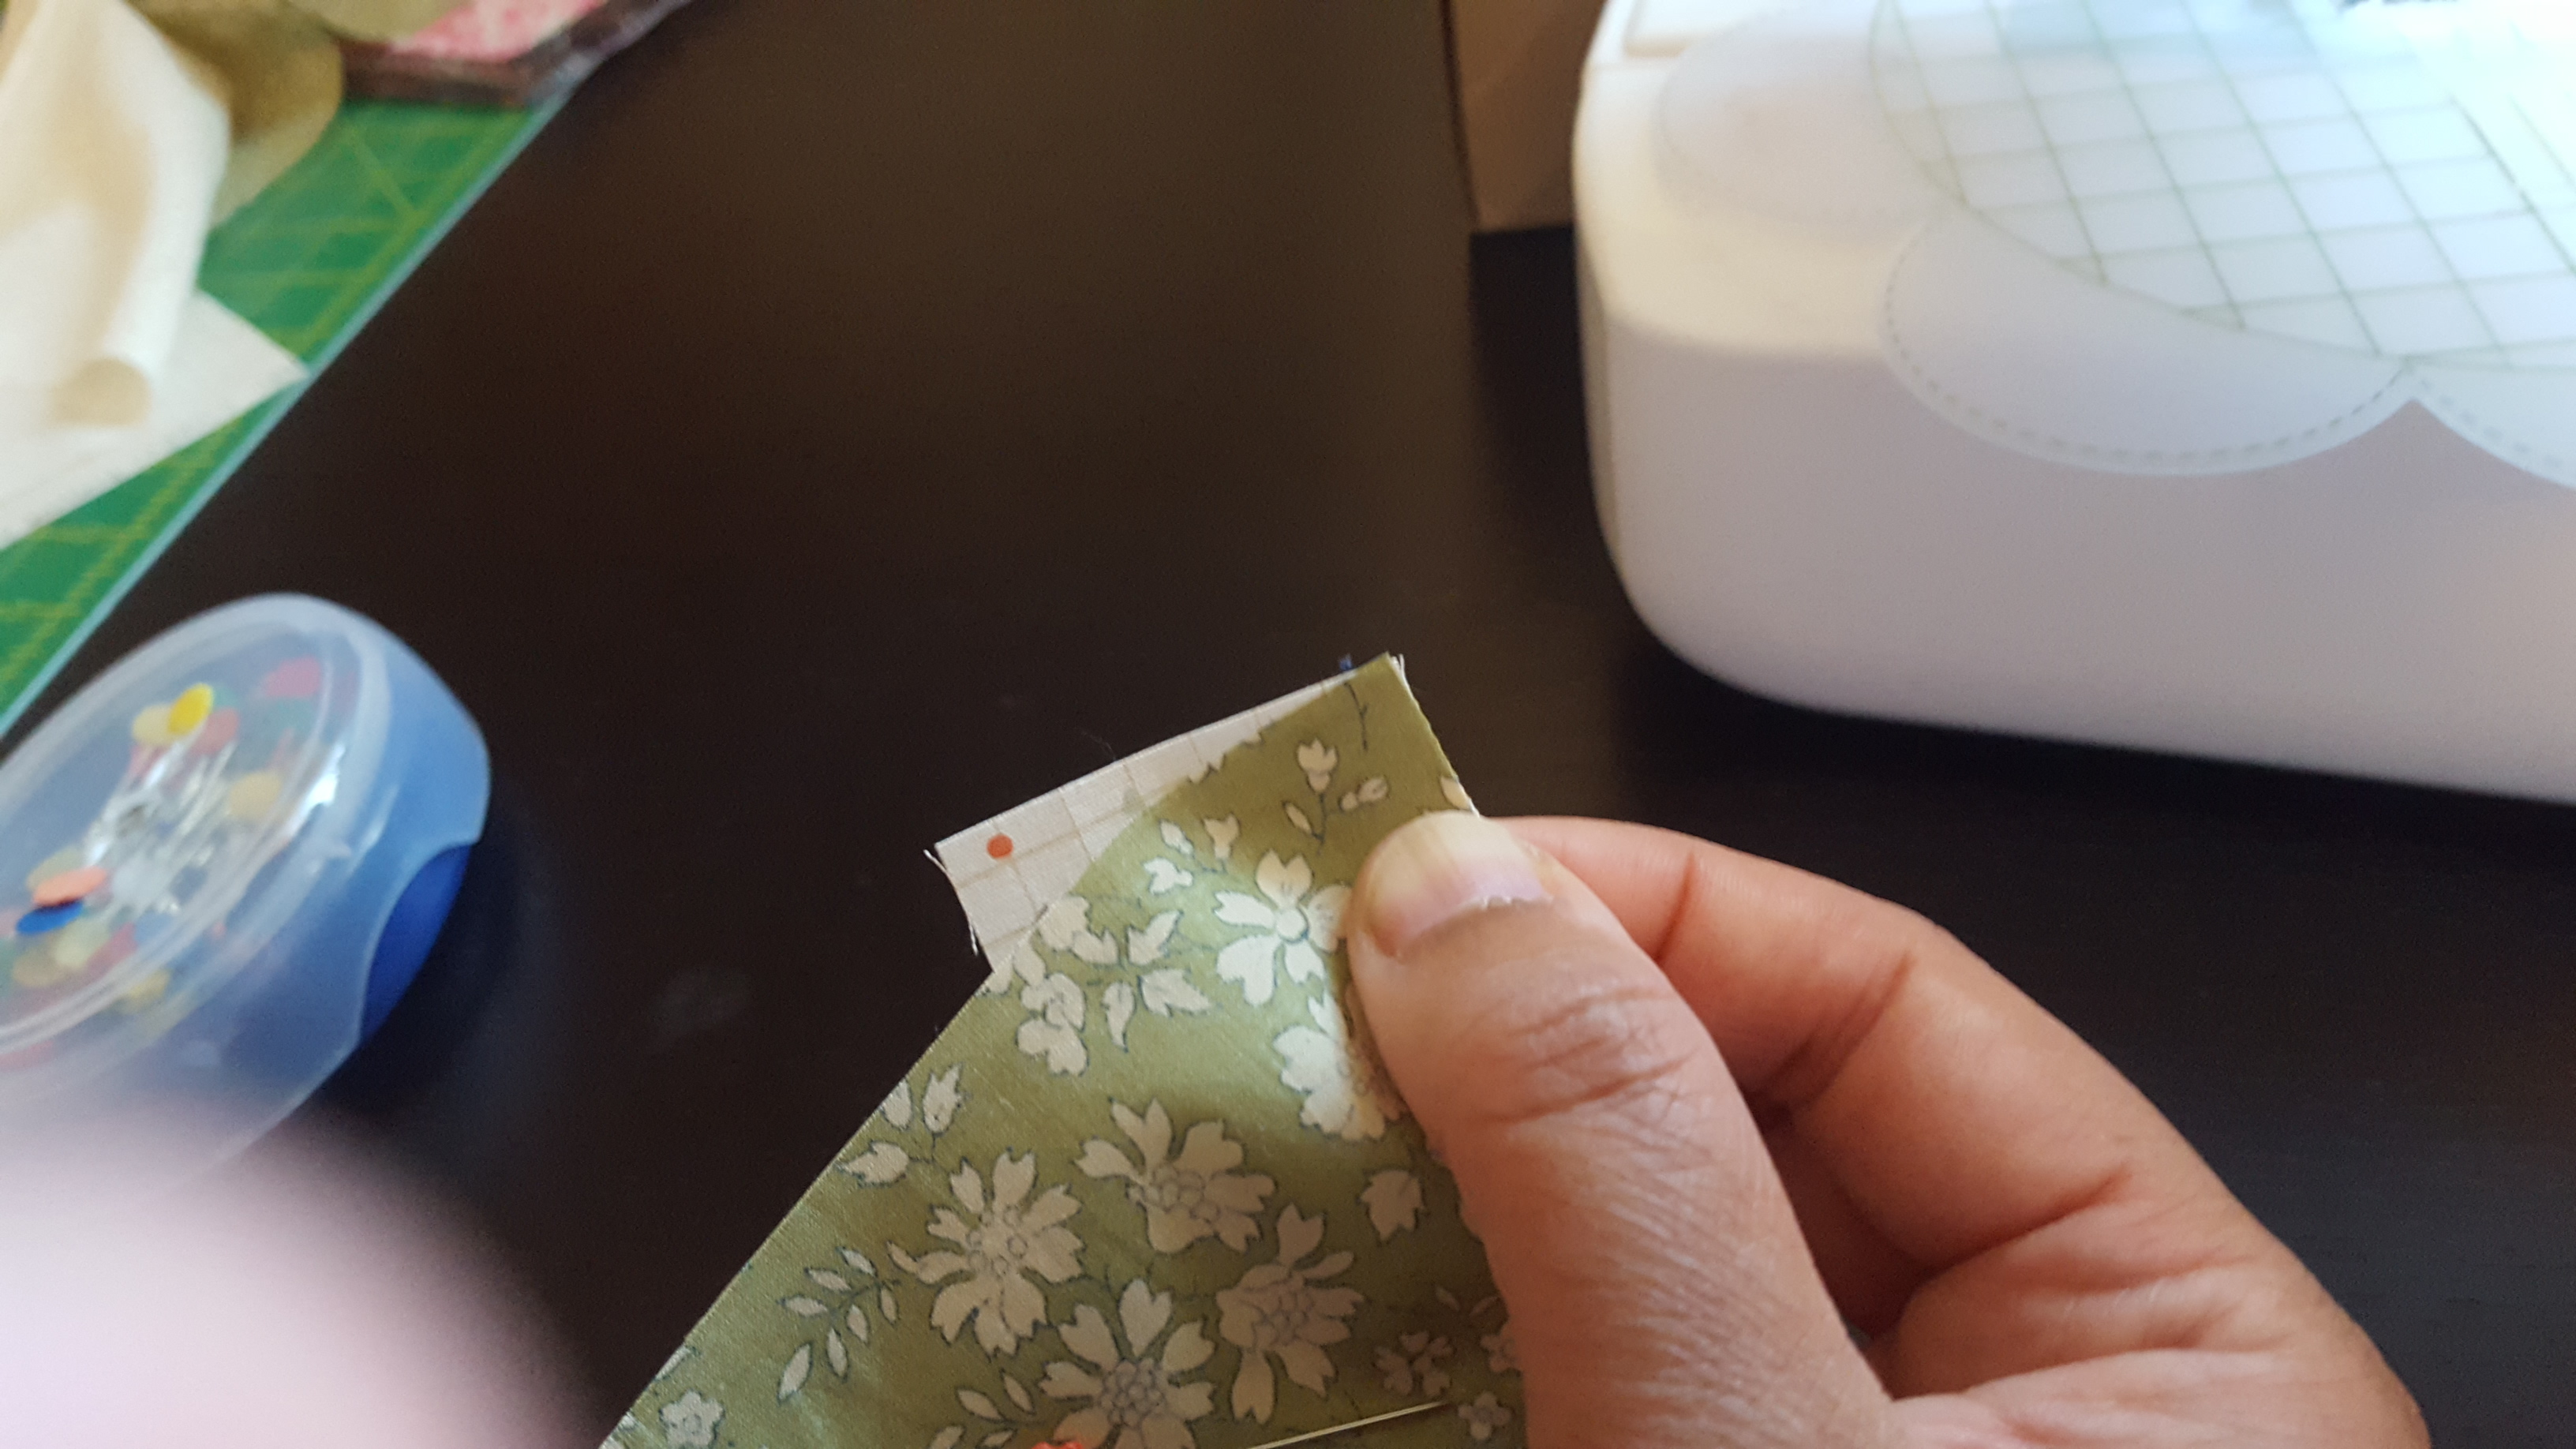
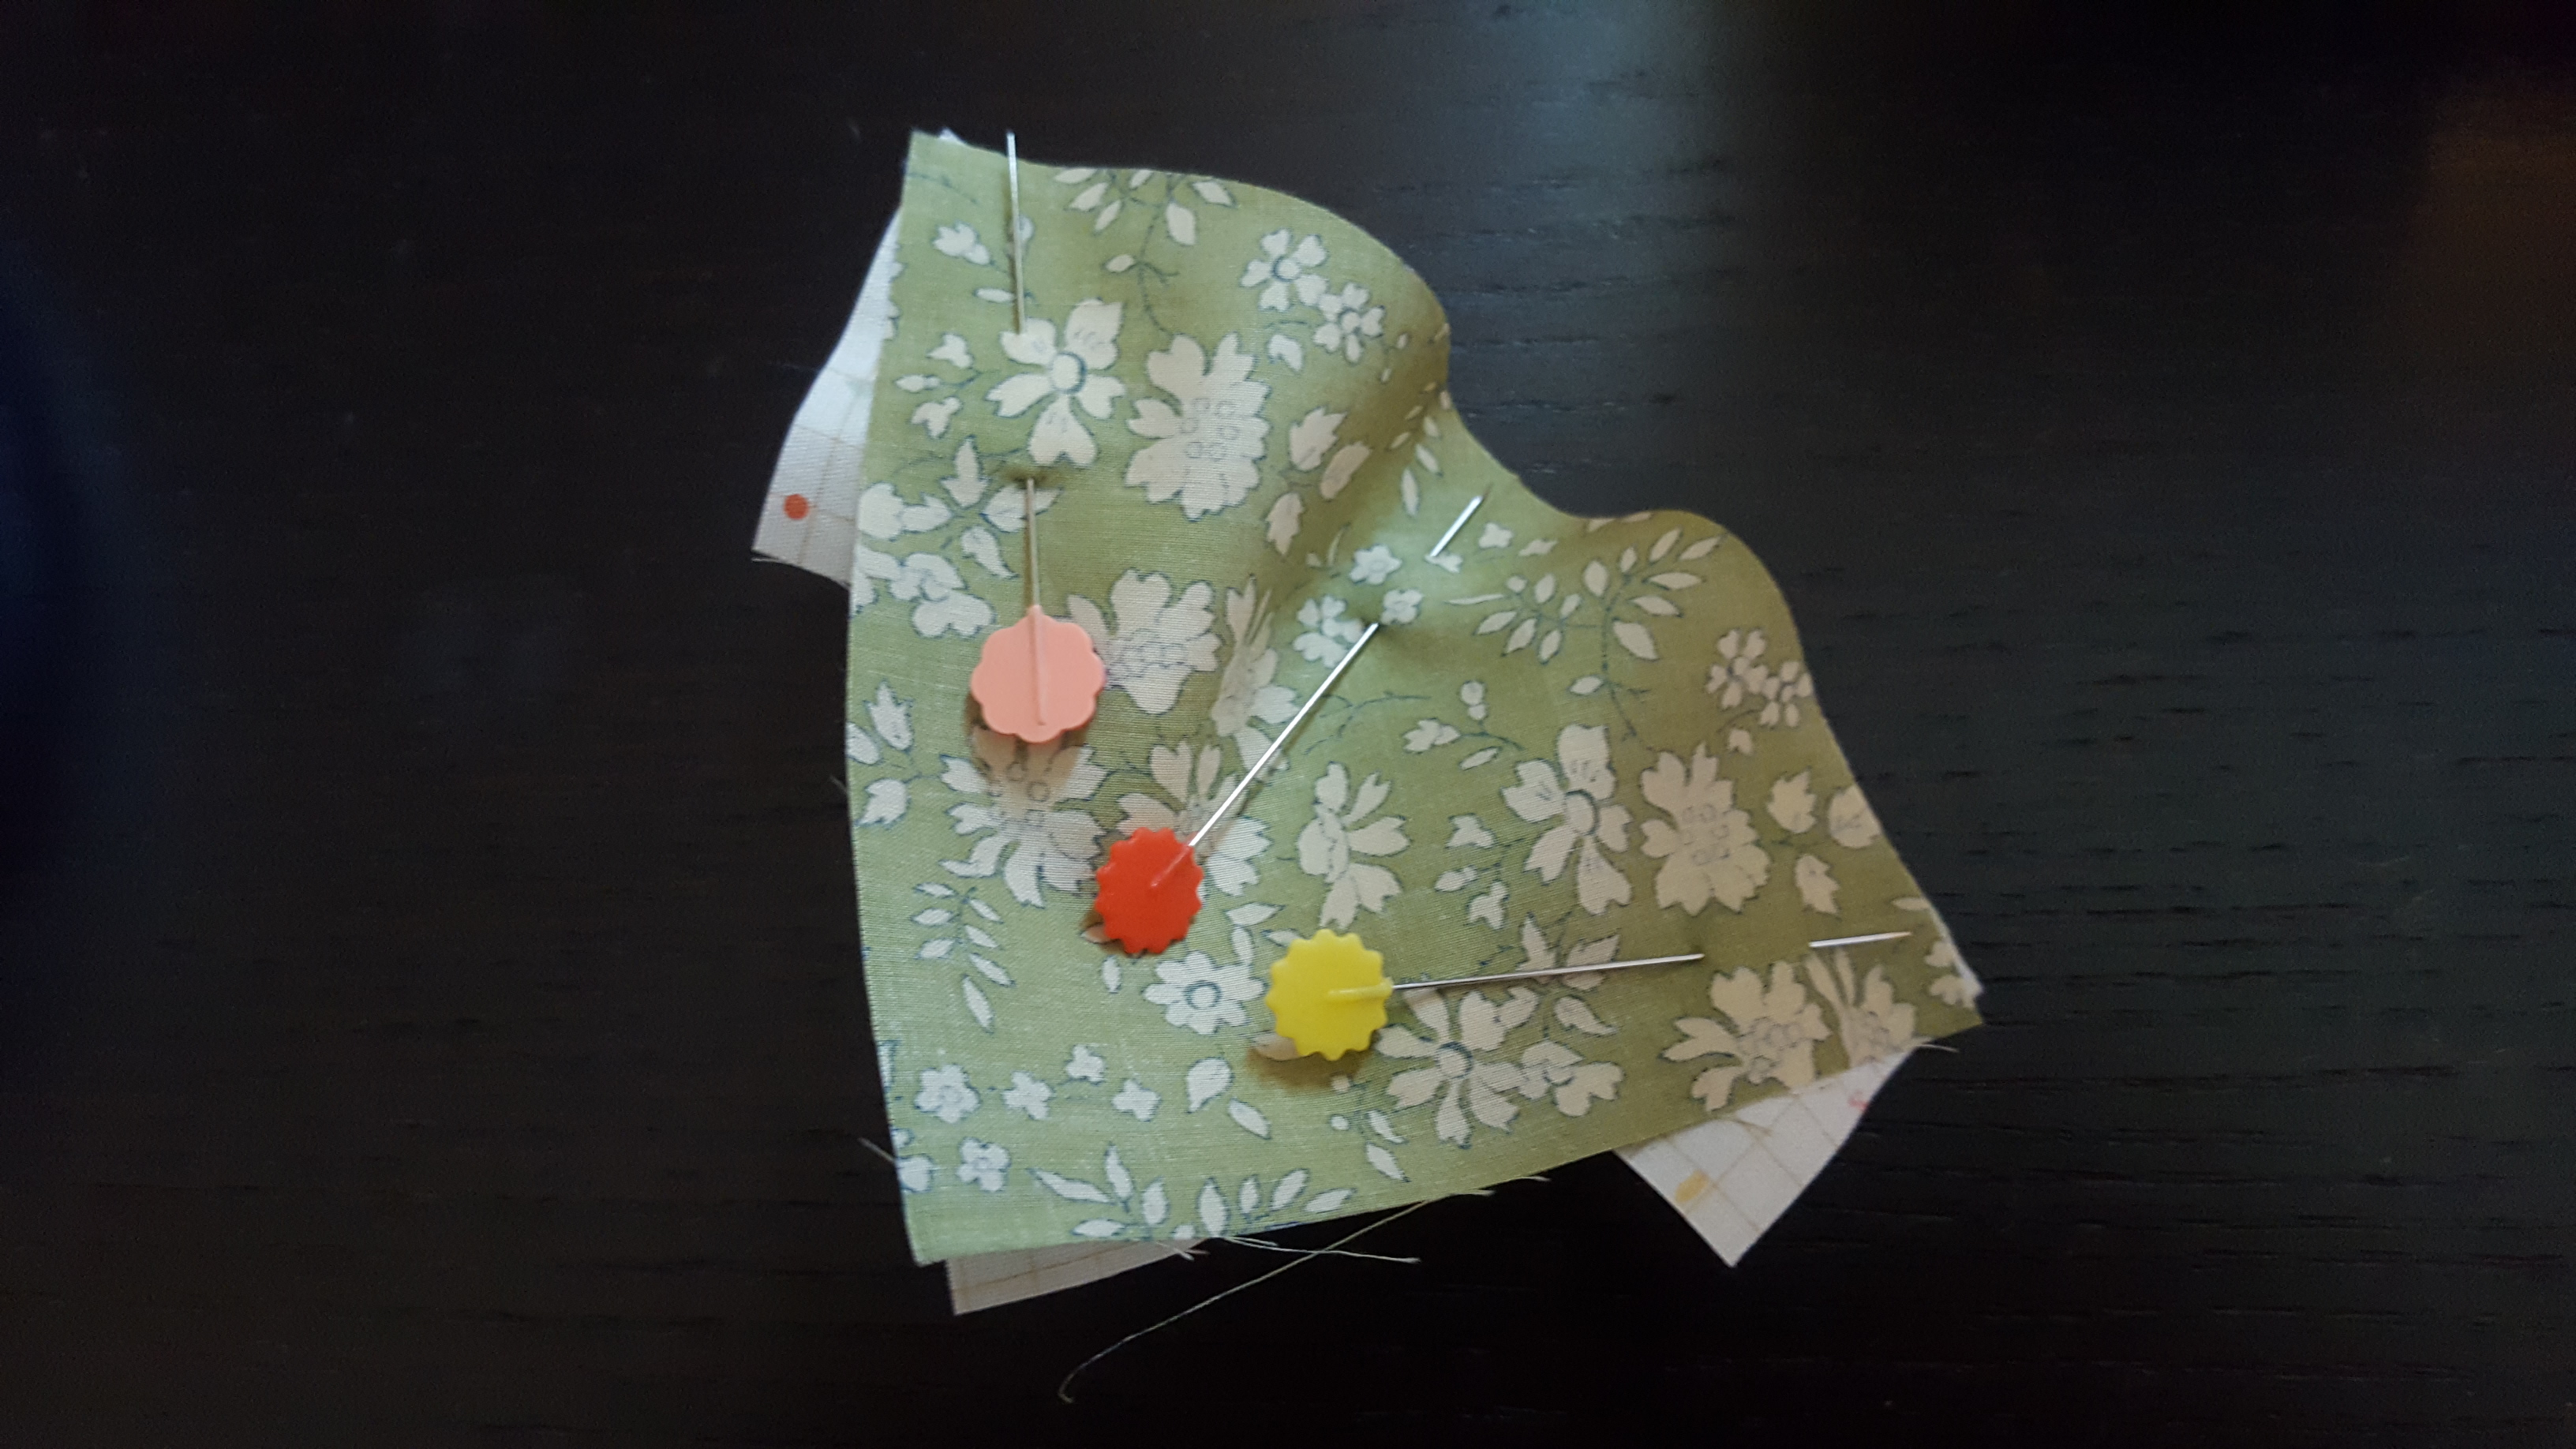
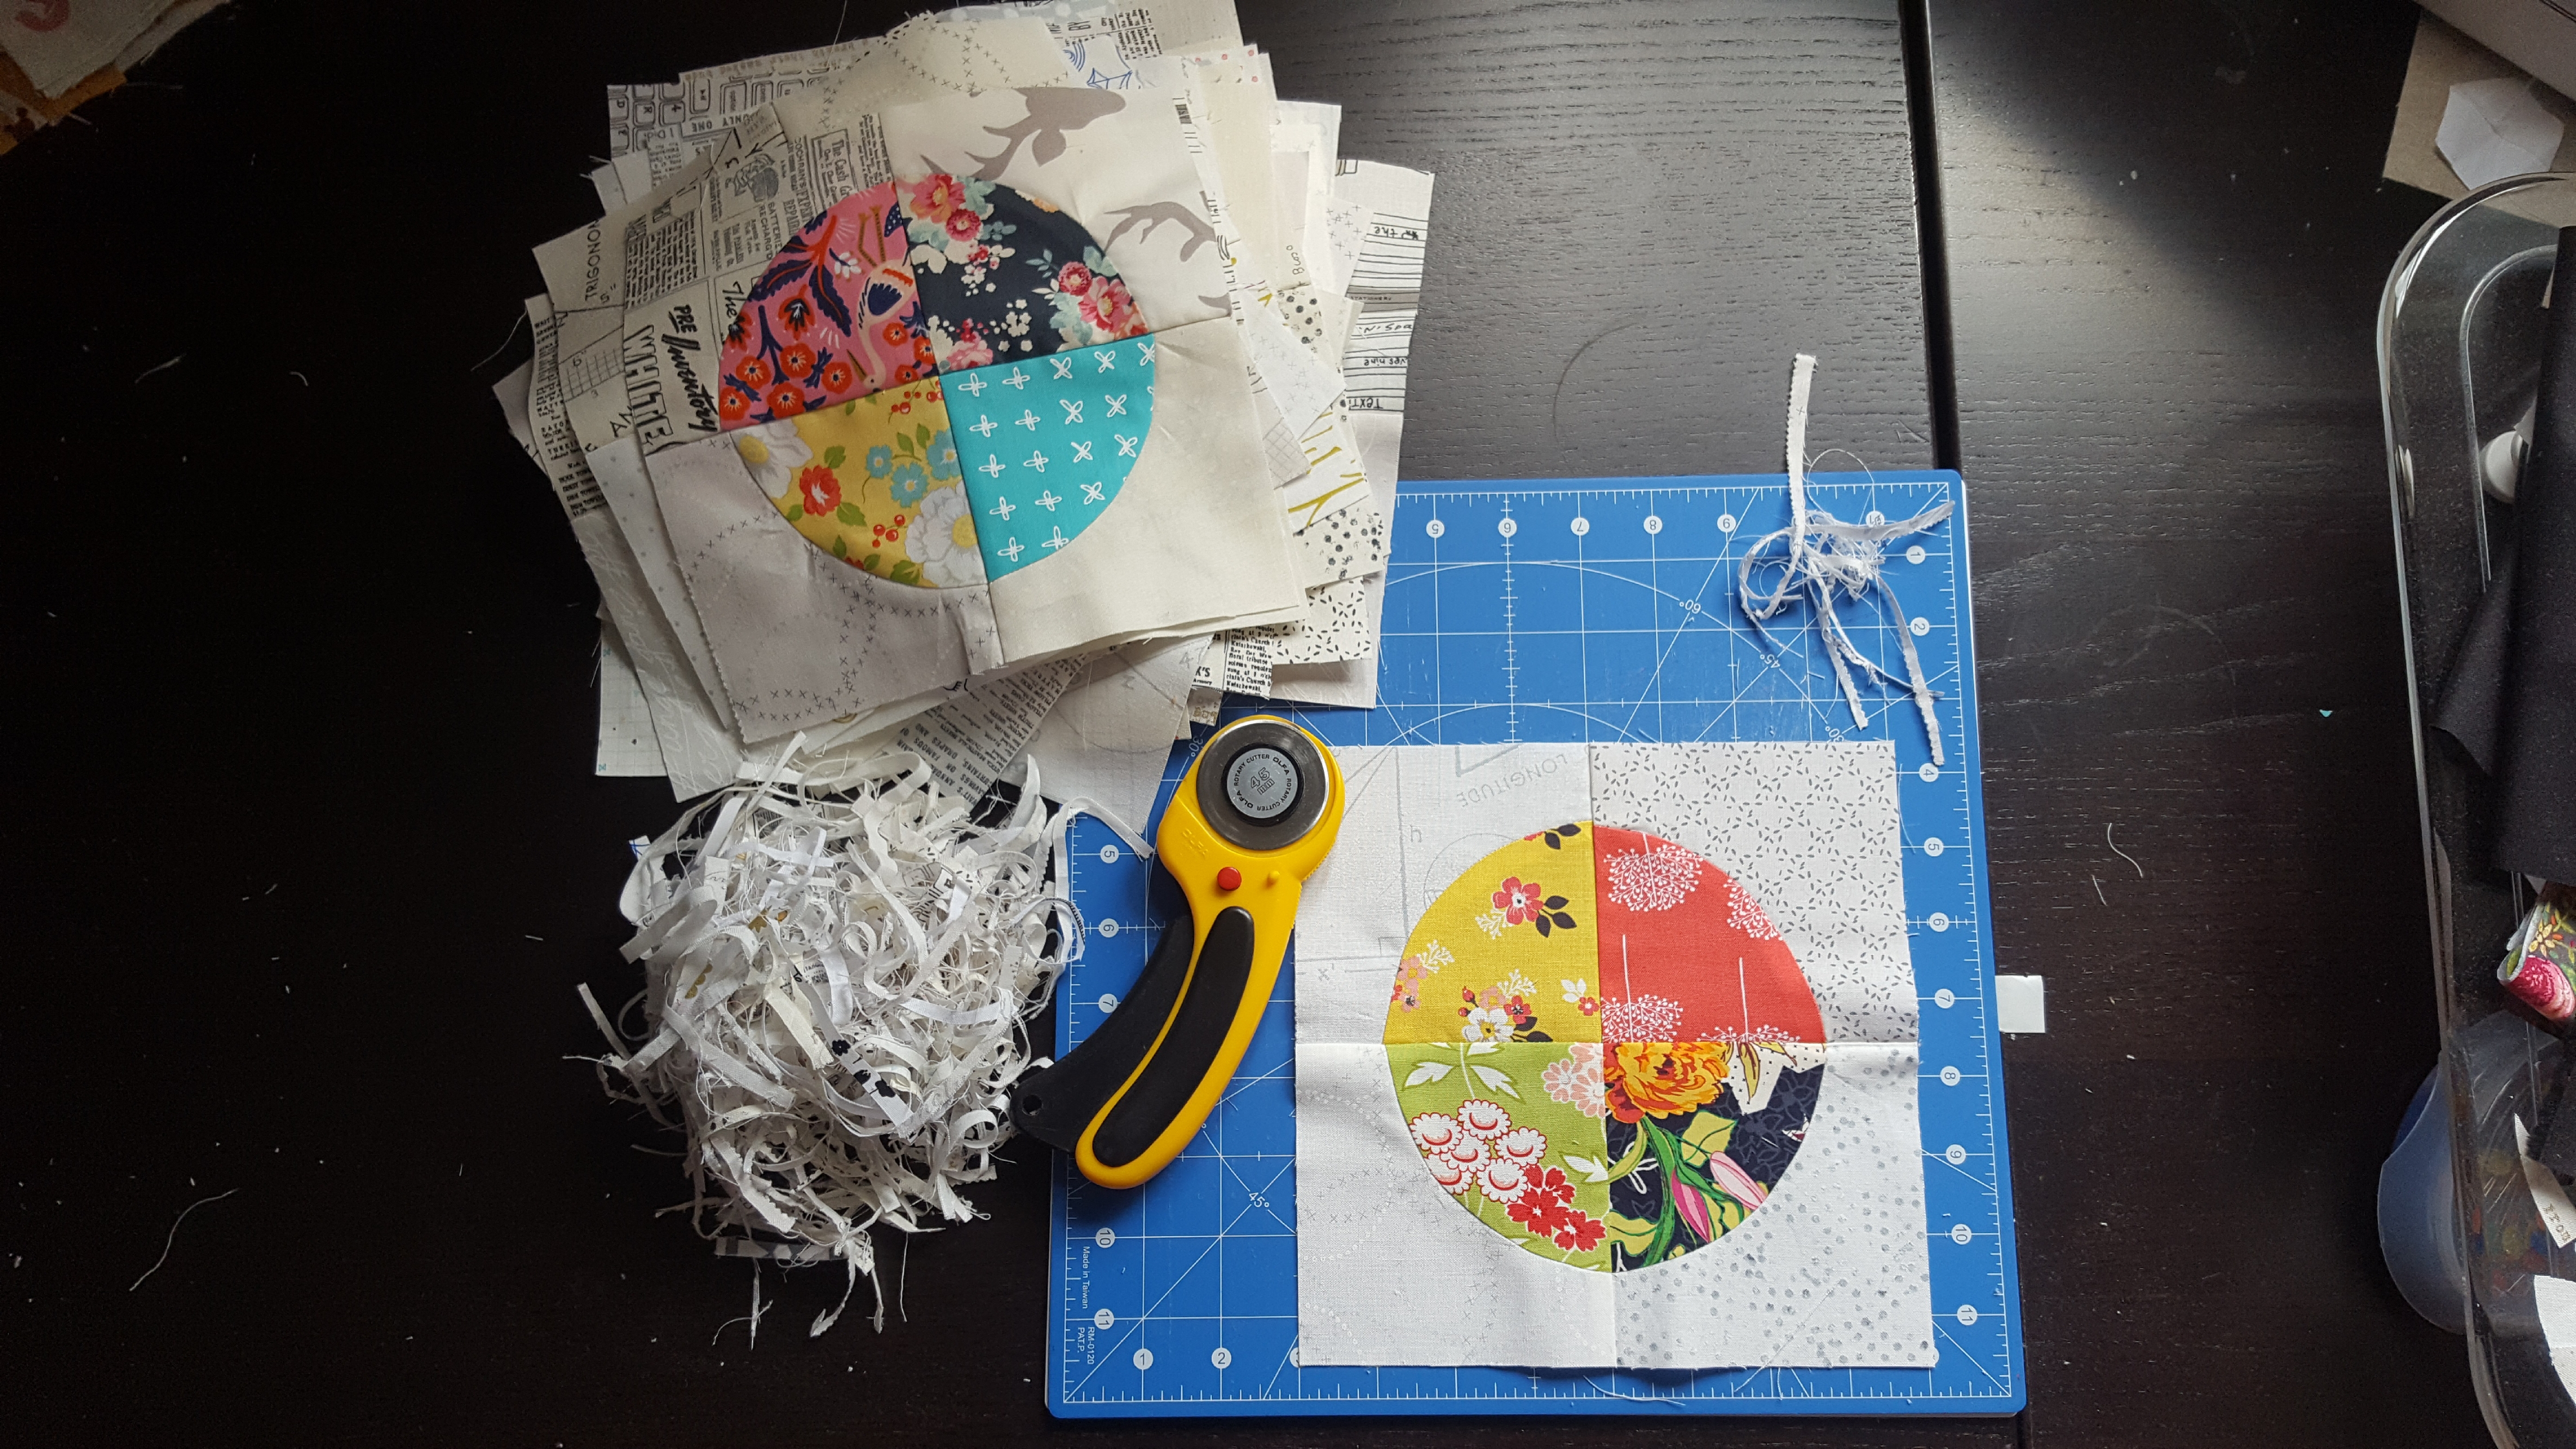
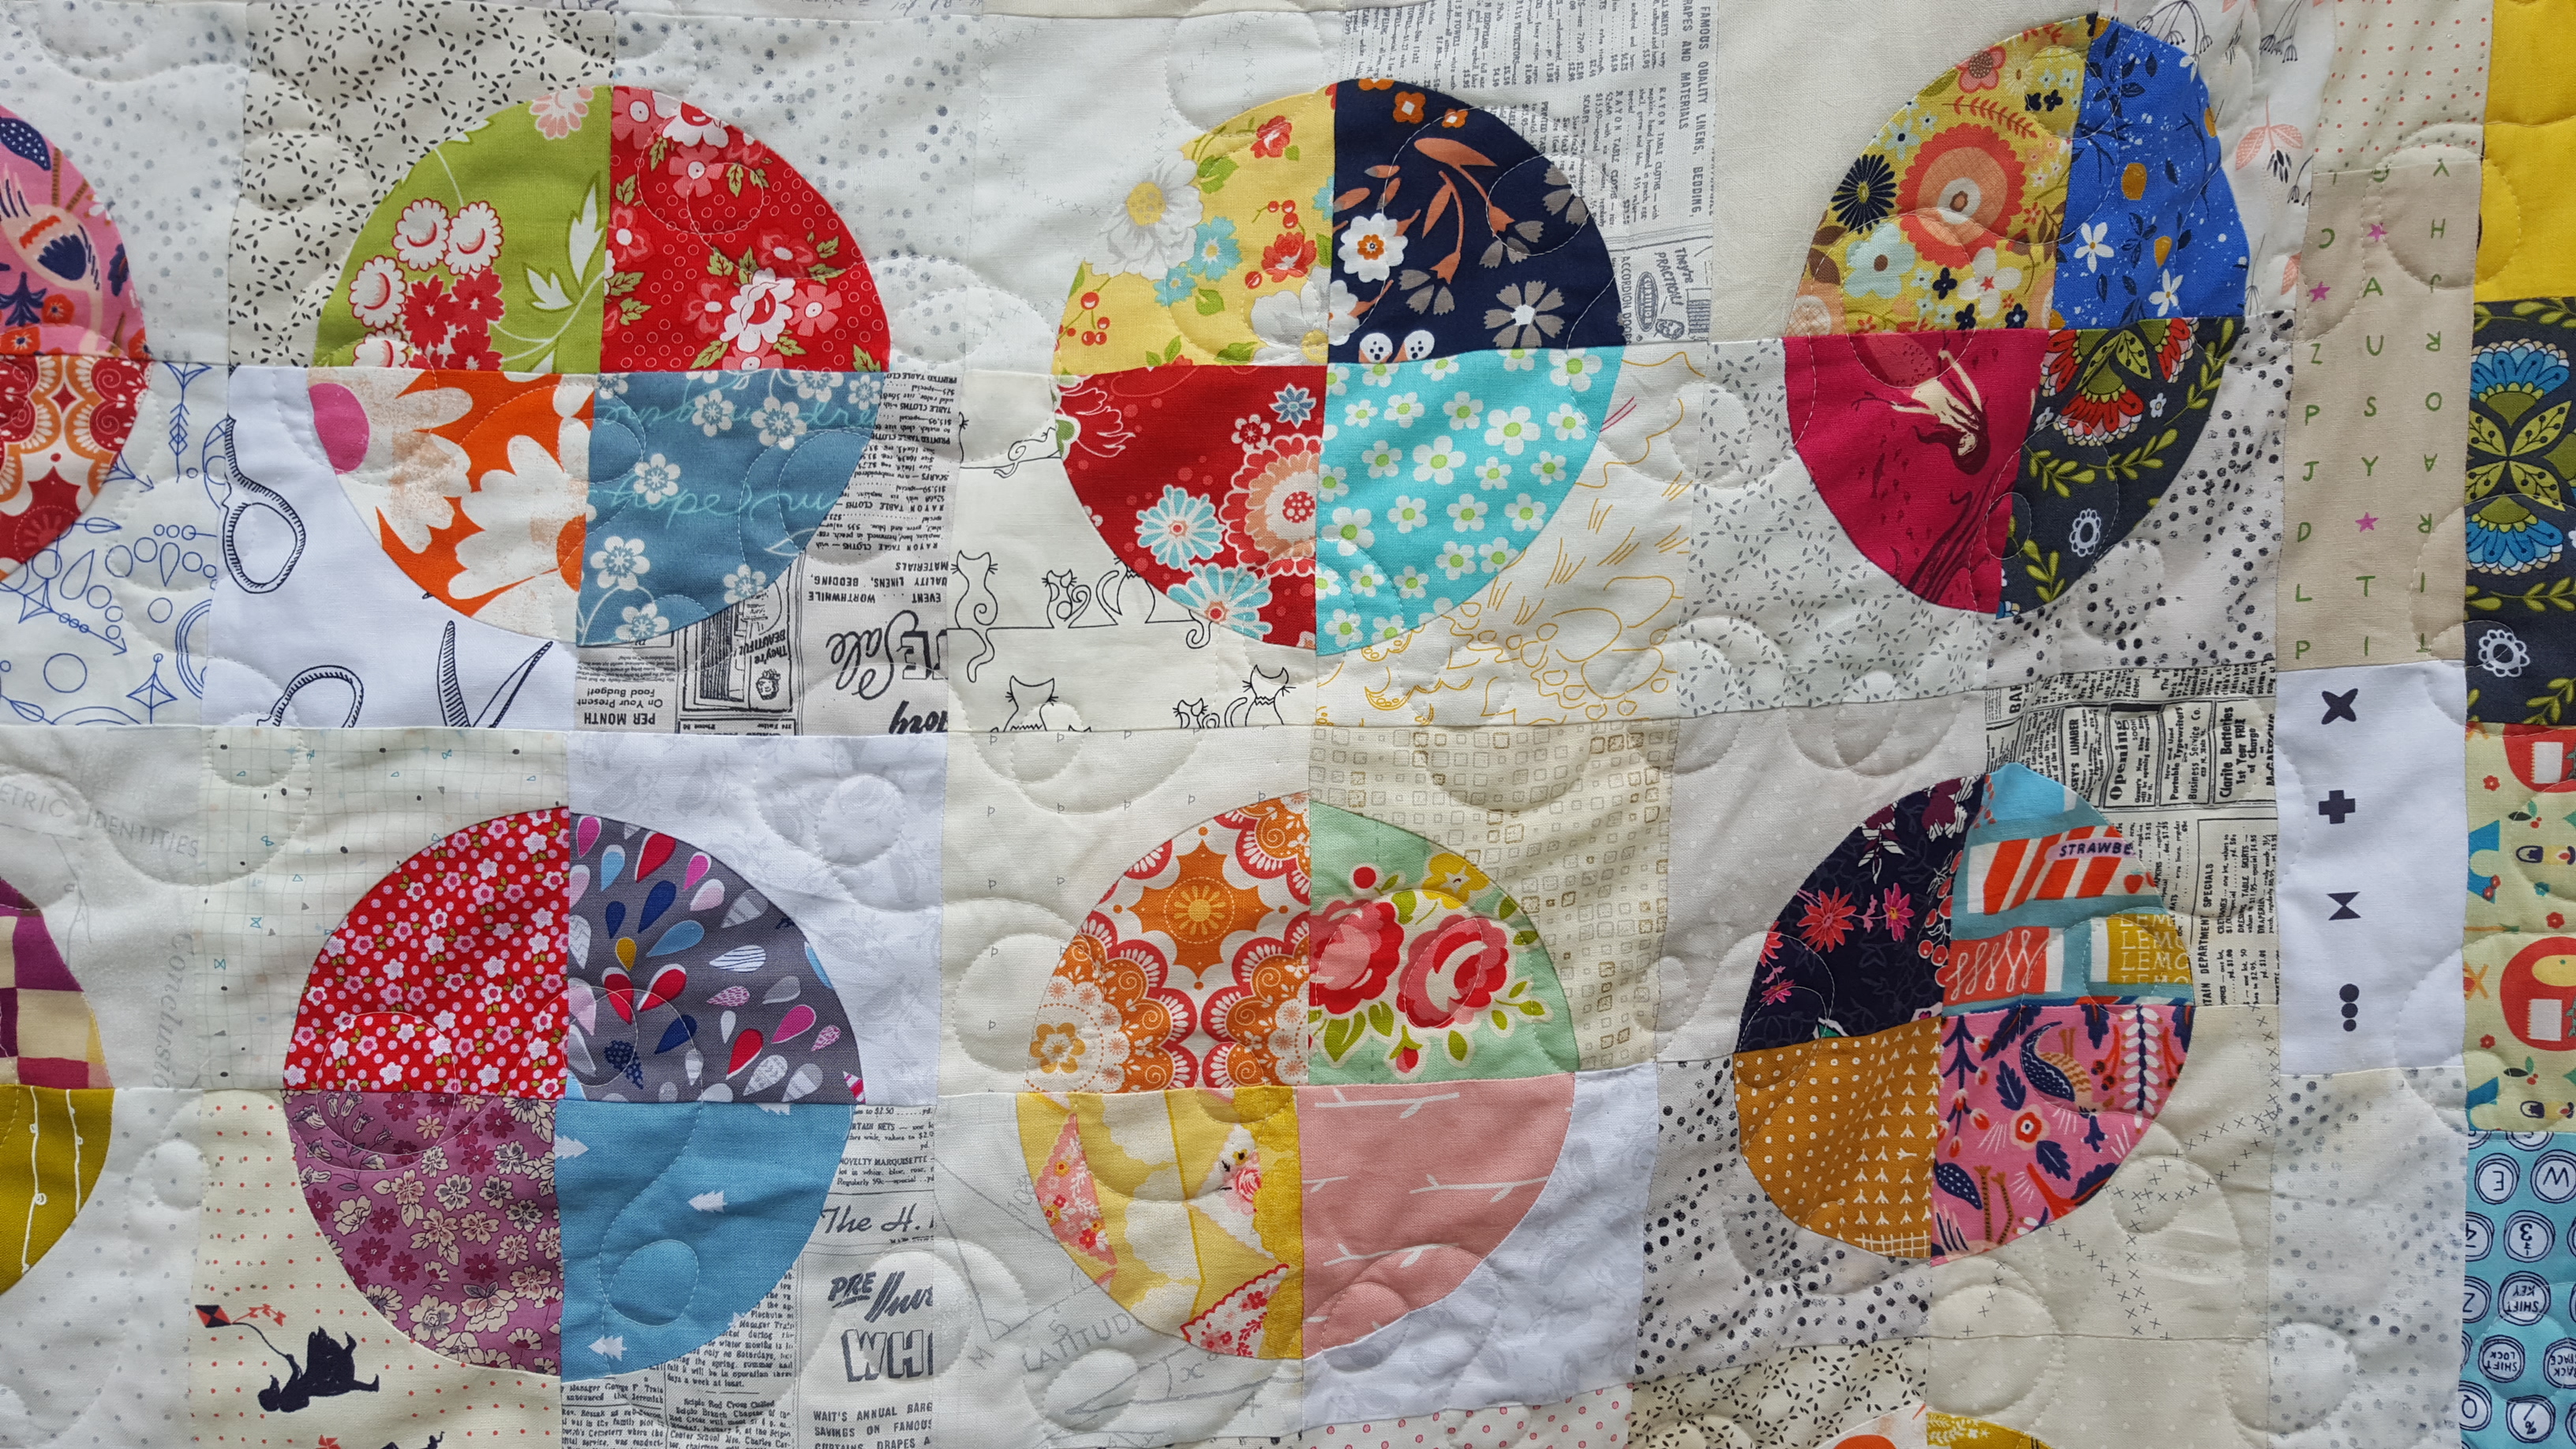
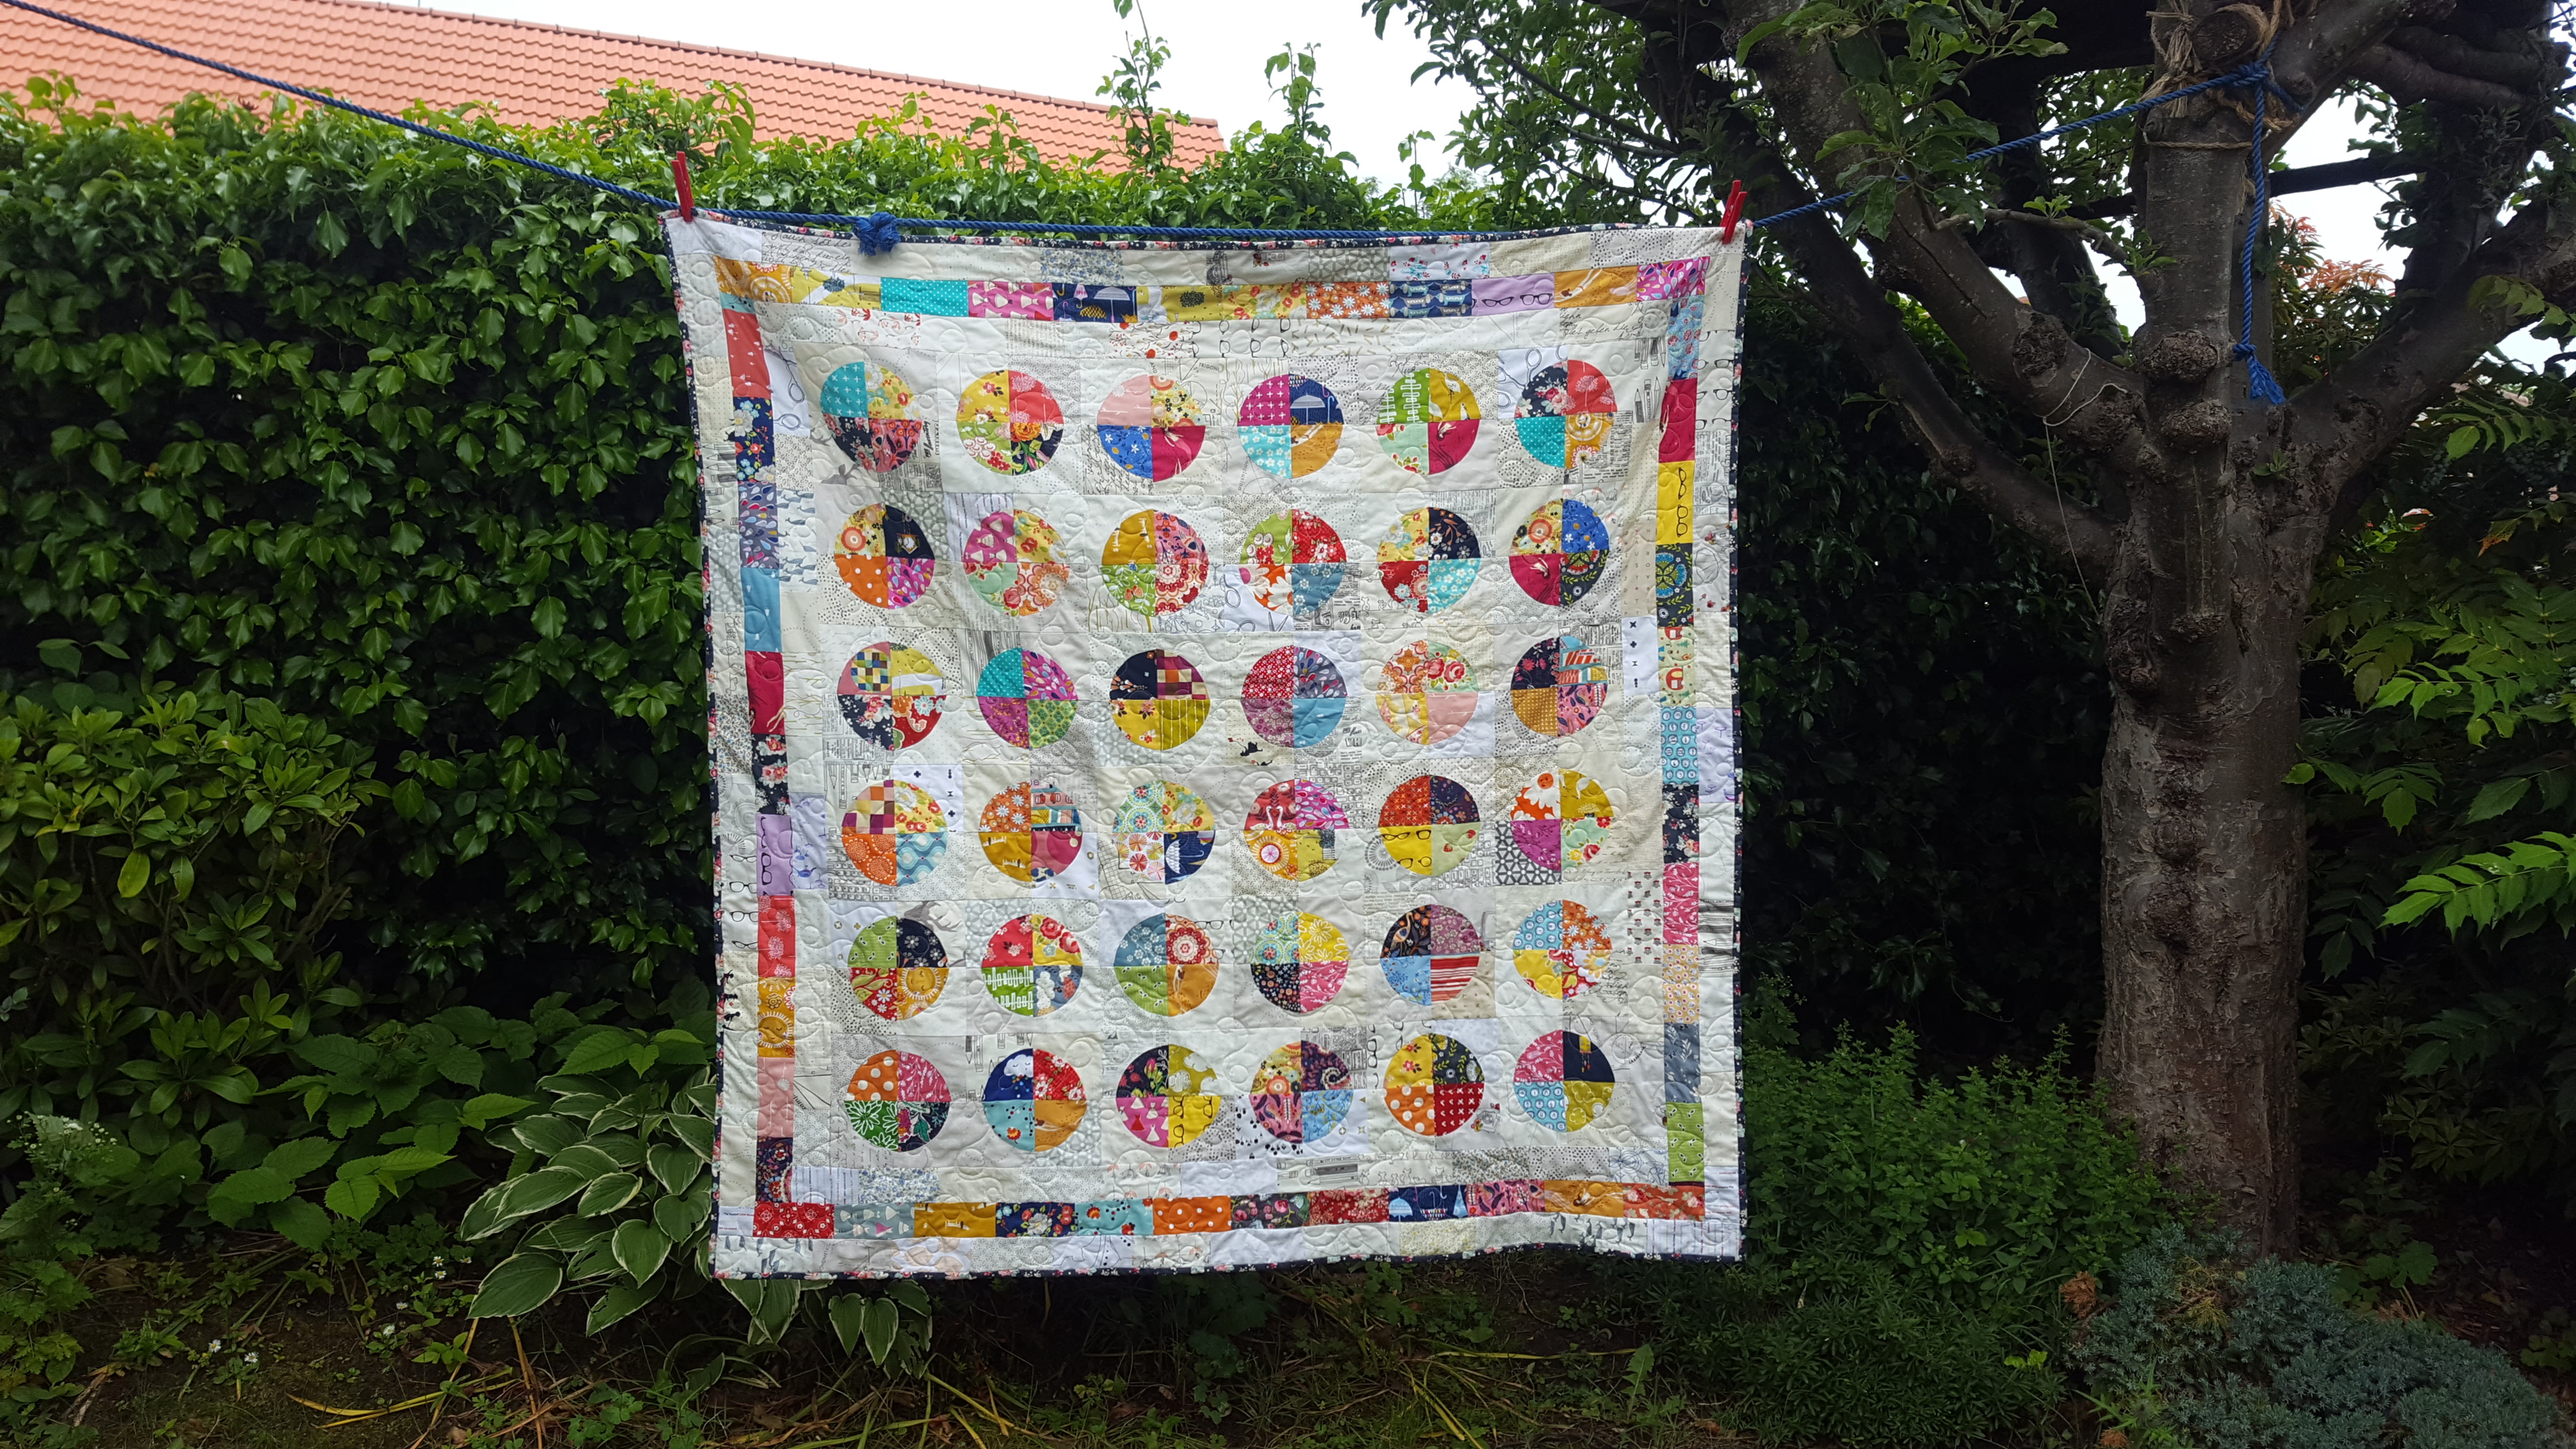
Look what I made from the book! This is all handstitched English paper piecing which she explains well. I used Suzuko Kokesi fabrics for a cool look. It was so easy and relaxing to make, and came together surpisingly quickly. The only thing I did differently from Elise is that I stitch-basted all my pieces rather than use glue.
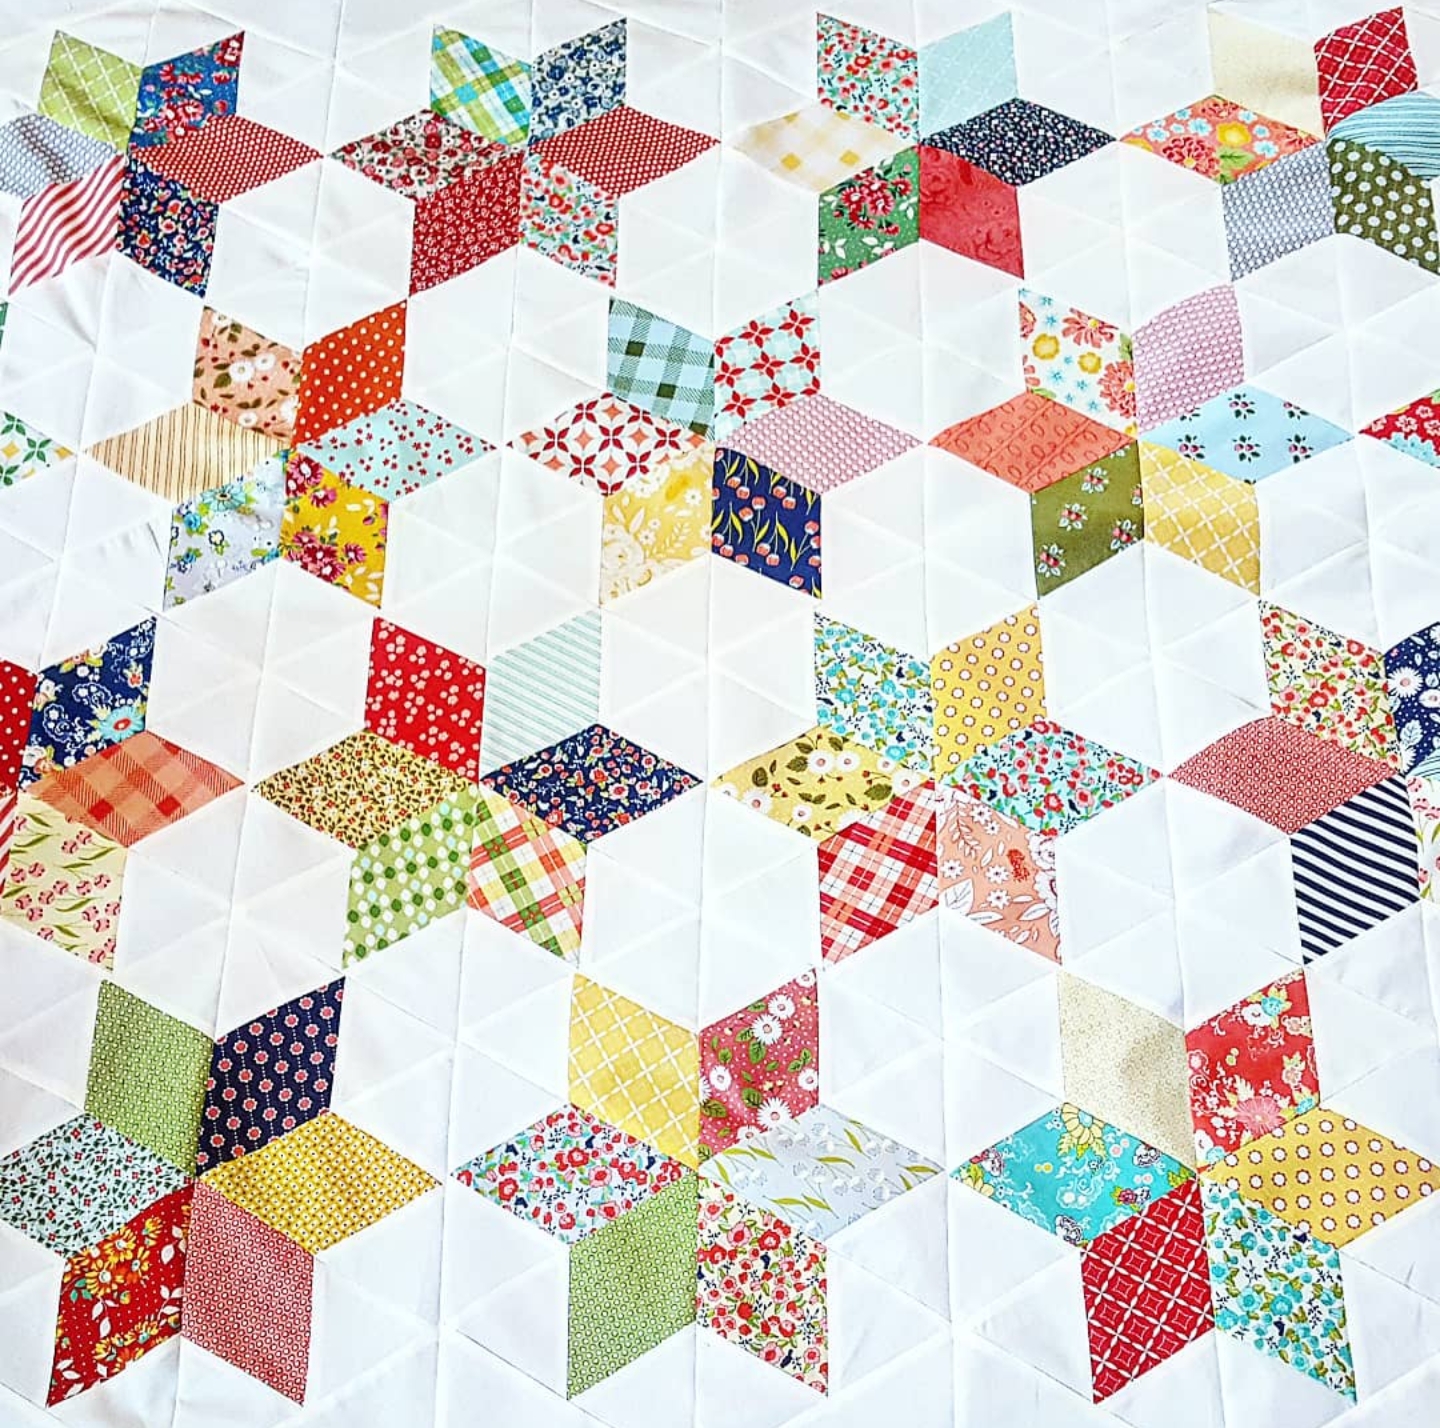
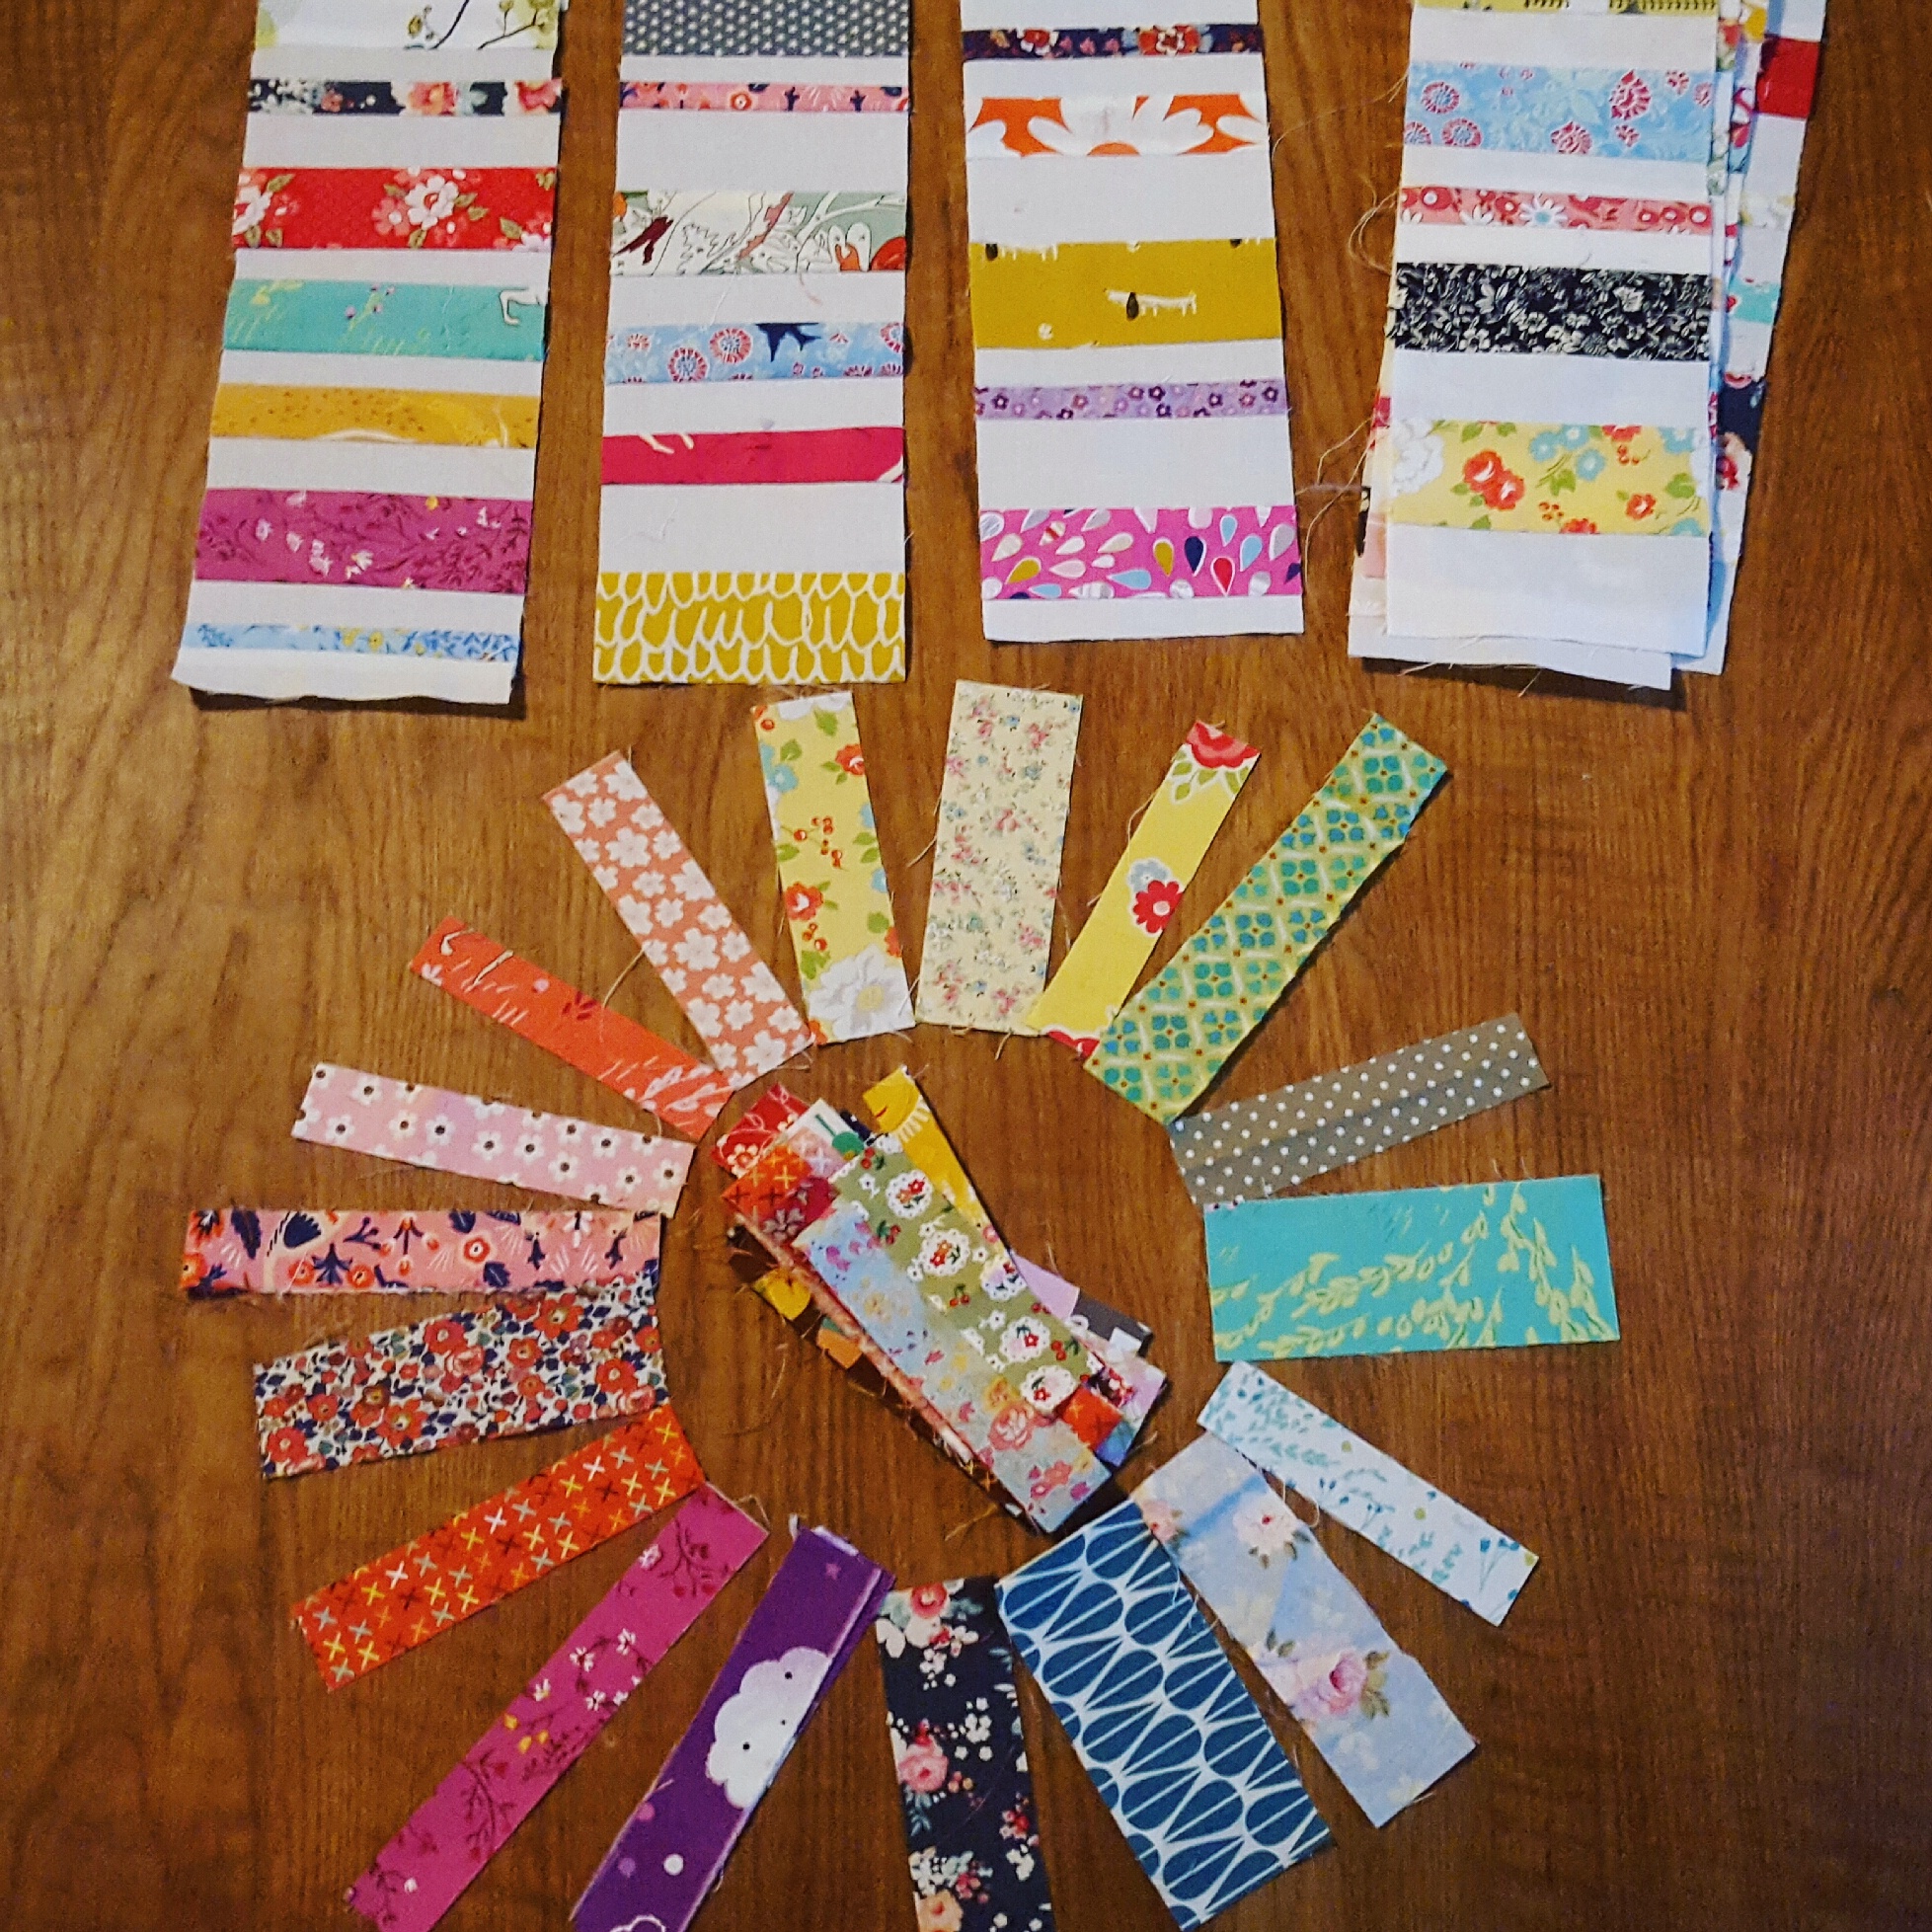
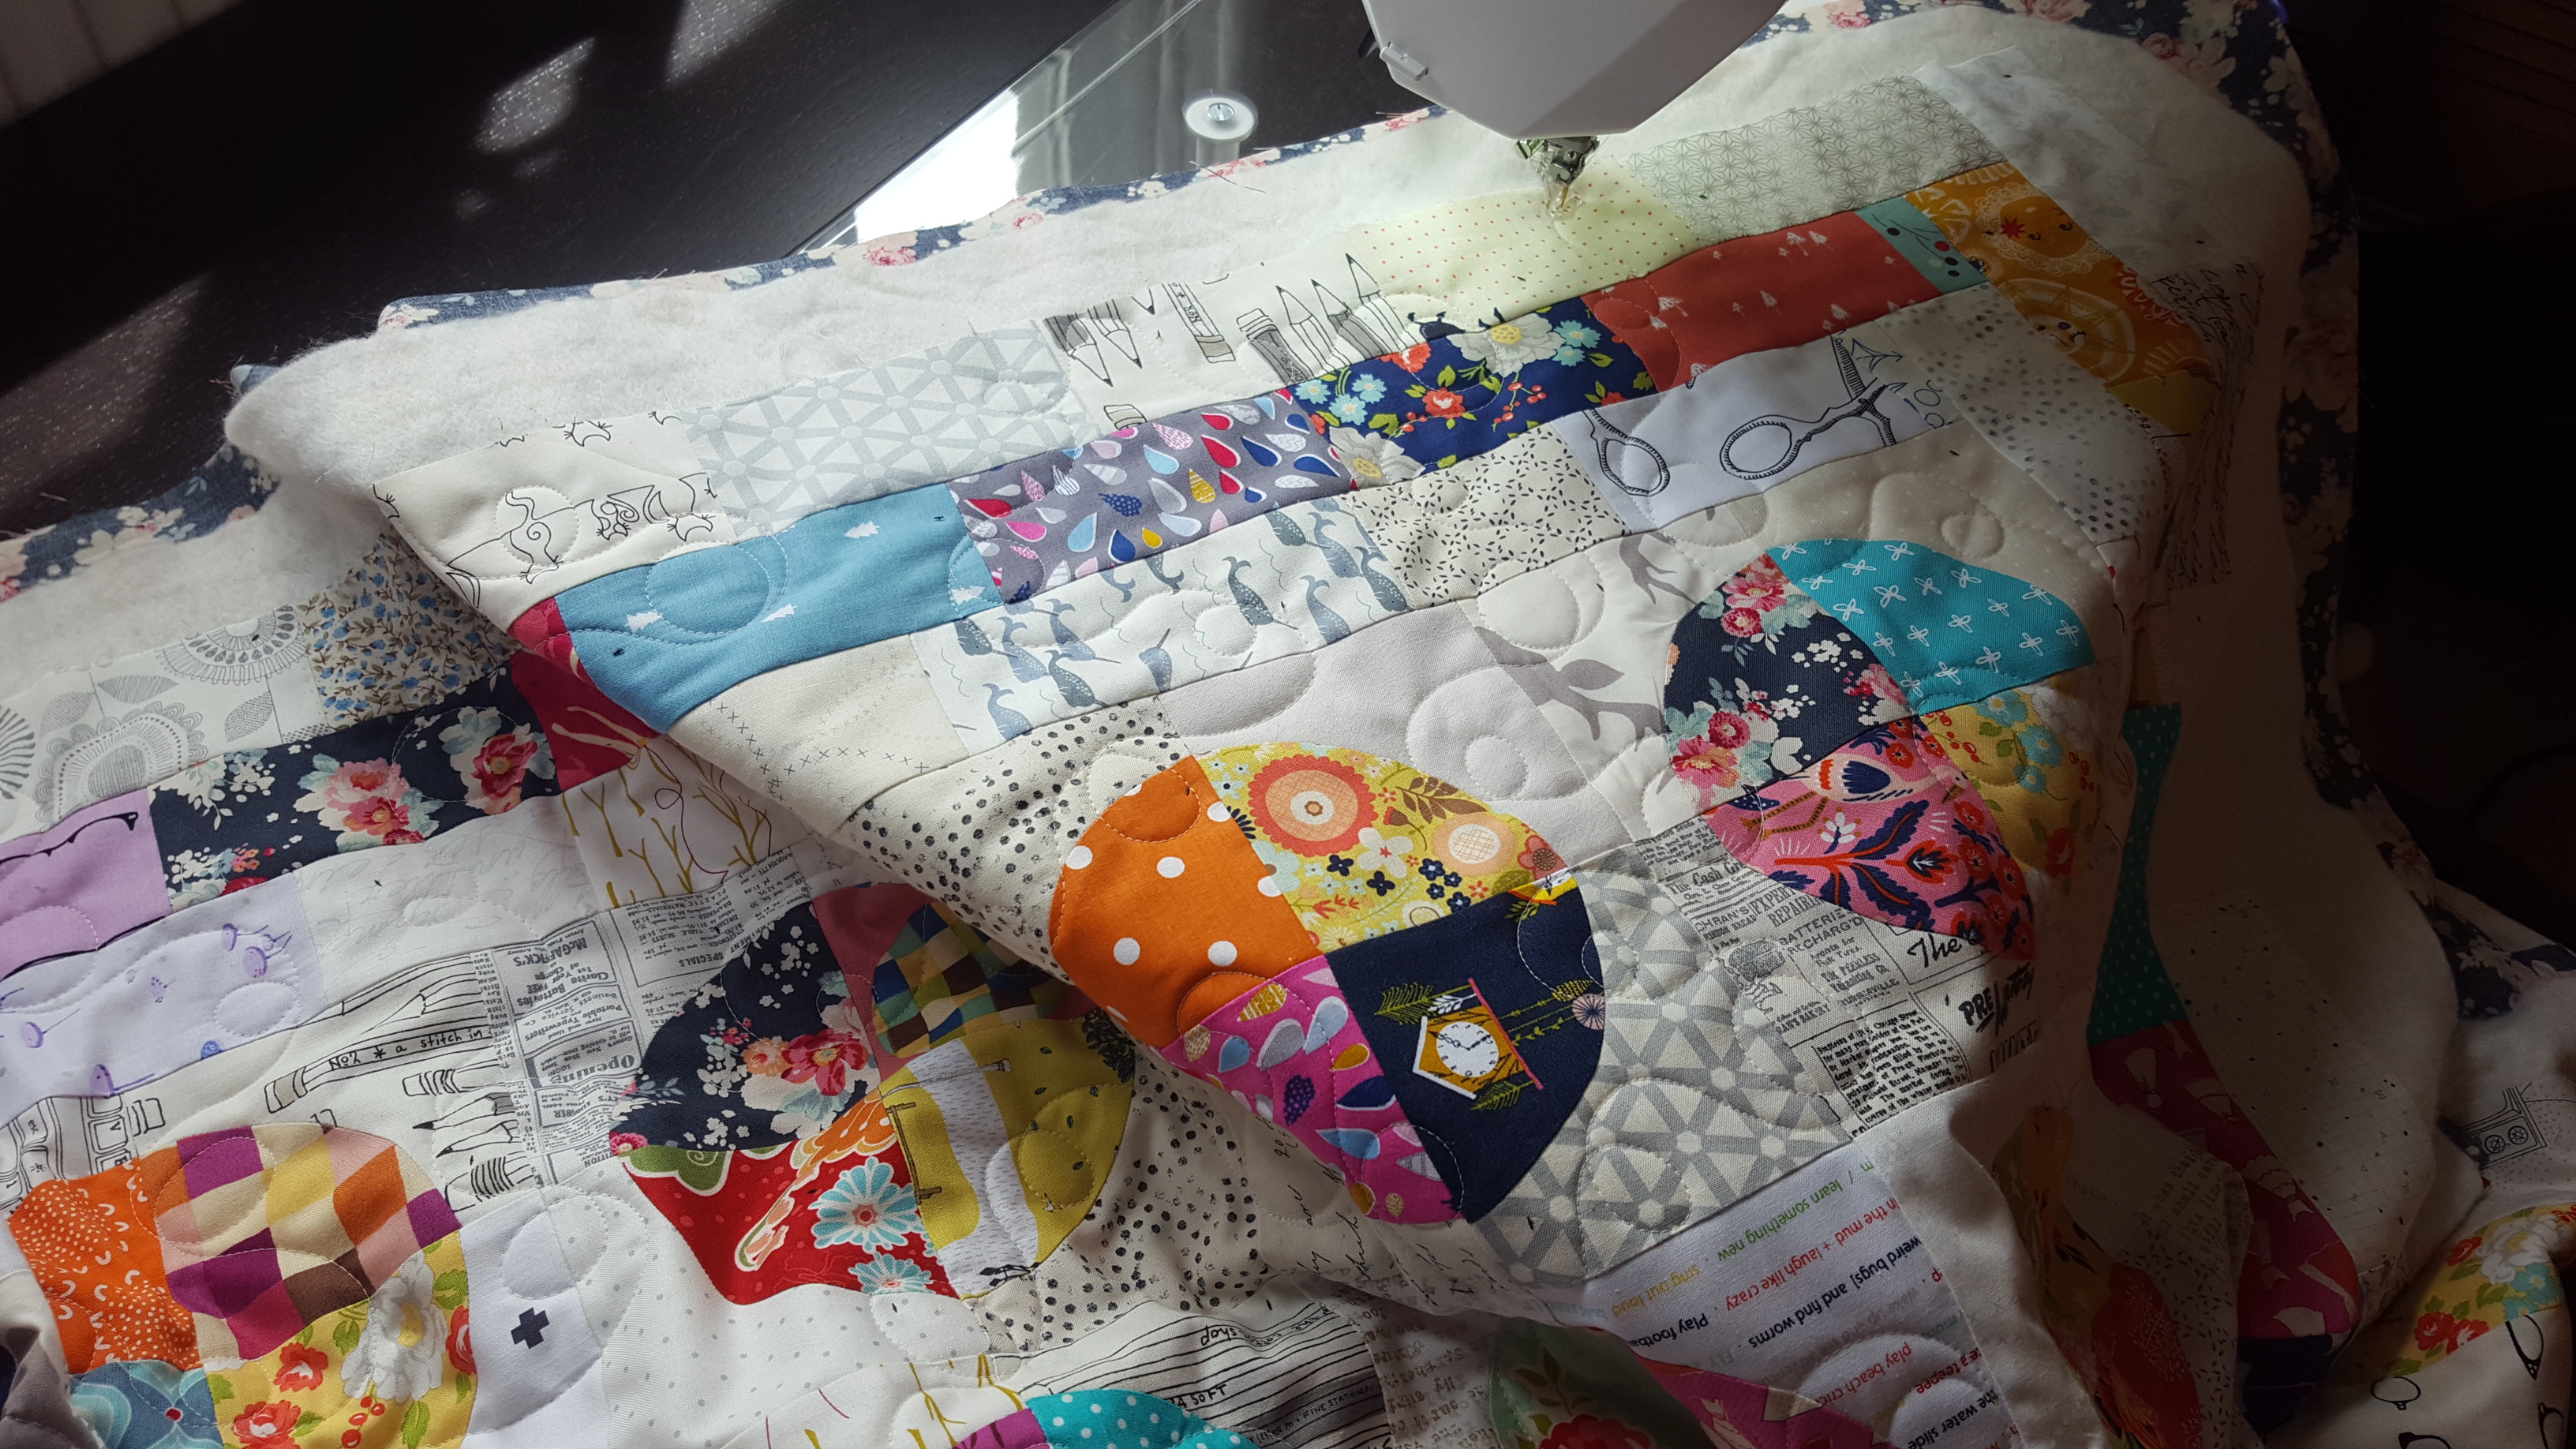
So I got this far and decided to go off-piste. Because I have a lot of cushions, but what I’m using most is big bags. I have 2 I’ve made, one of which houses all my guitar/ music stuff and the other my sewing stuff – I feel I need just one more for when I need to throw stuff in for an outing etc. I mean kids stuff obviously, how do such small creatures need so much stuff?

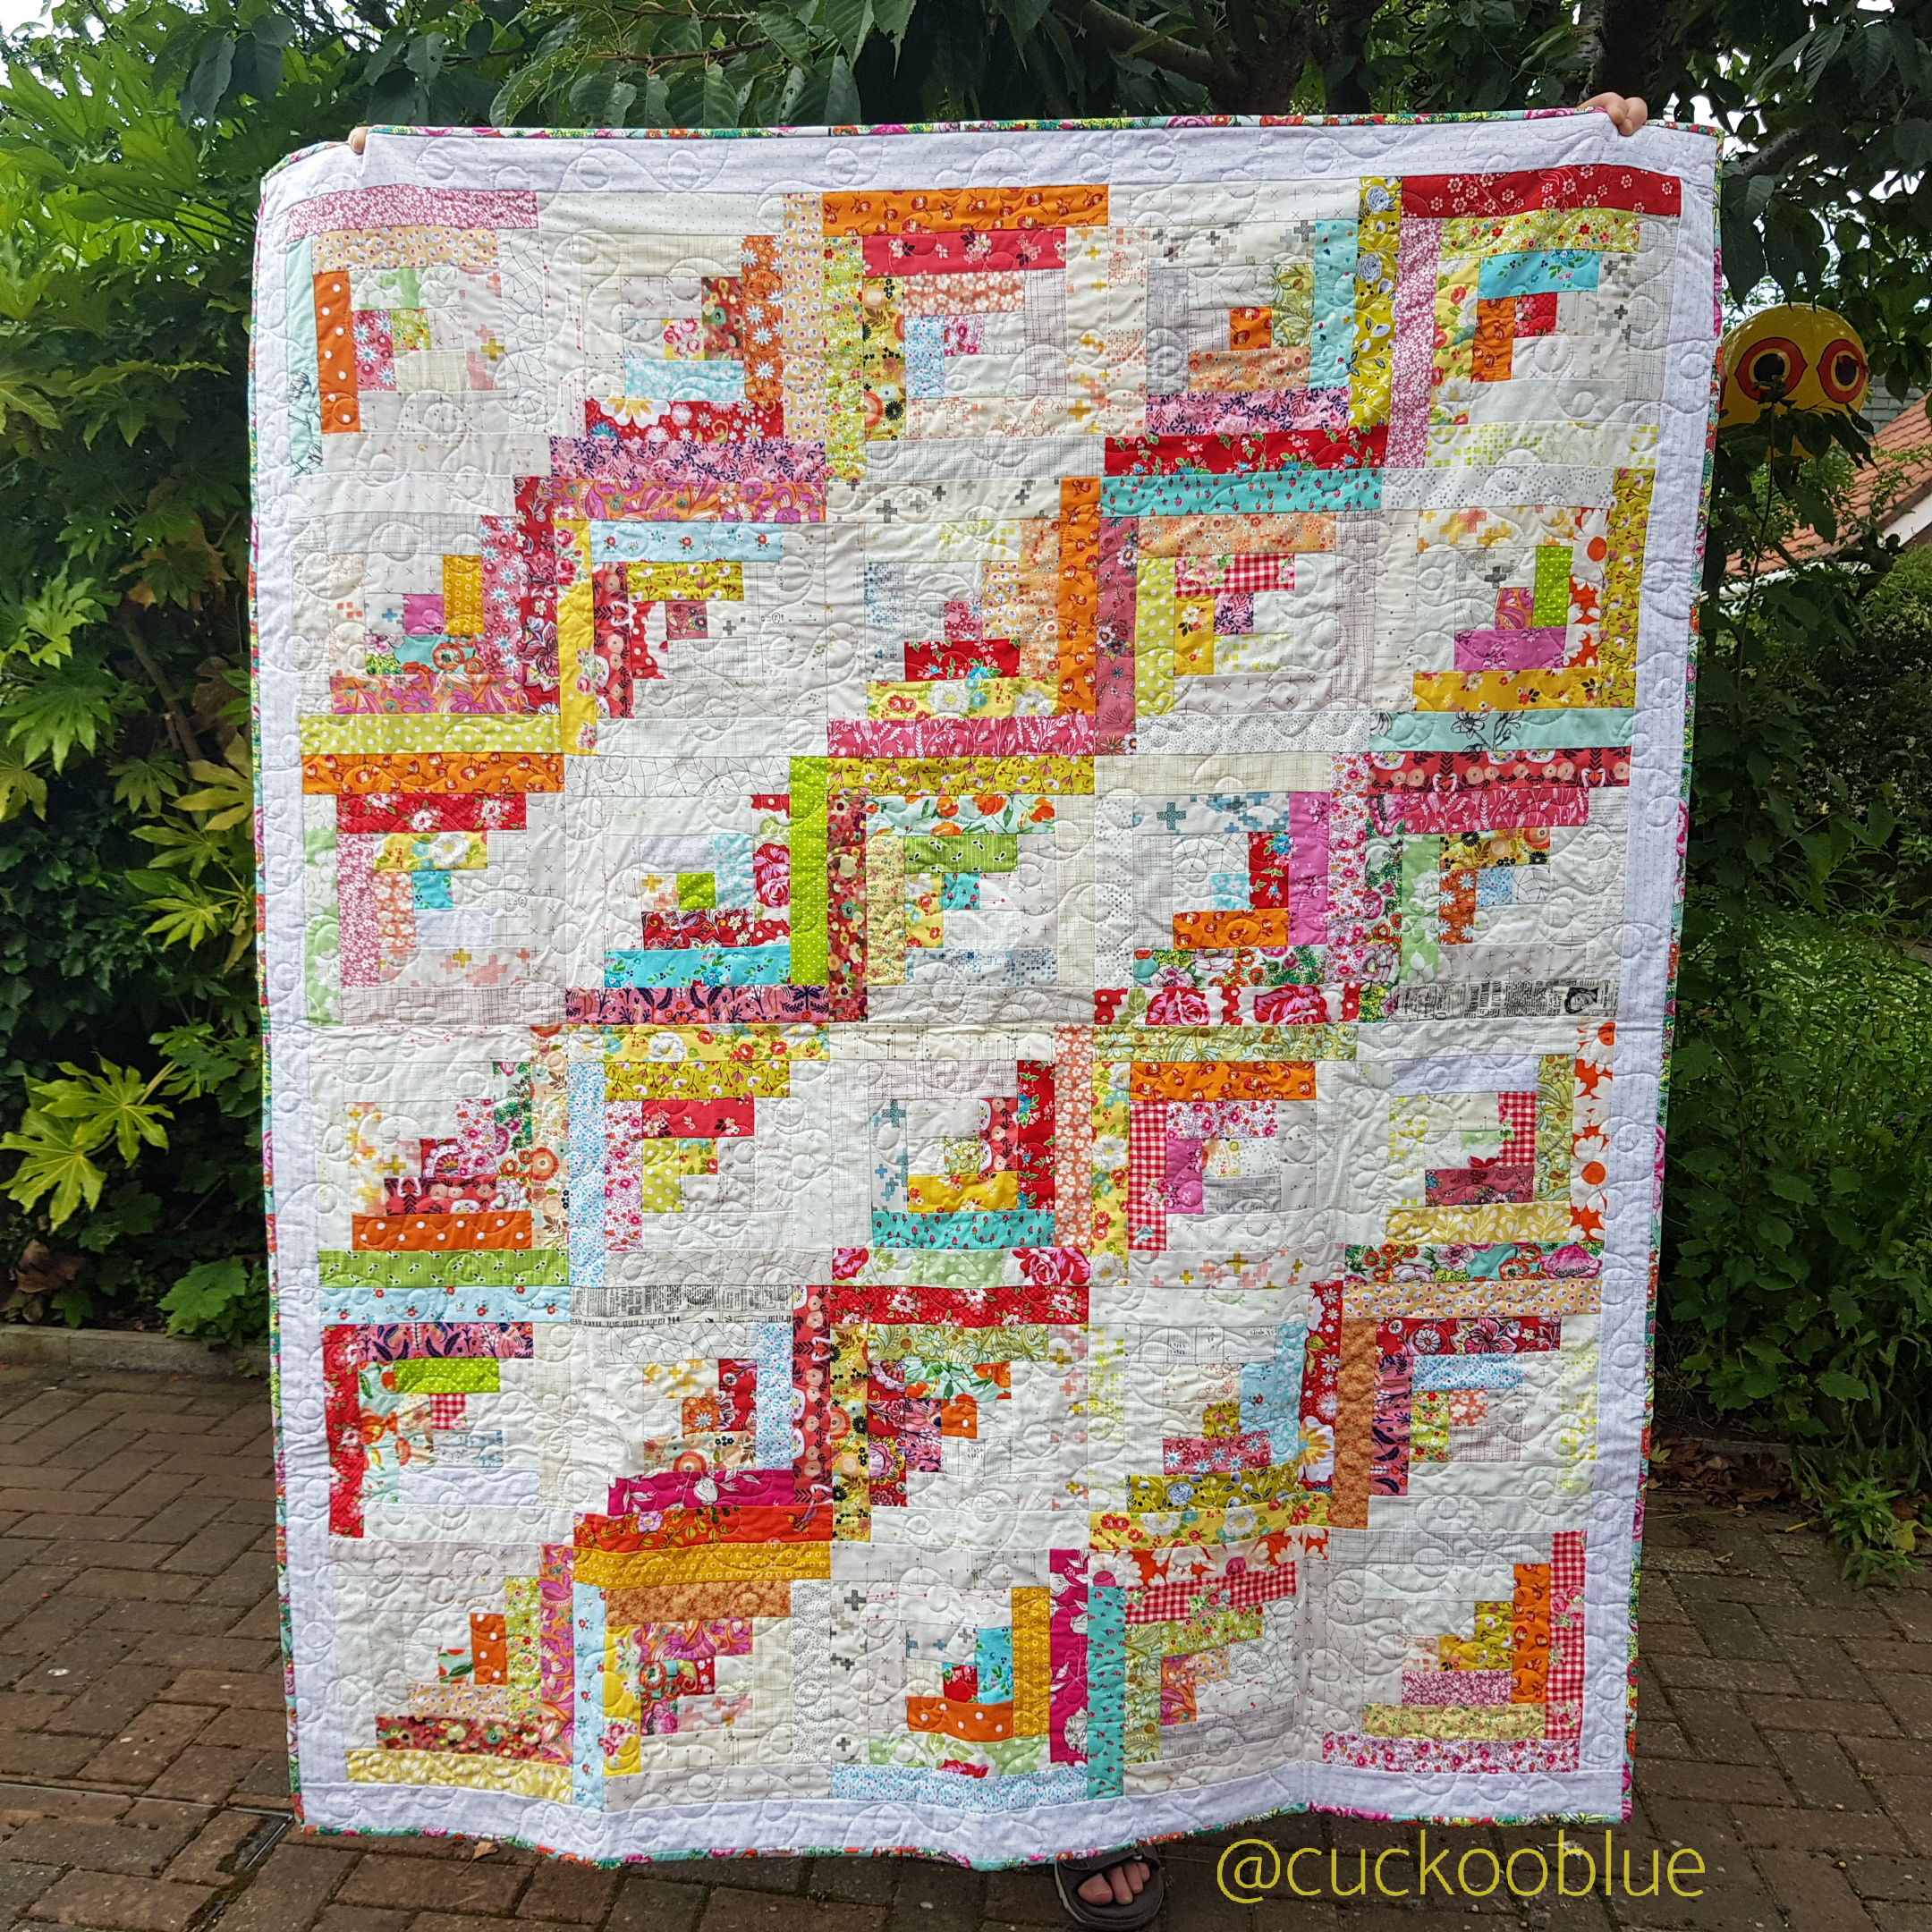
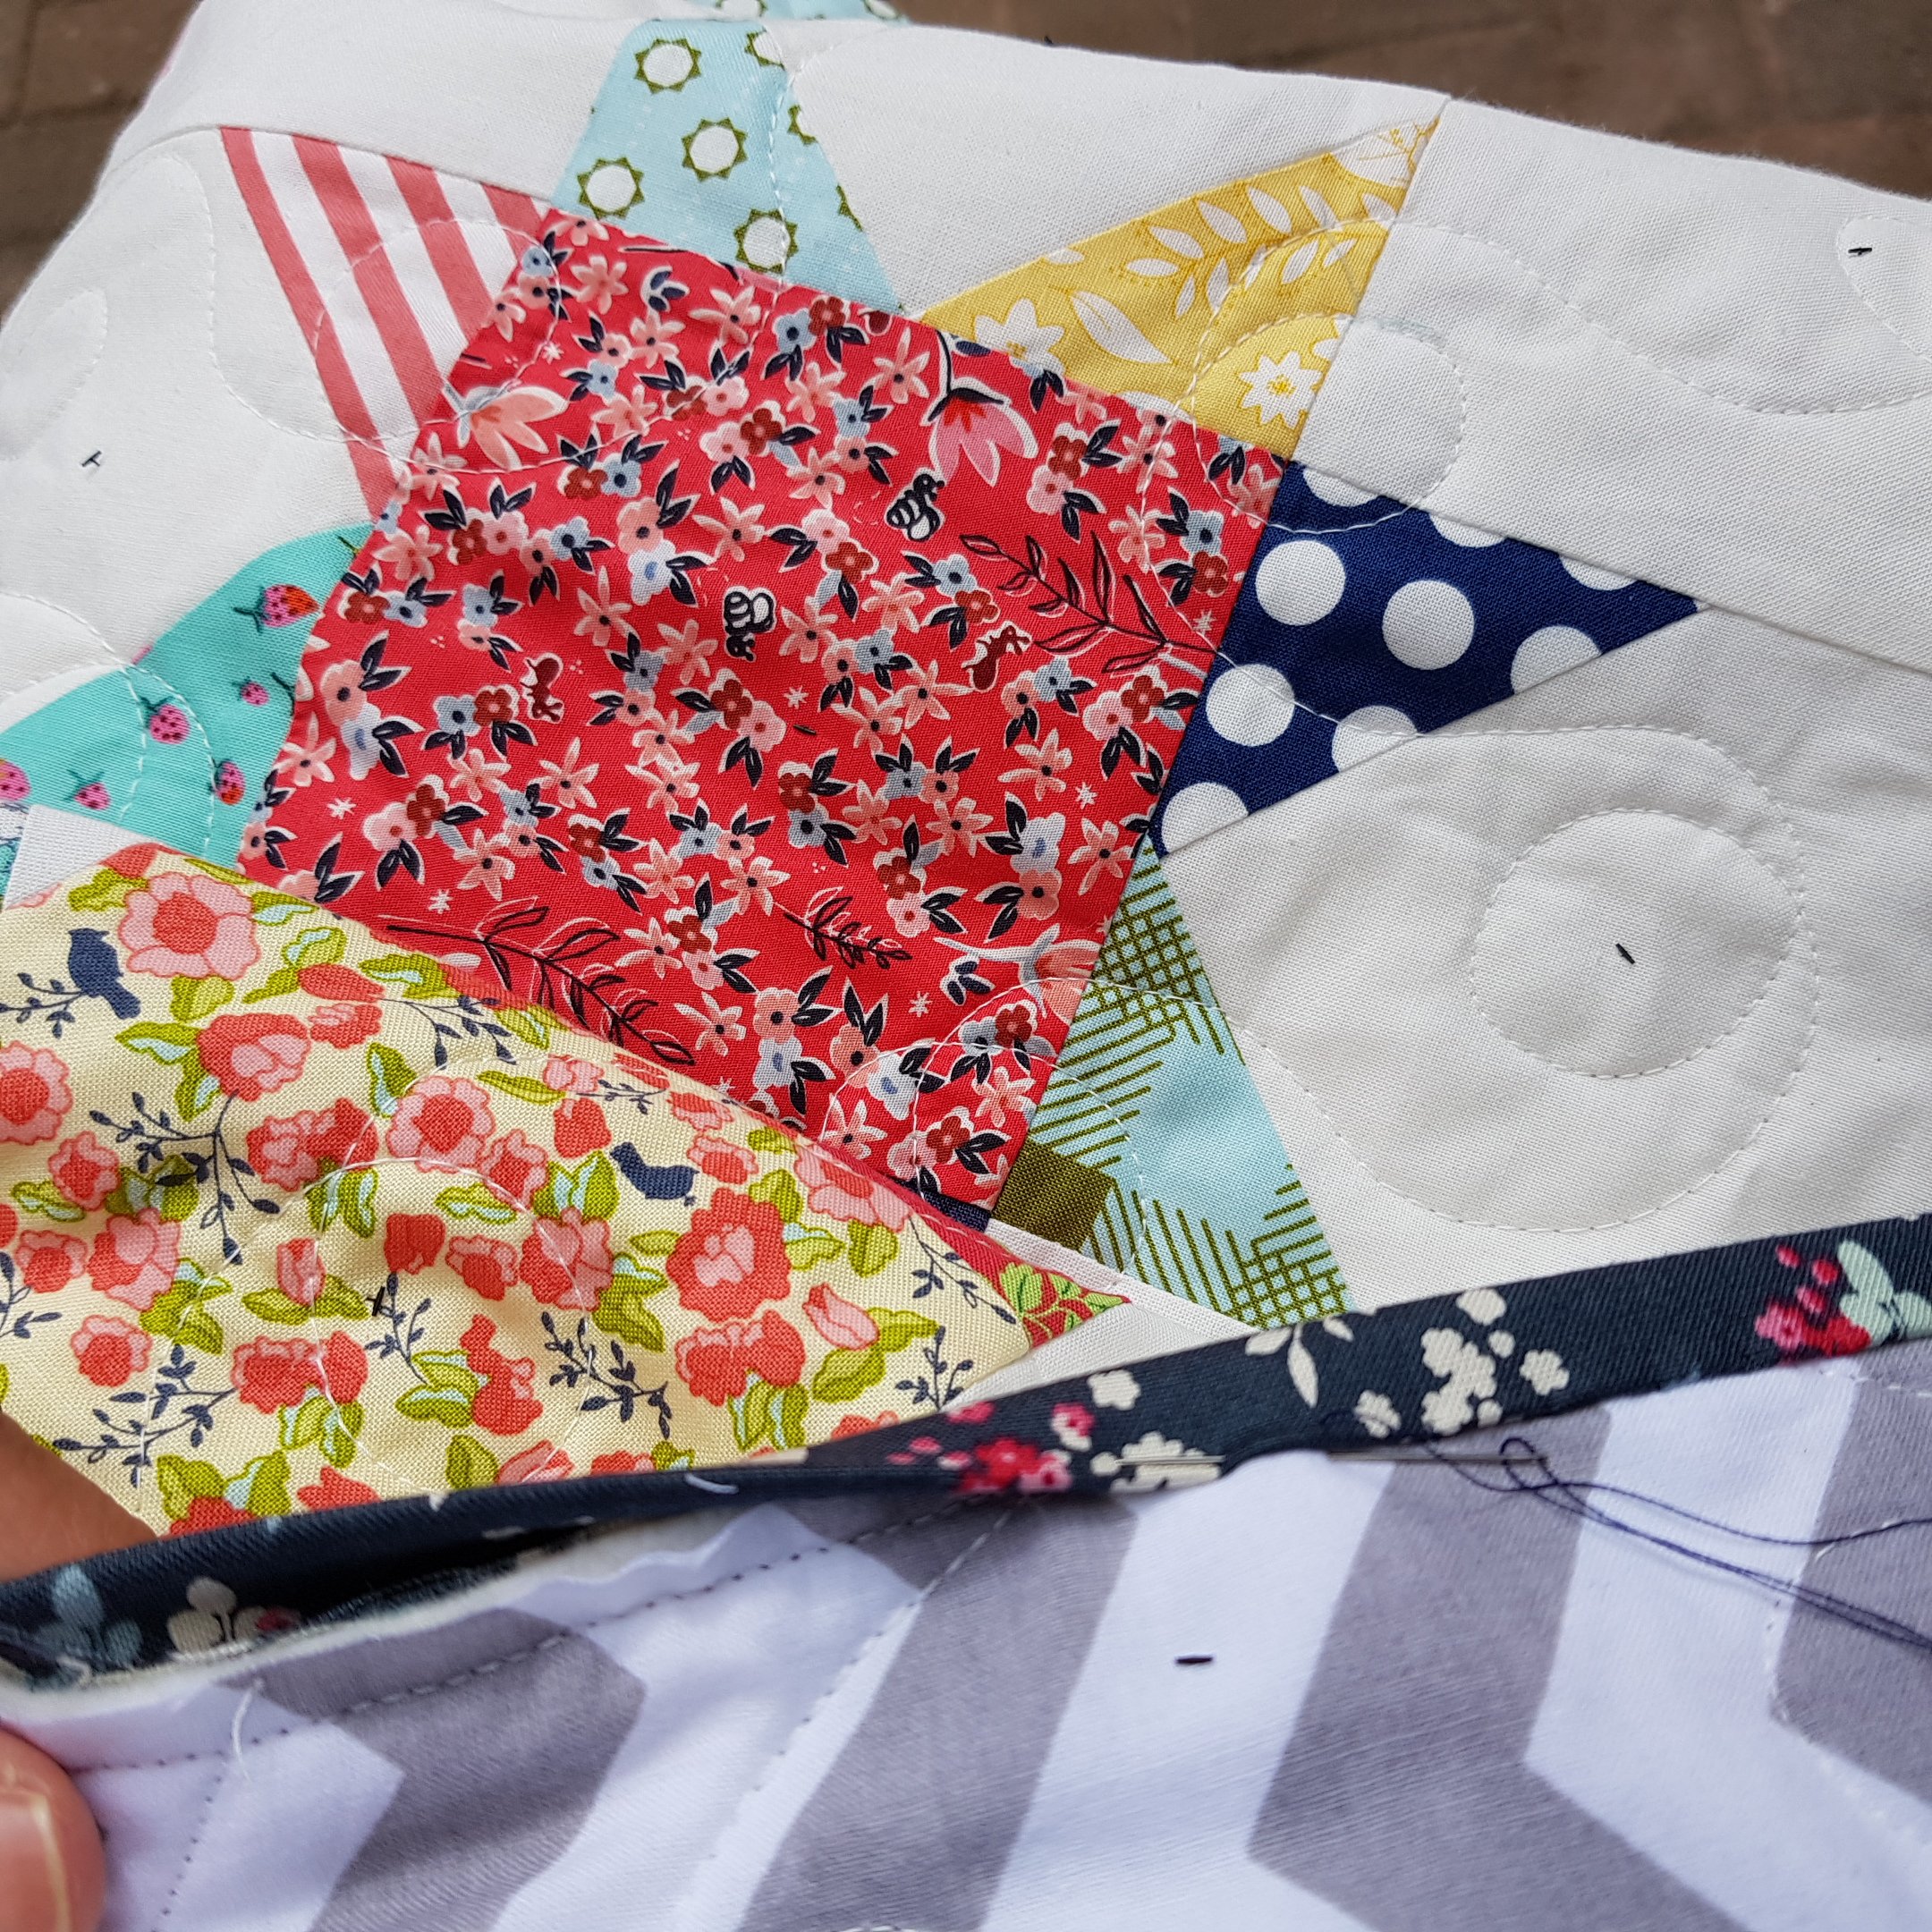
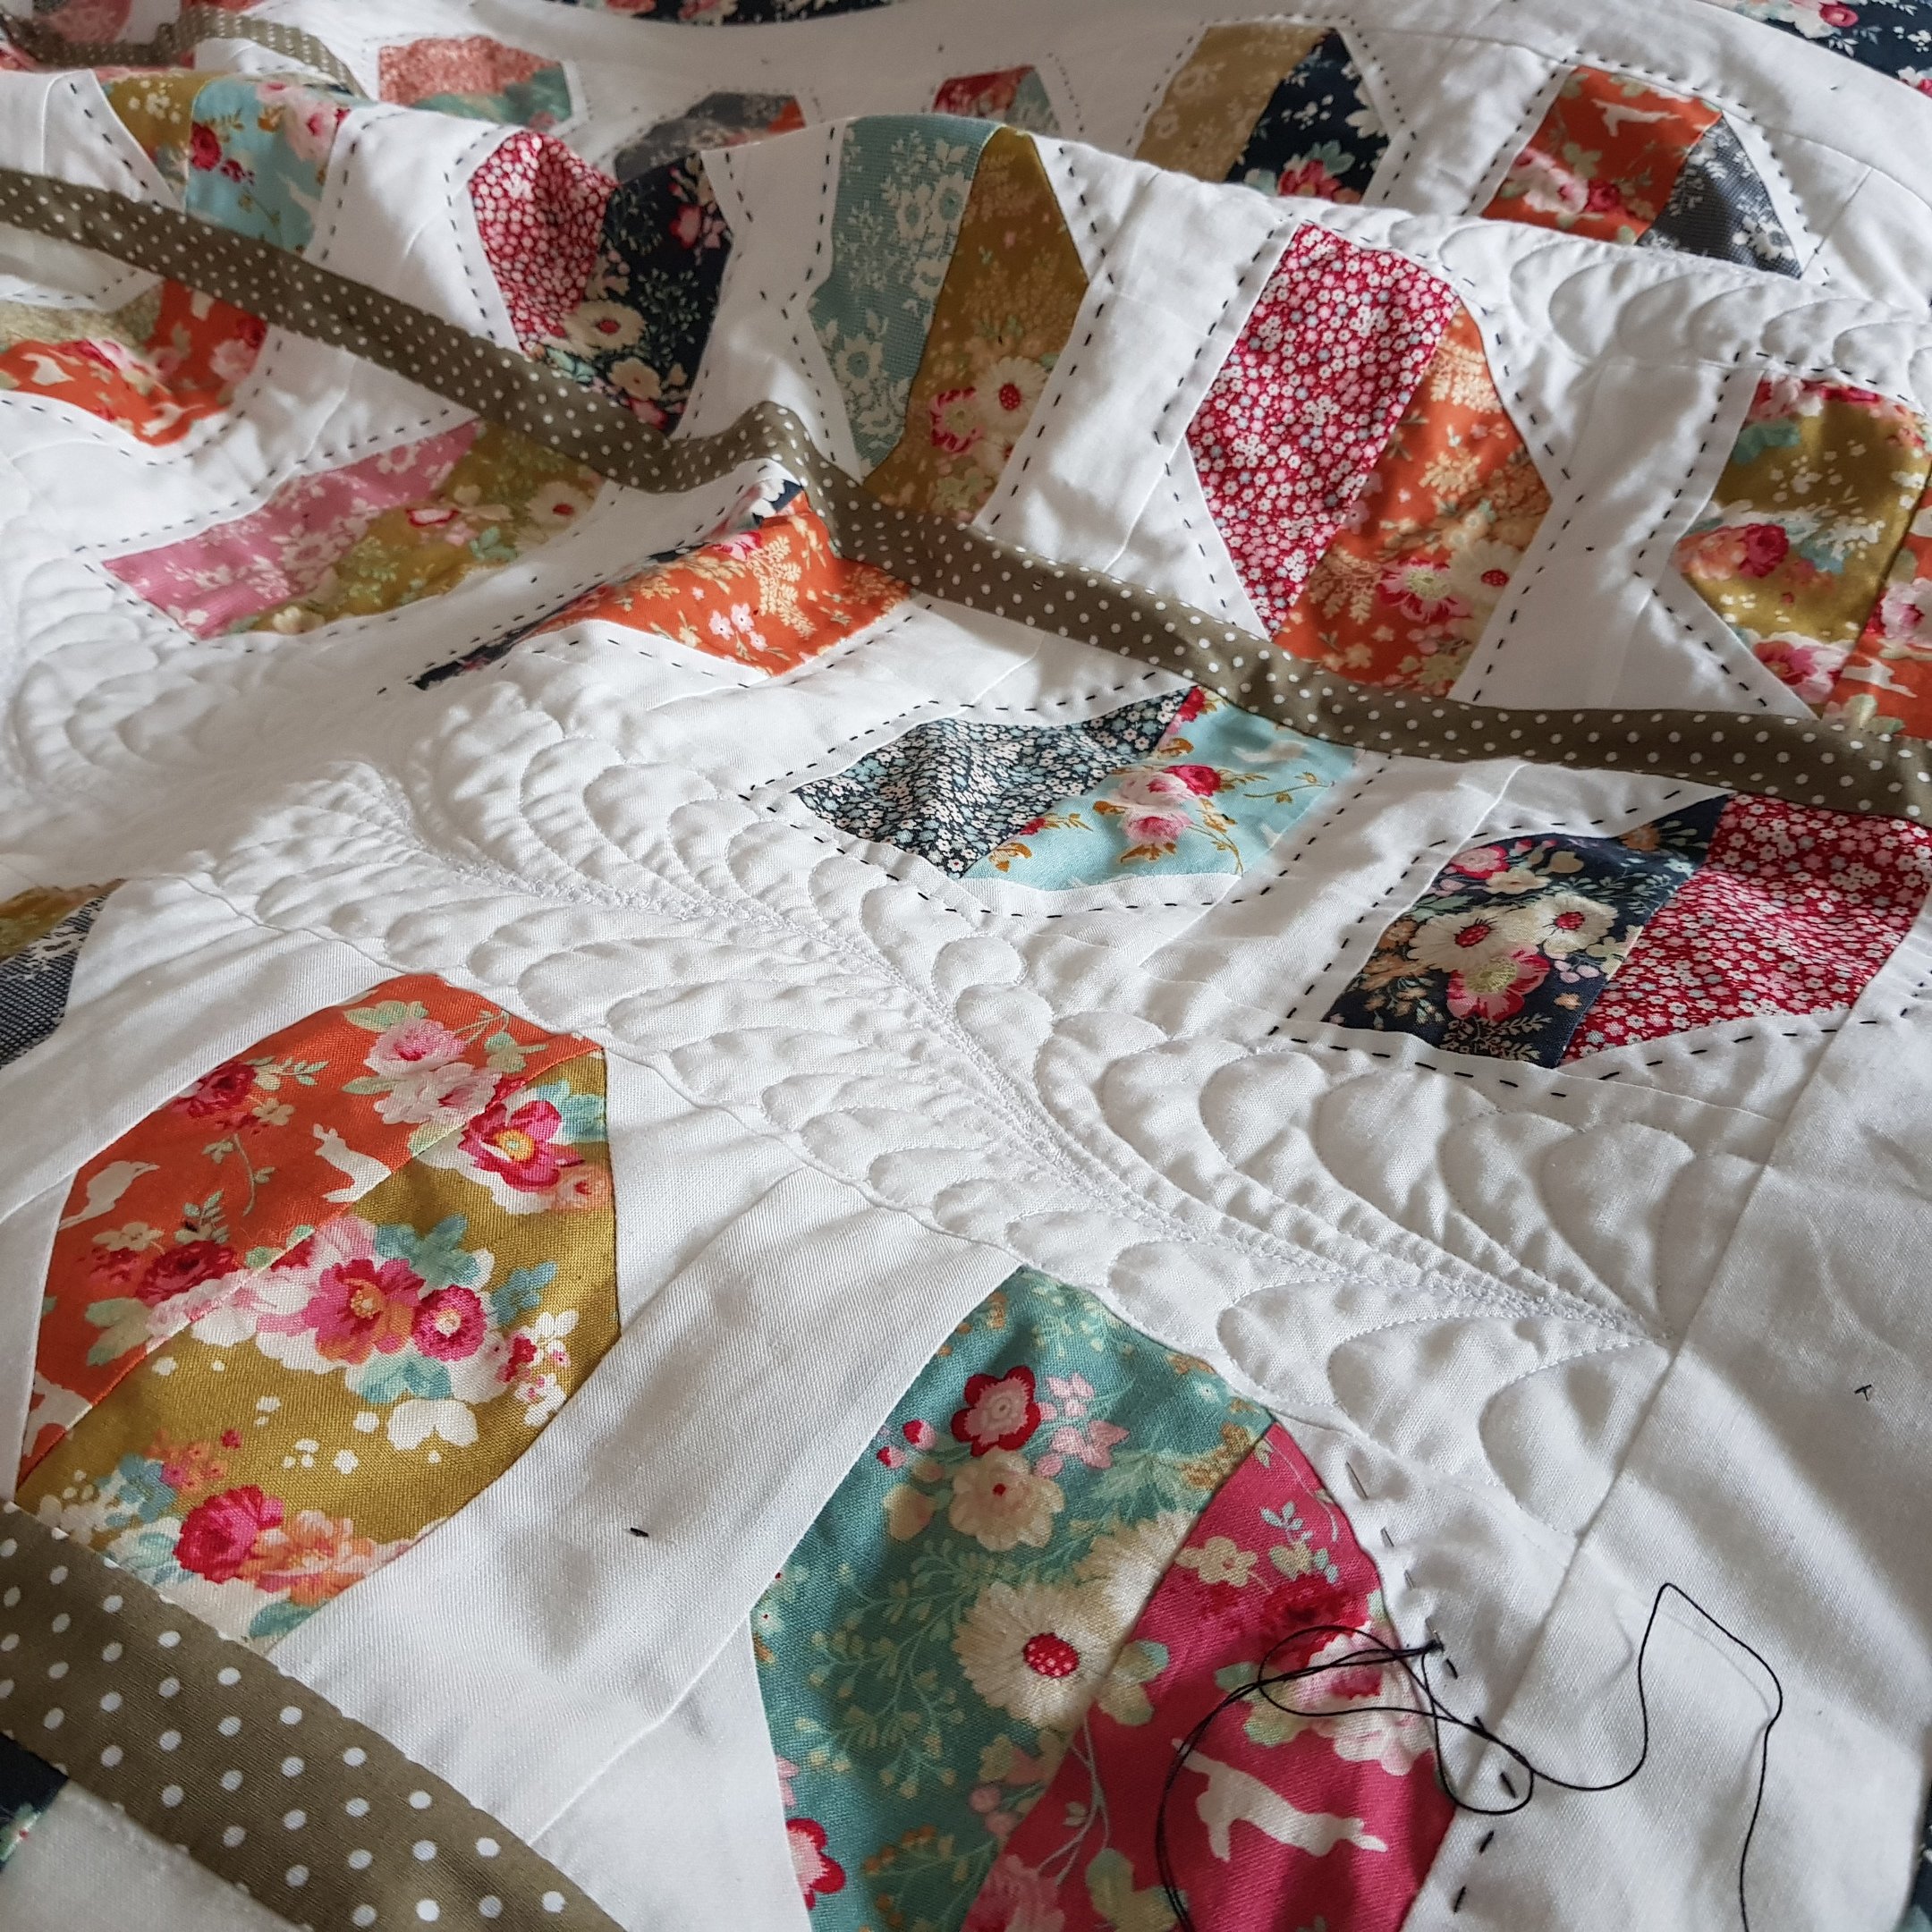
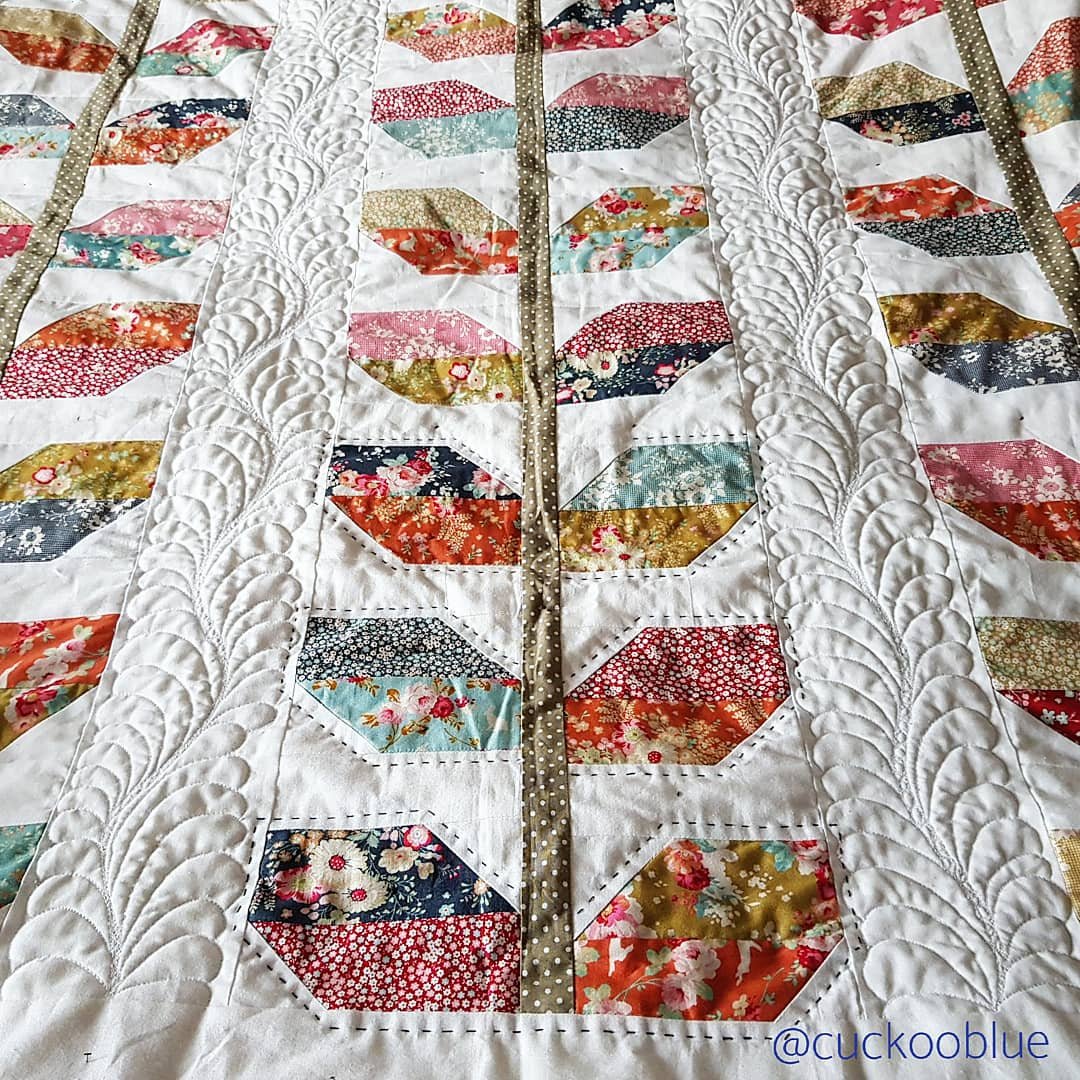
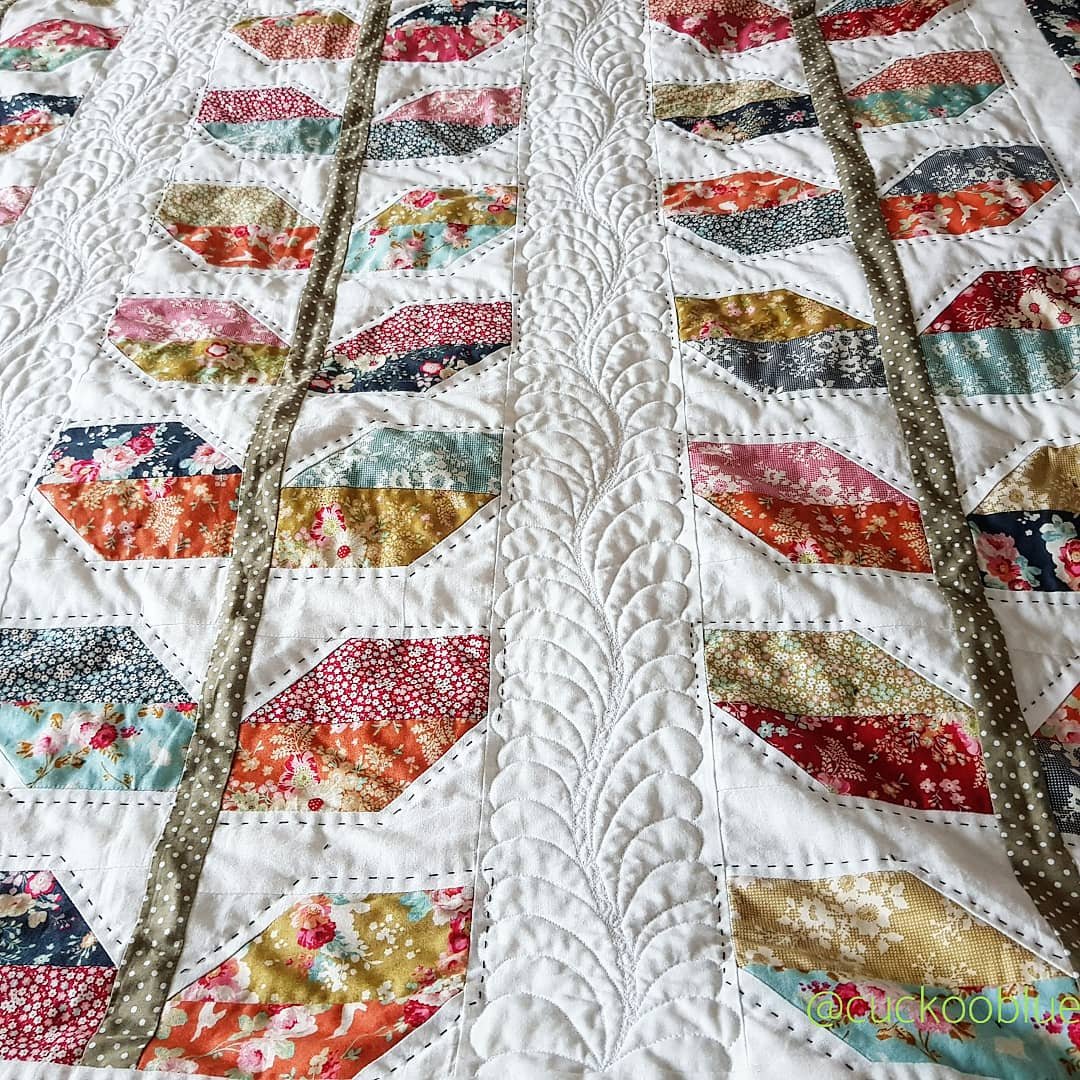
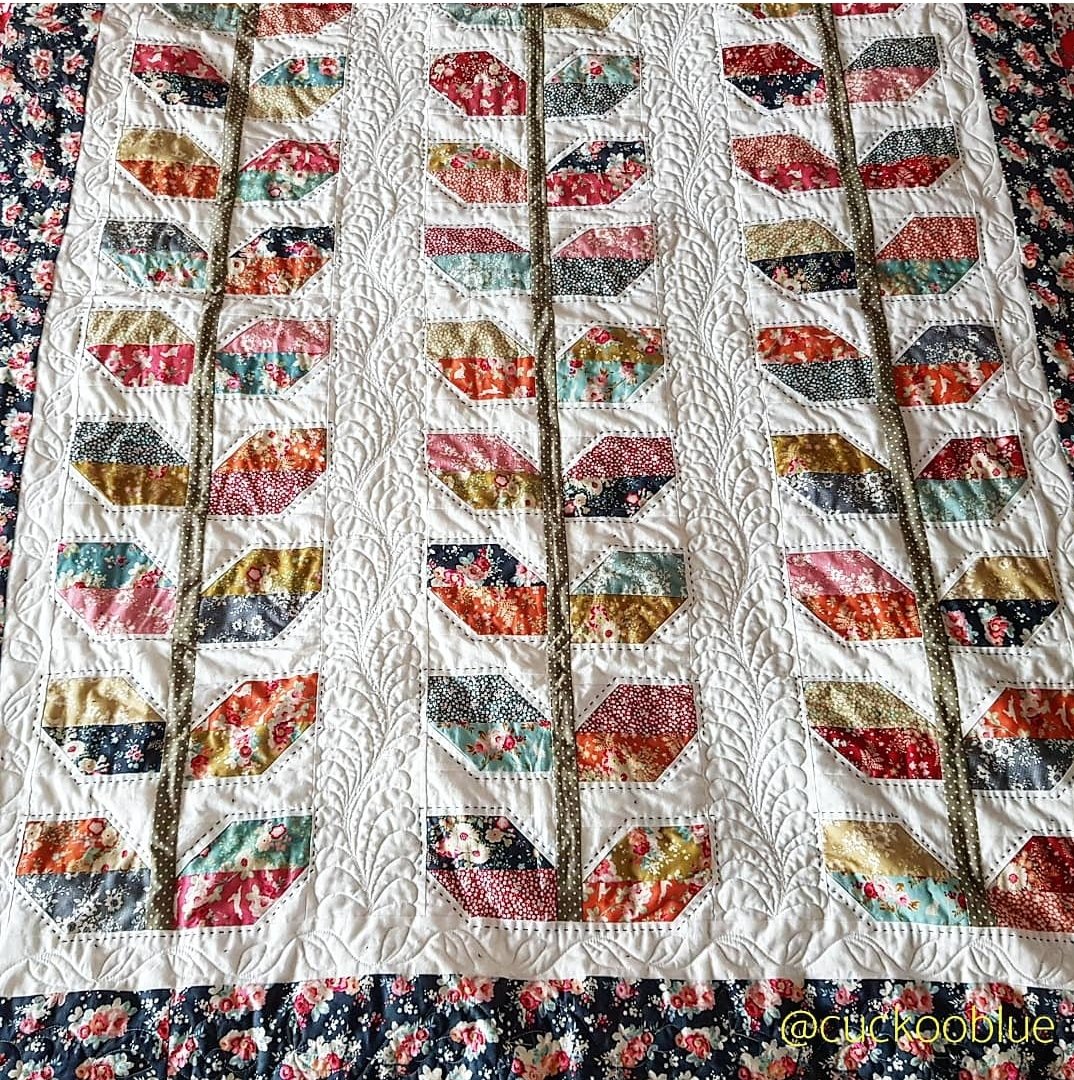
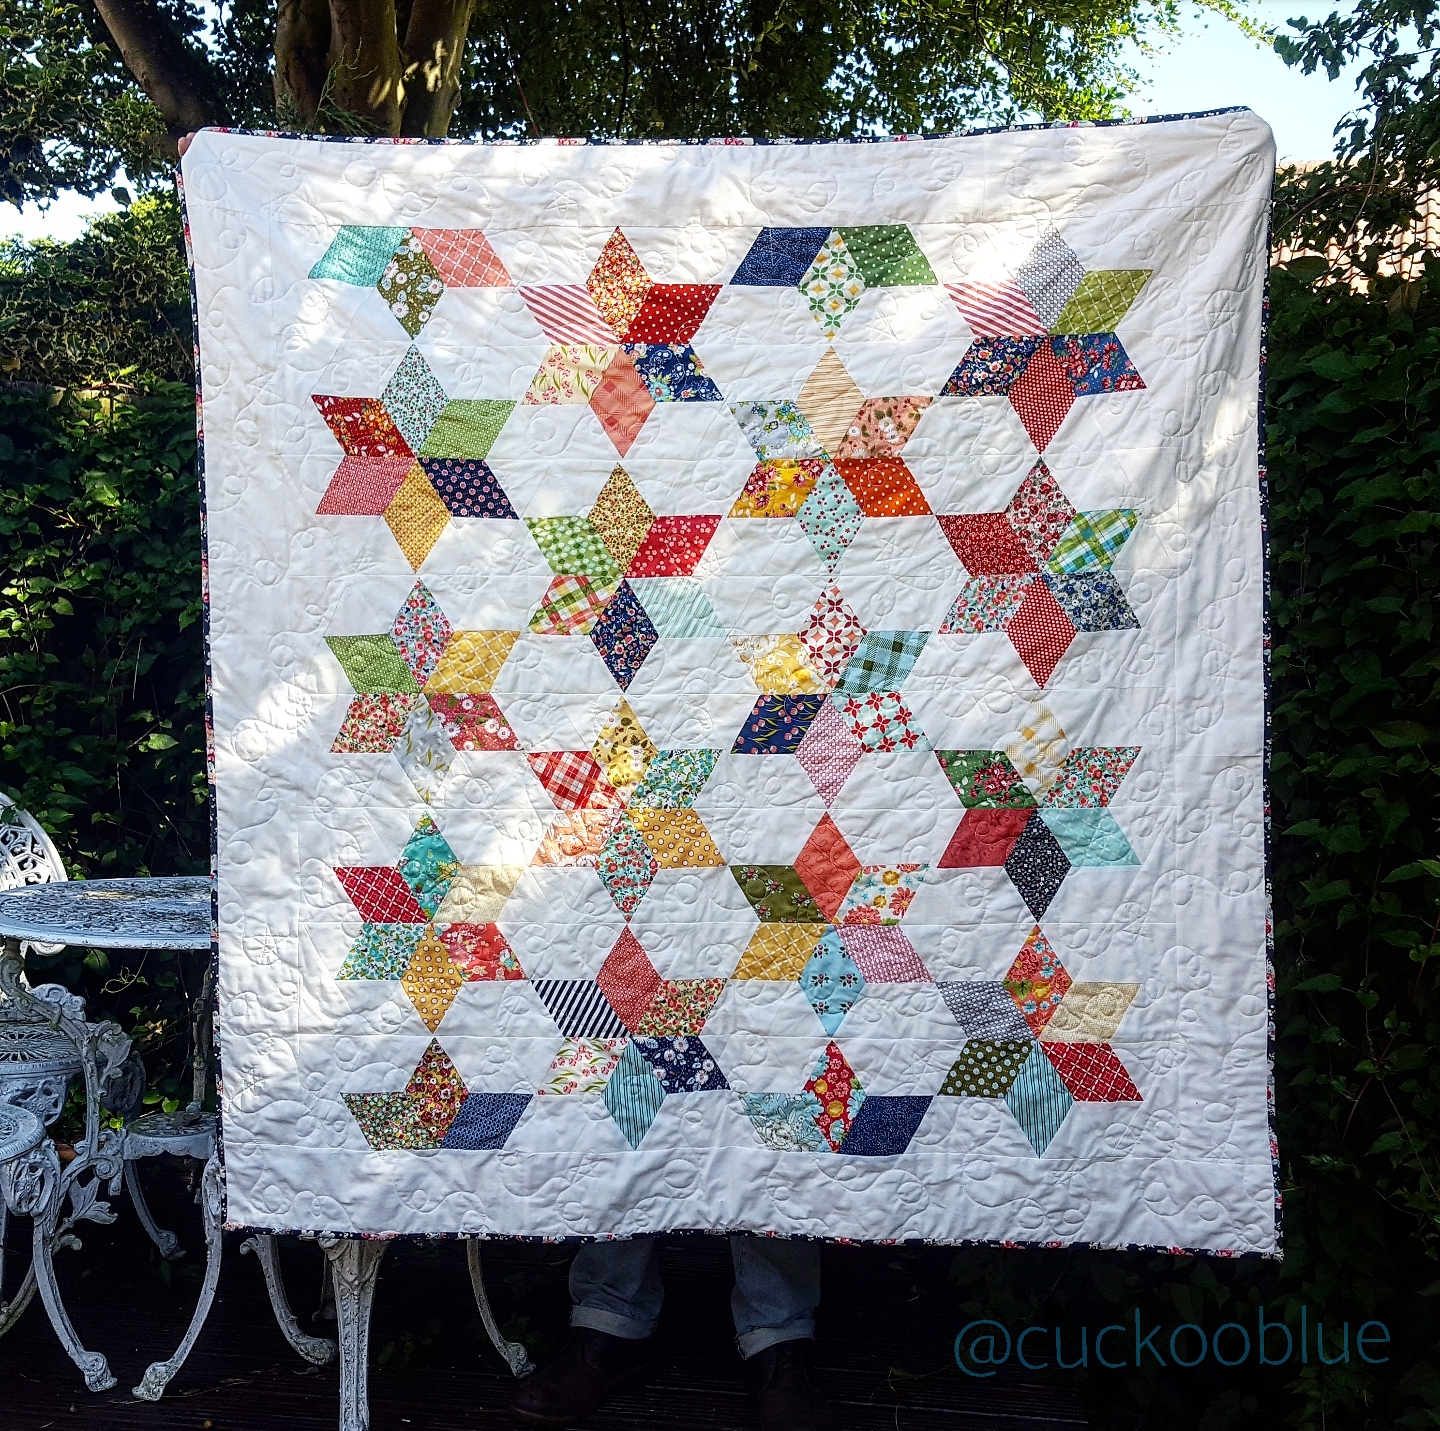
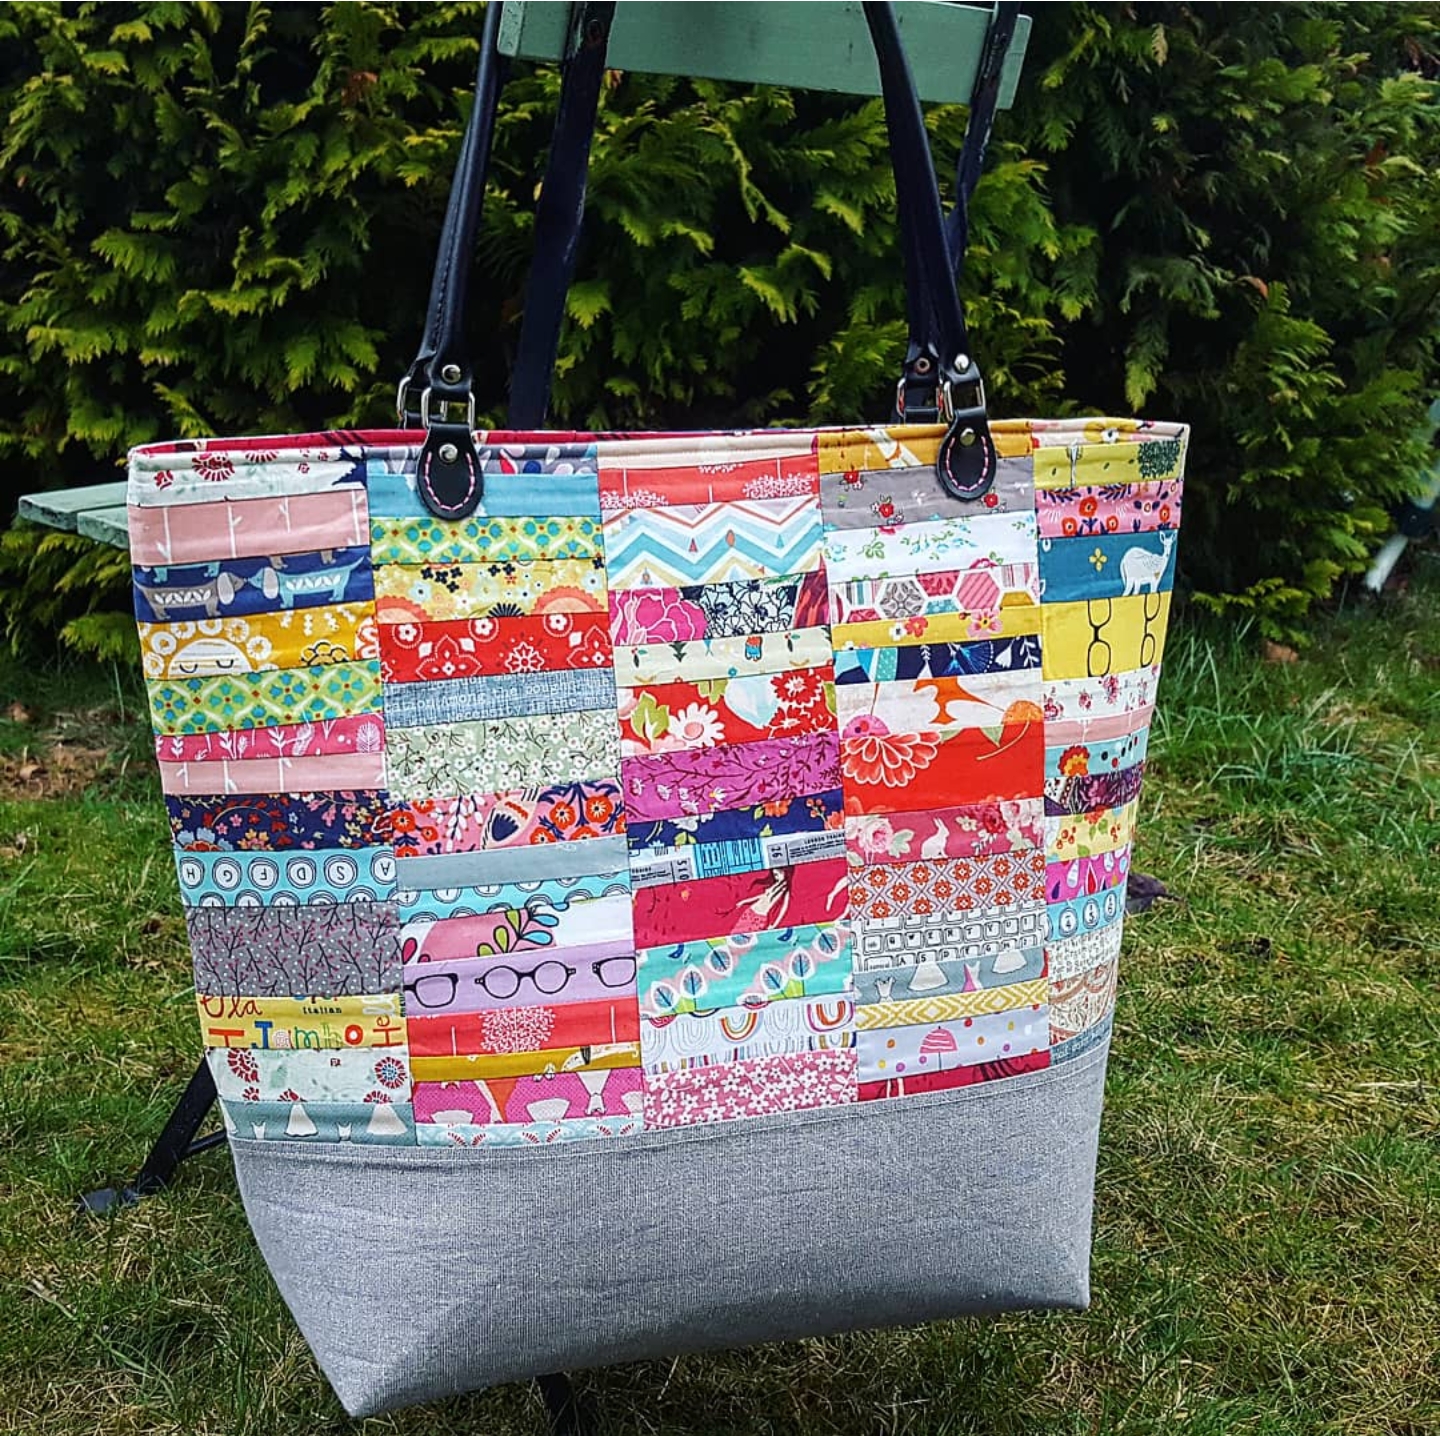
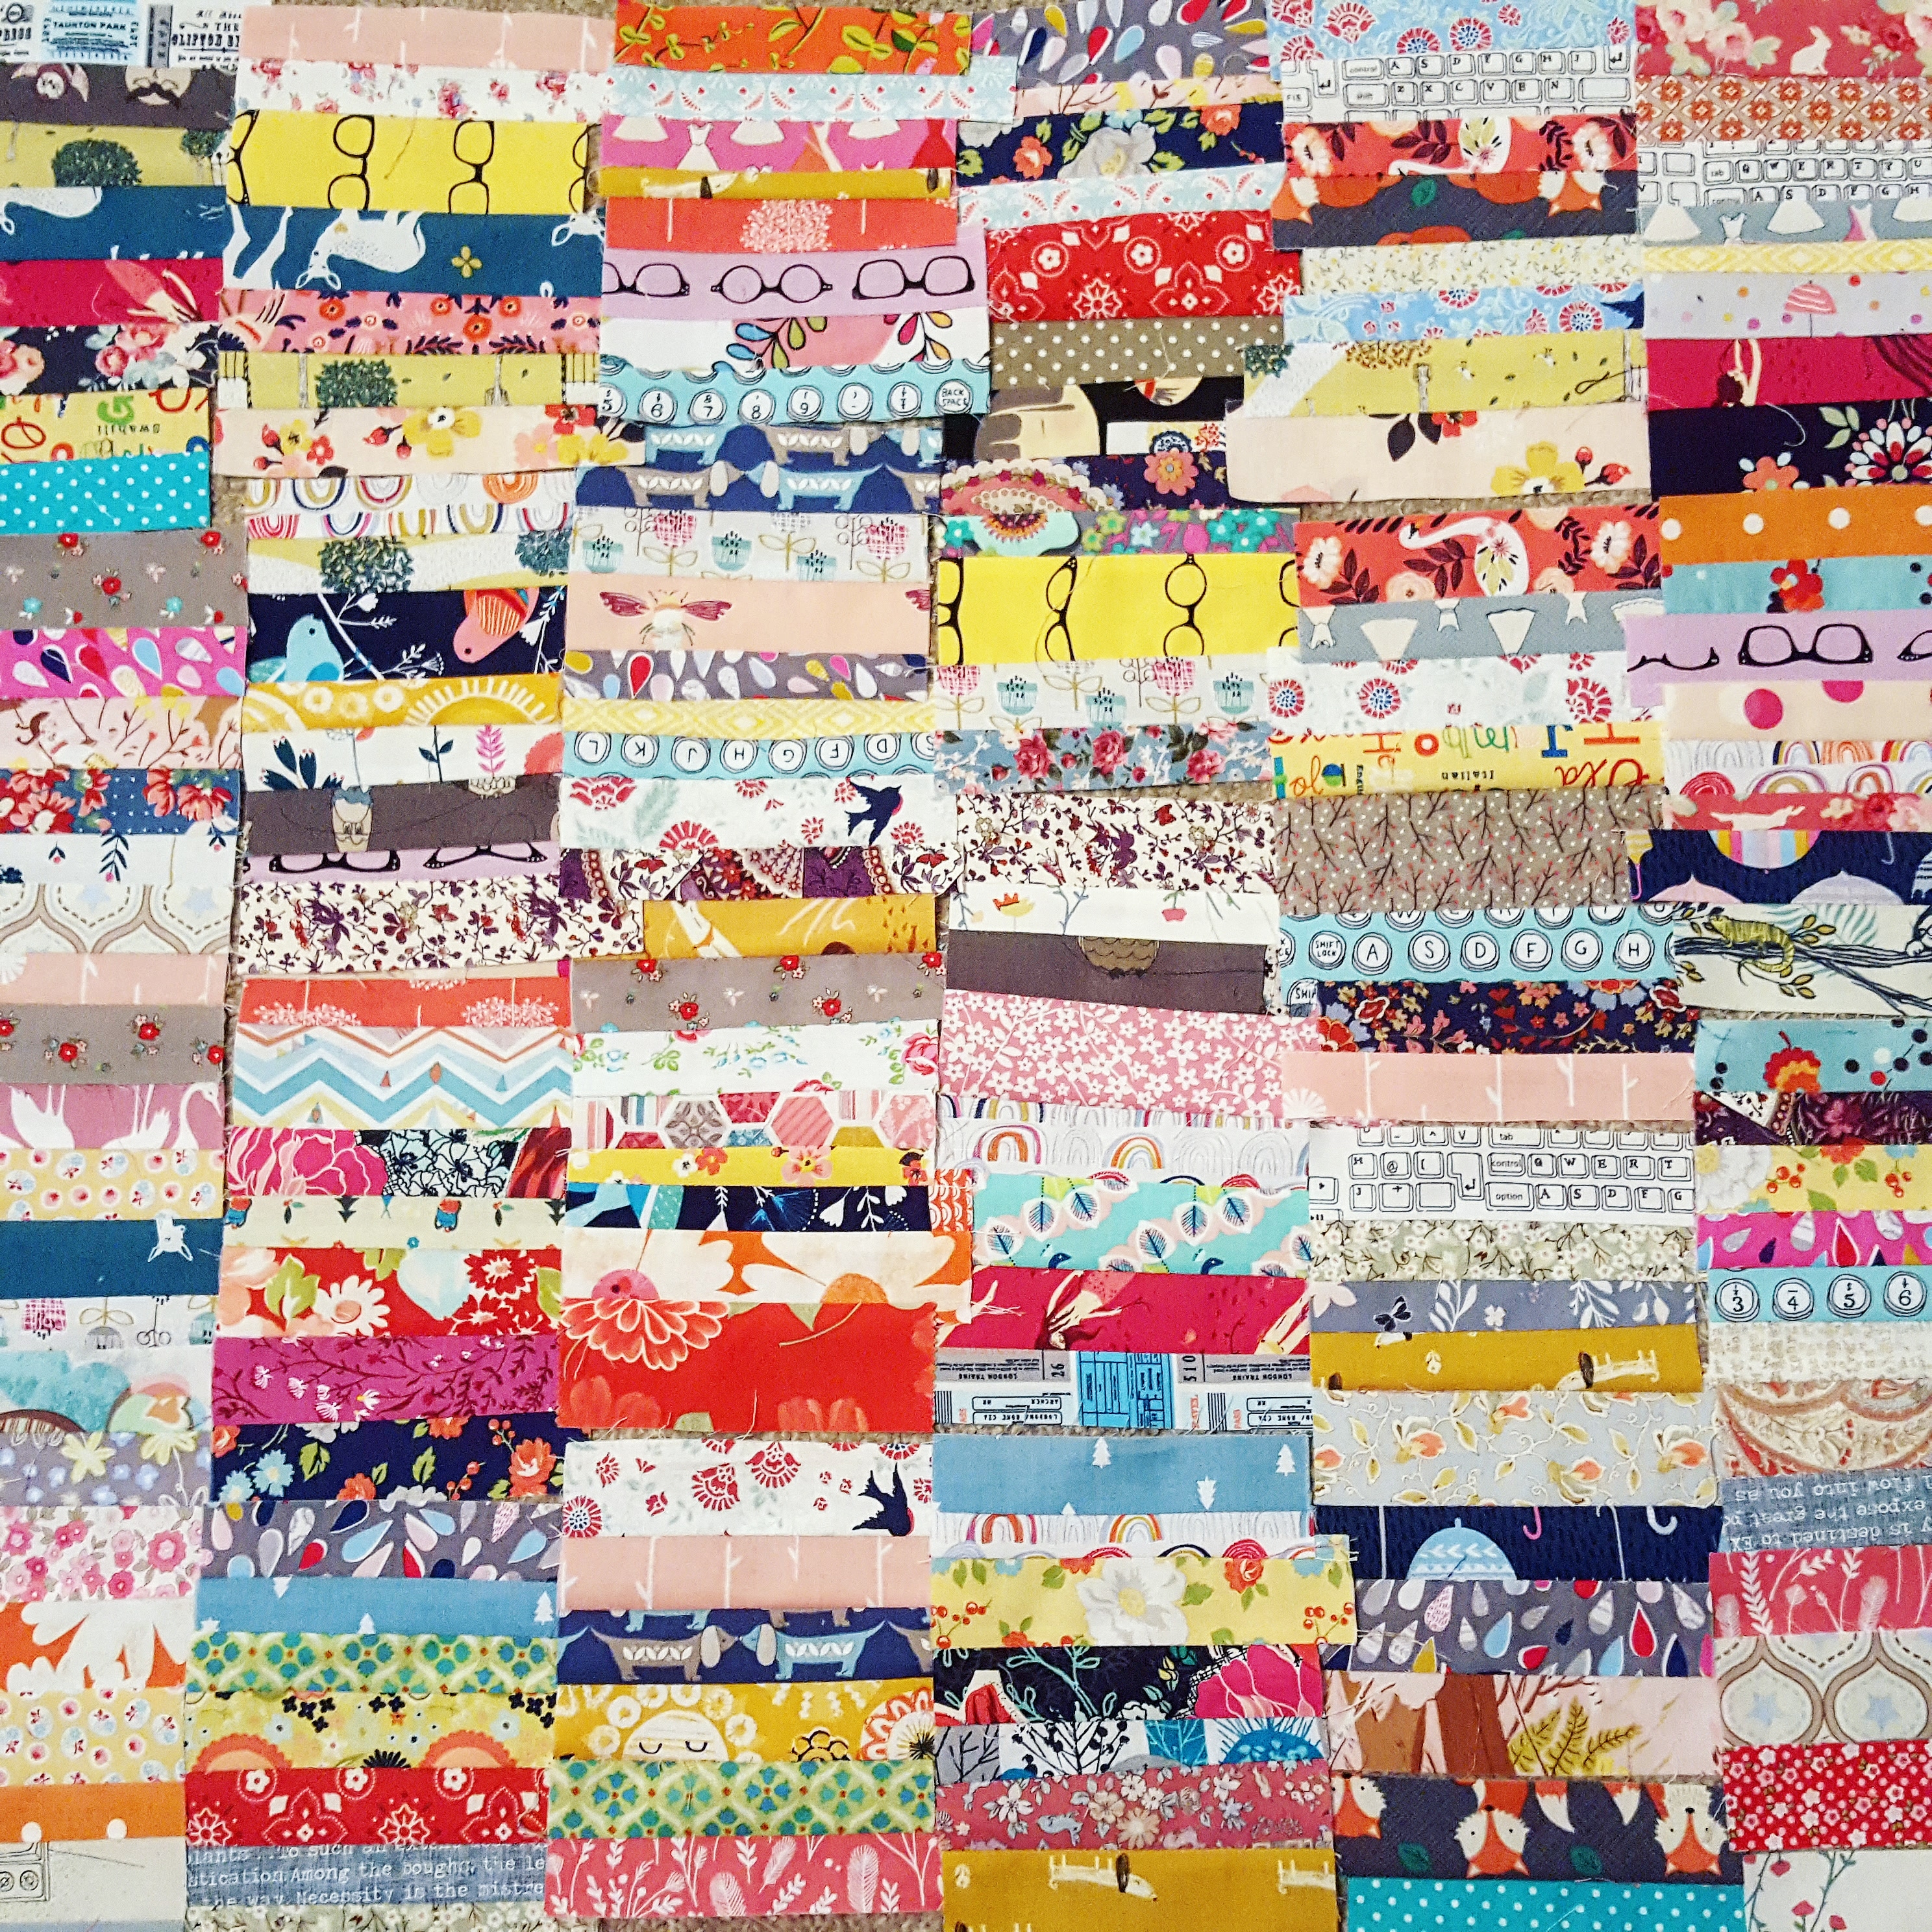
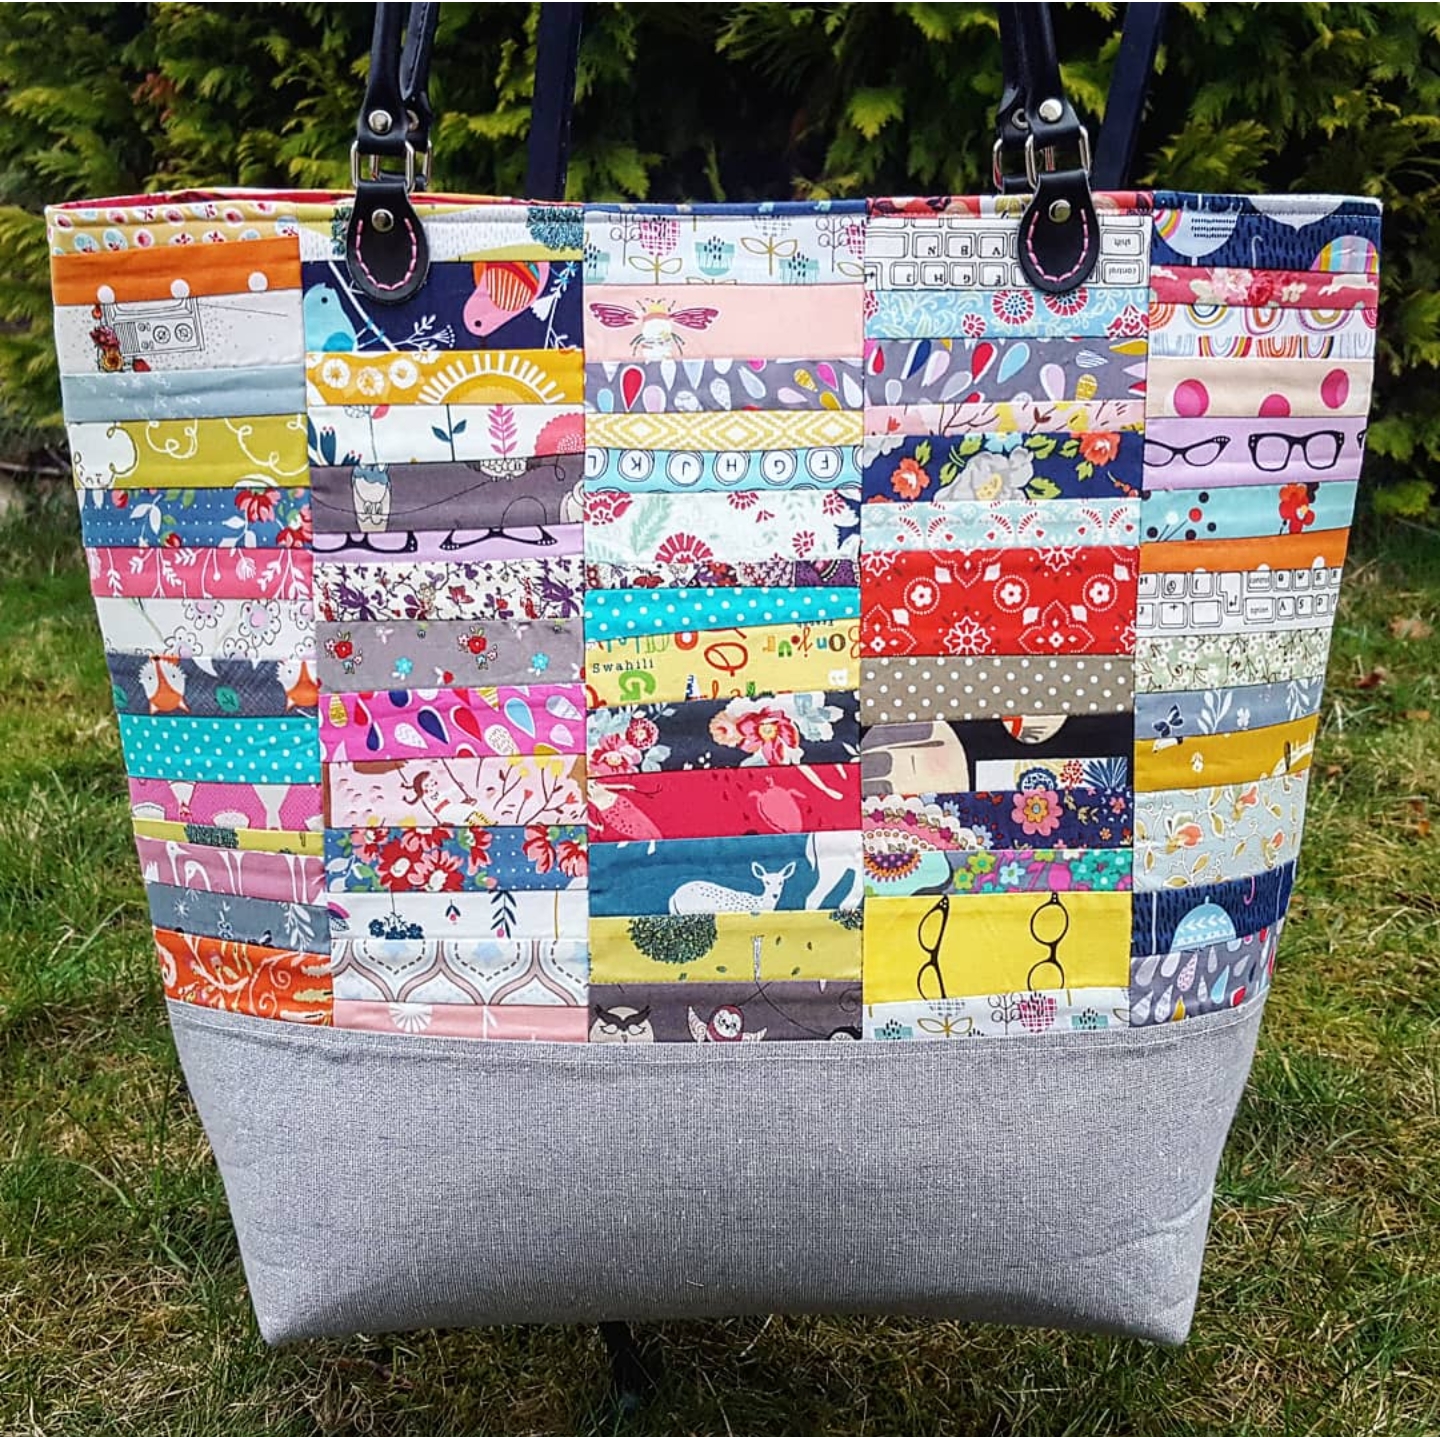
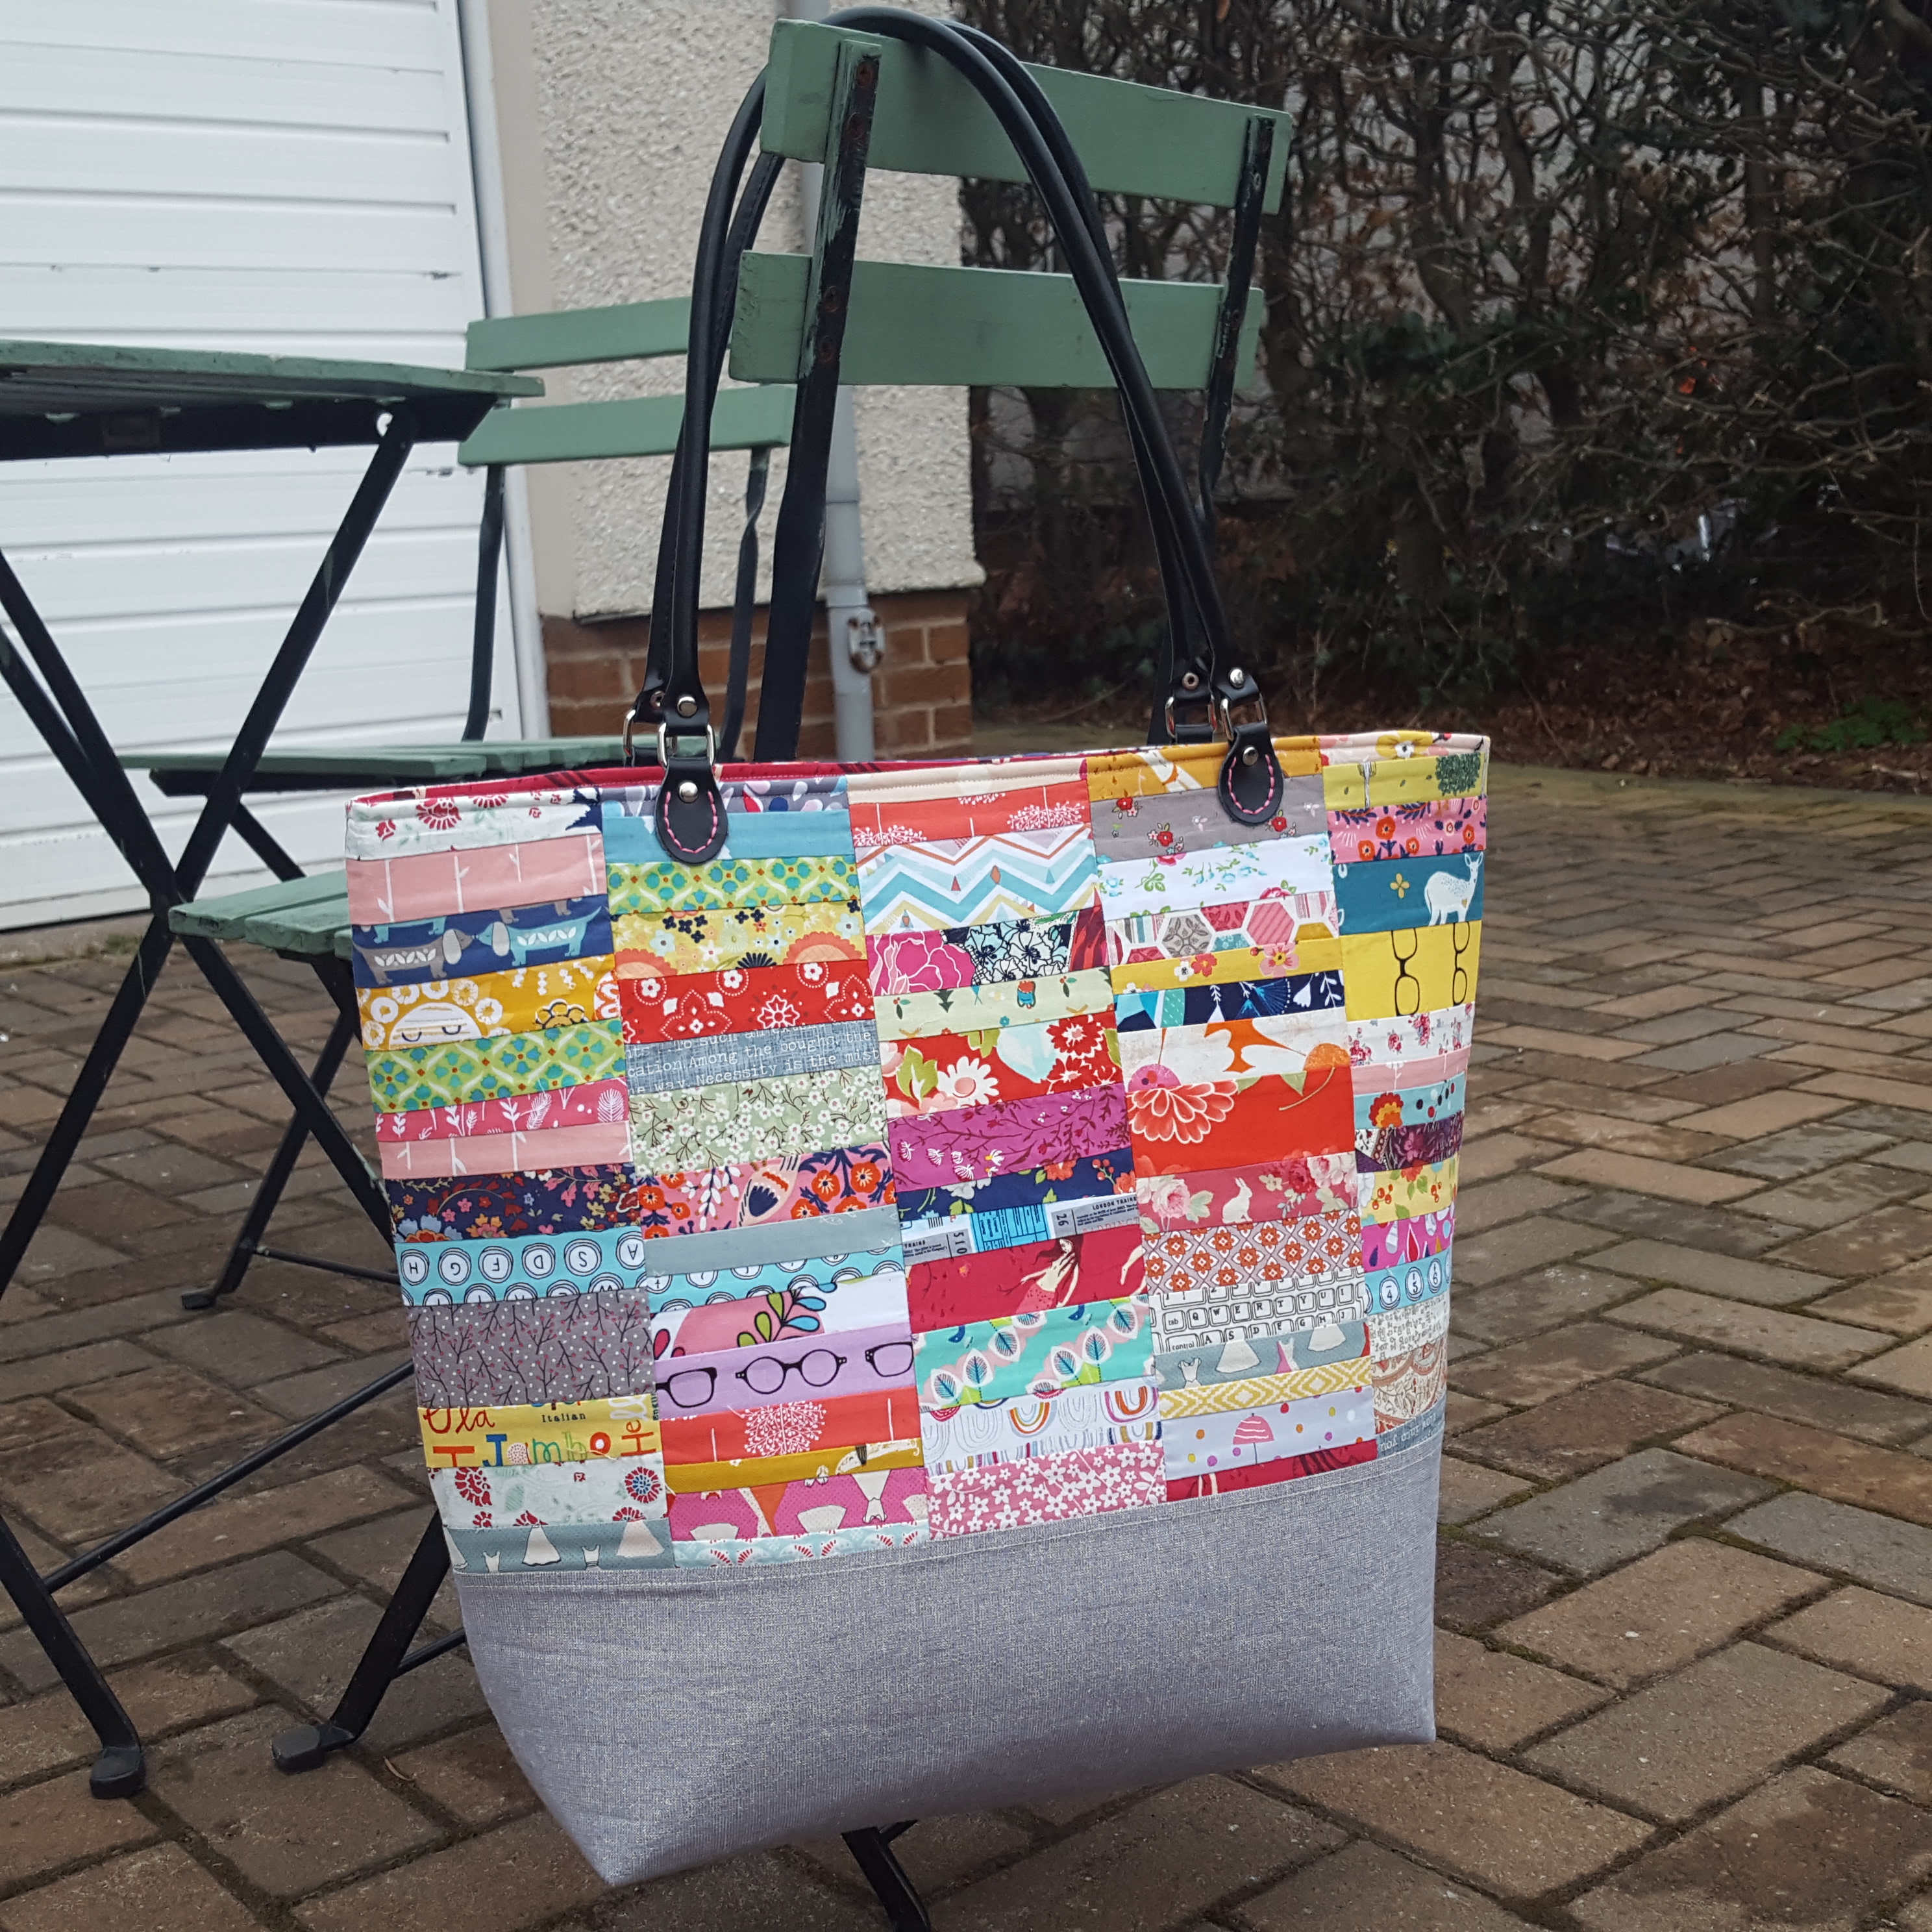
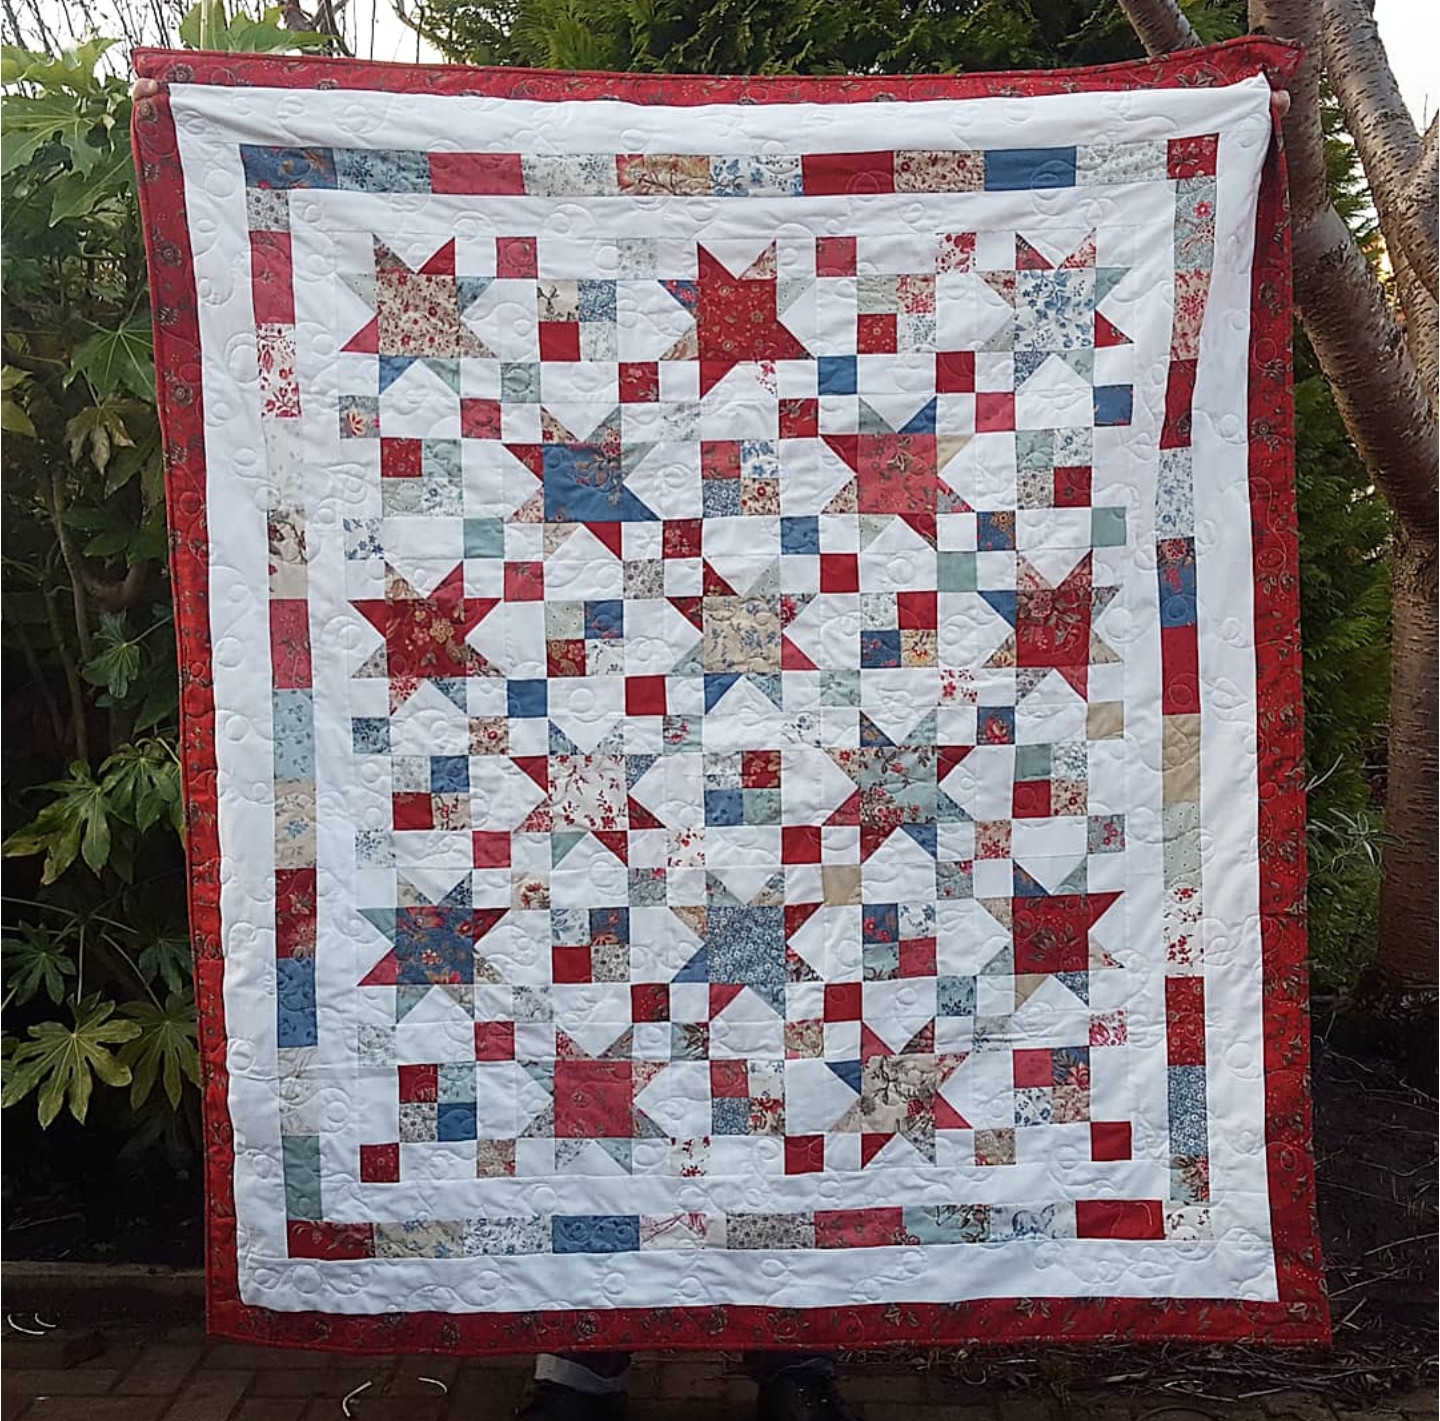
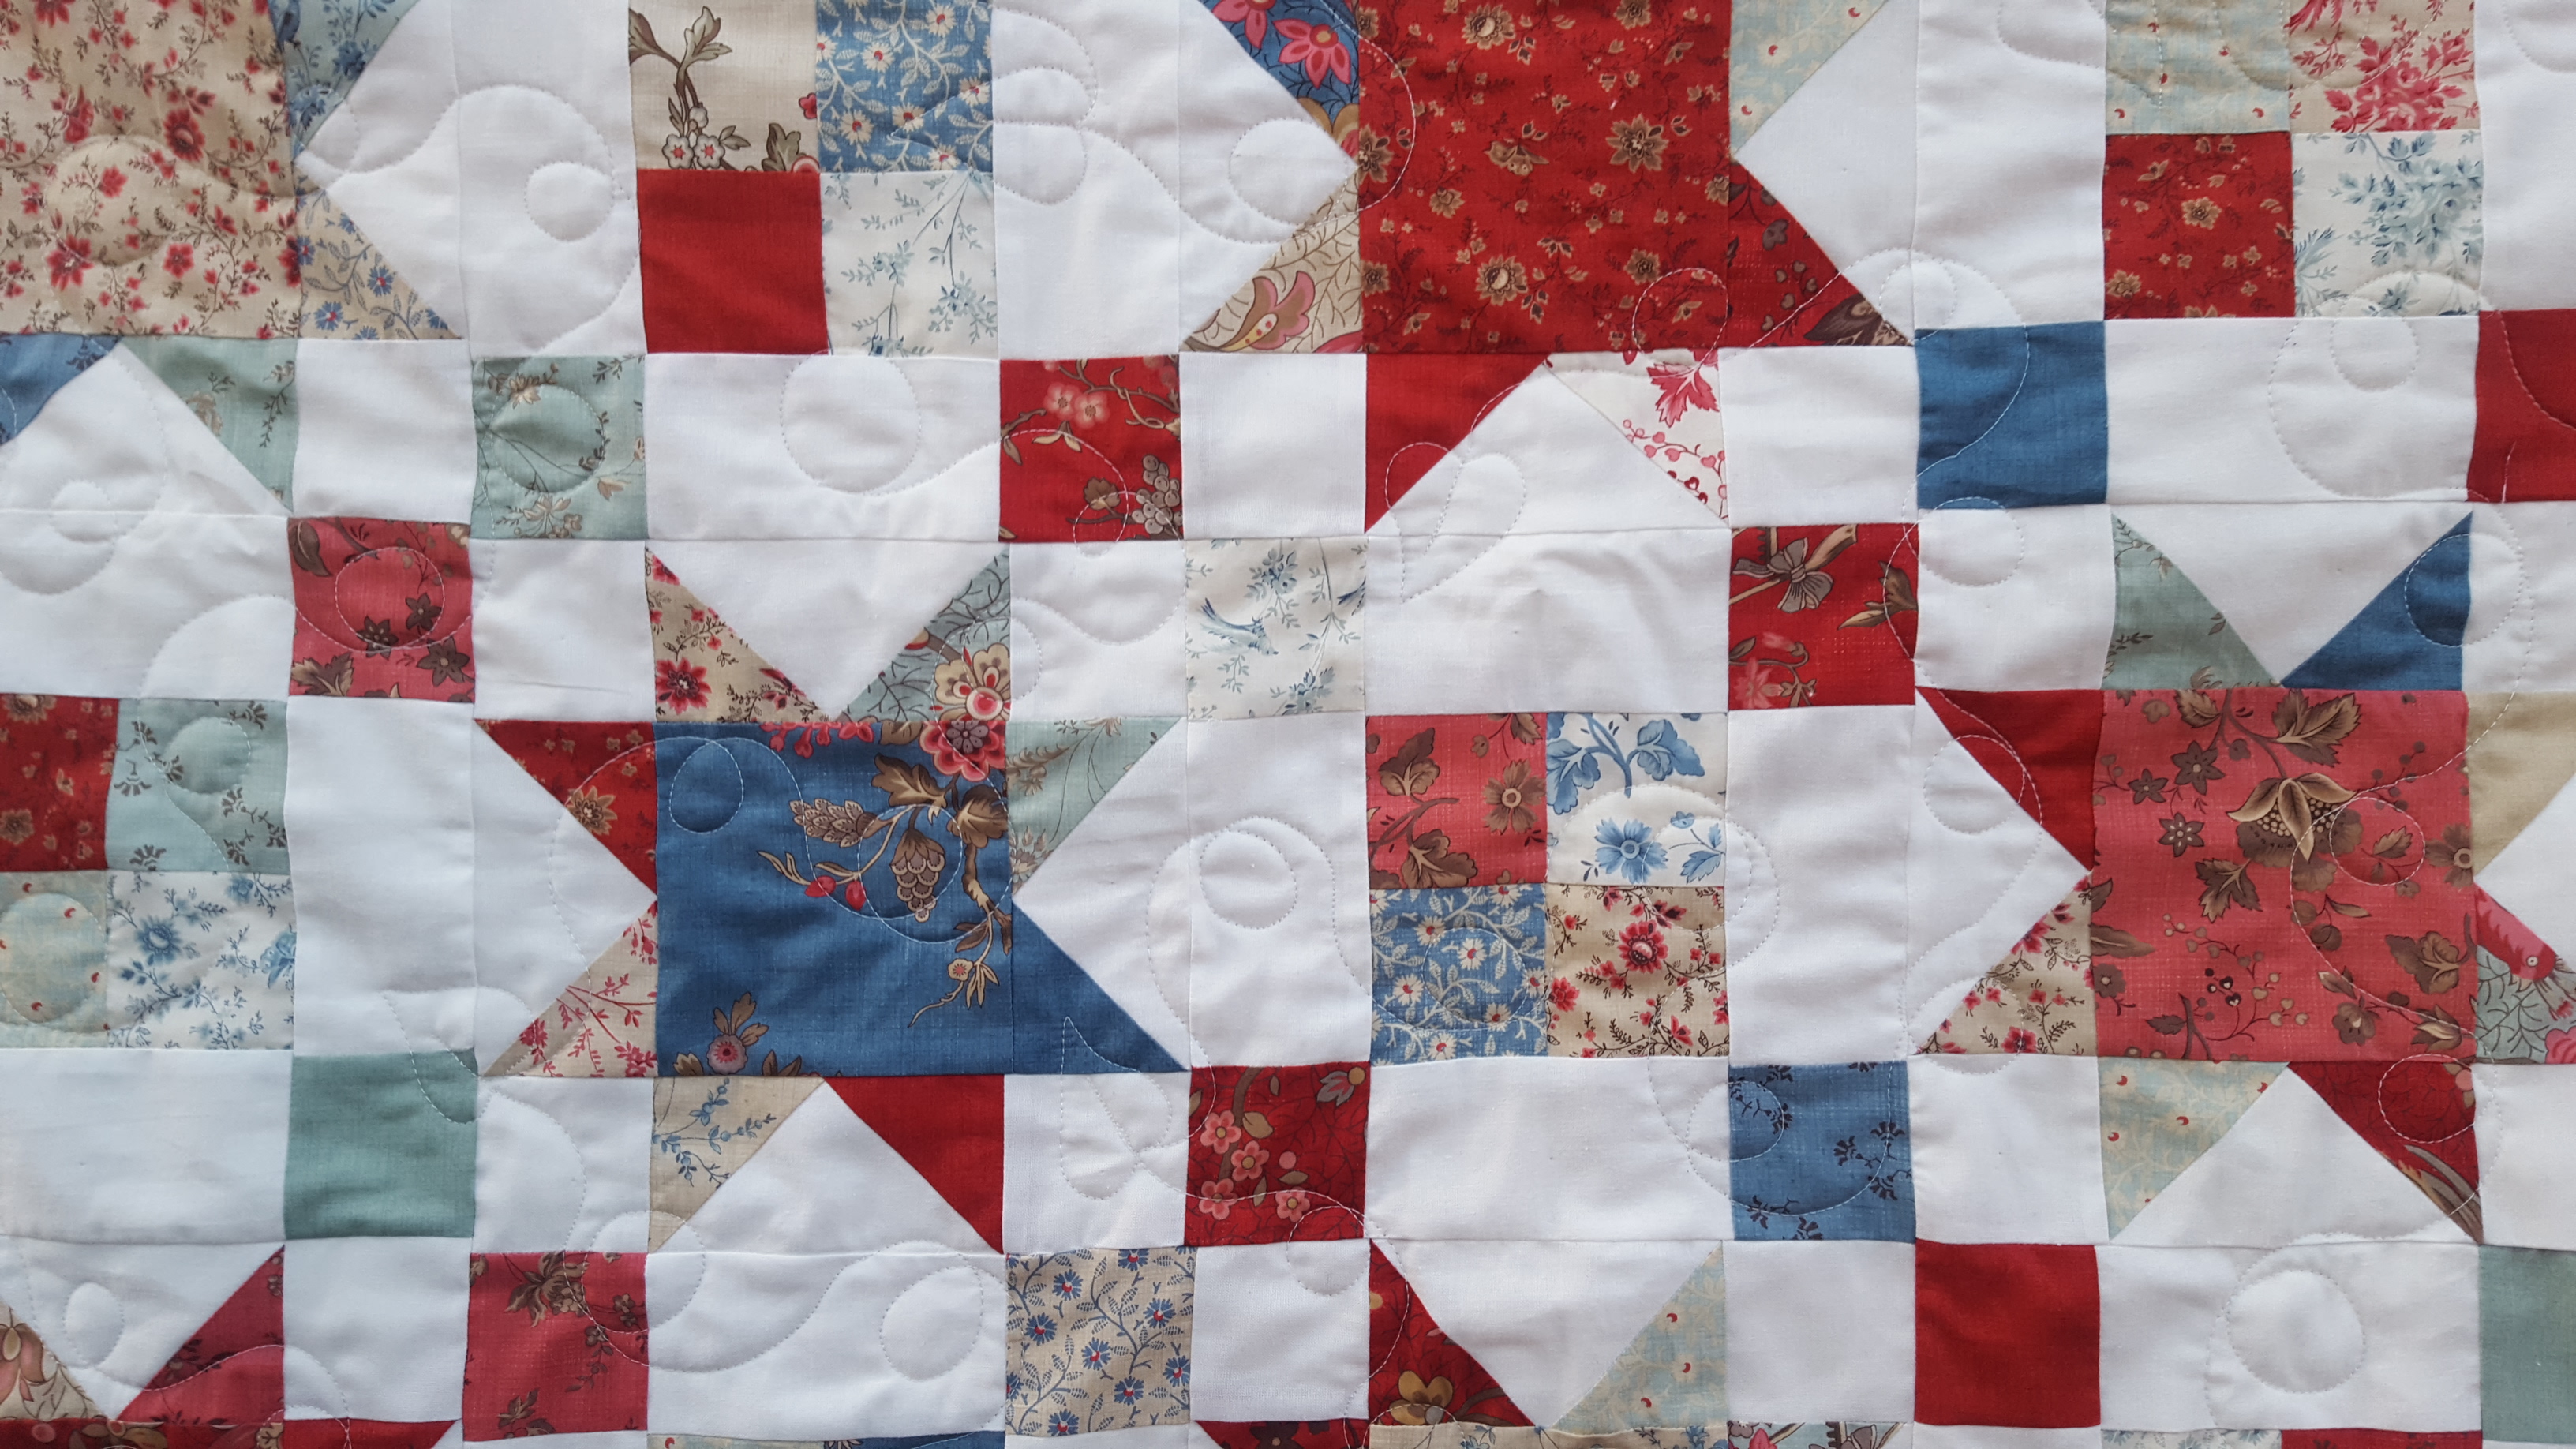
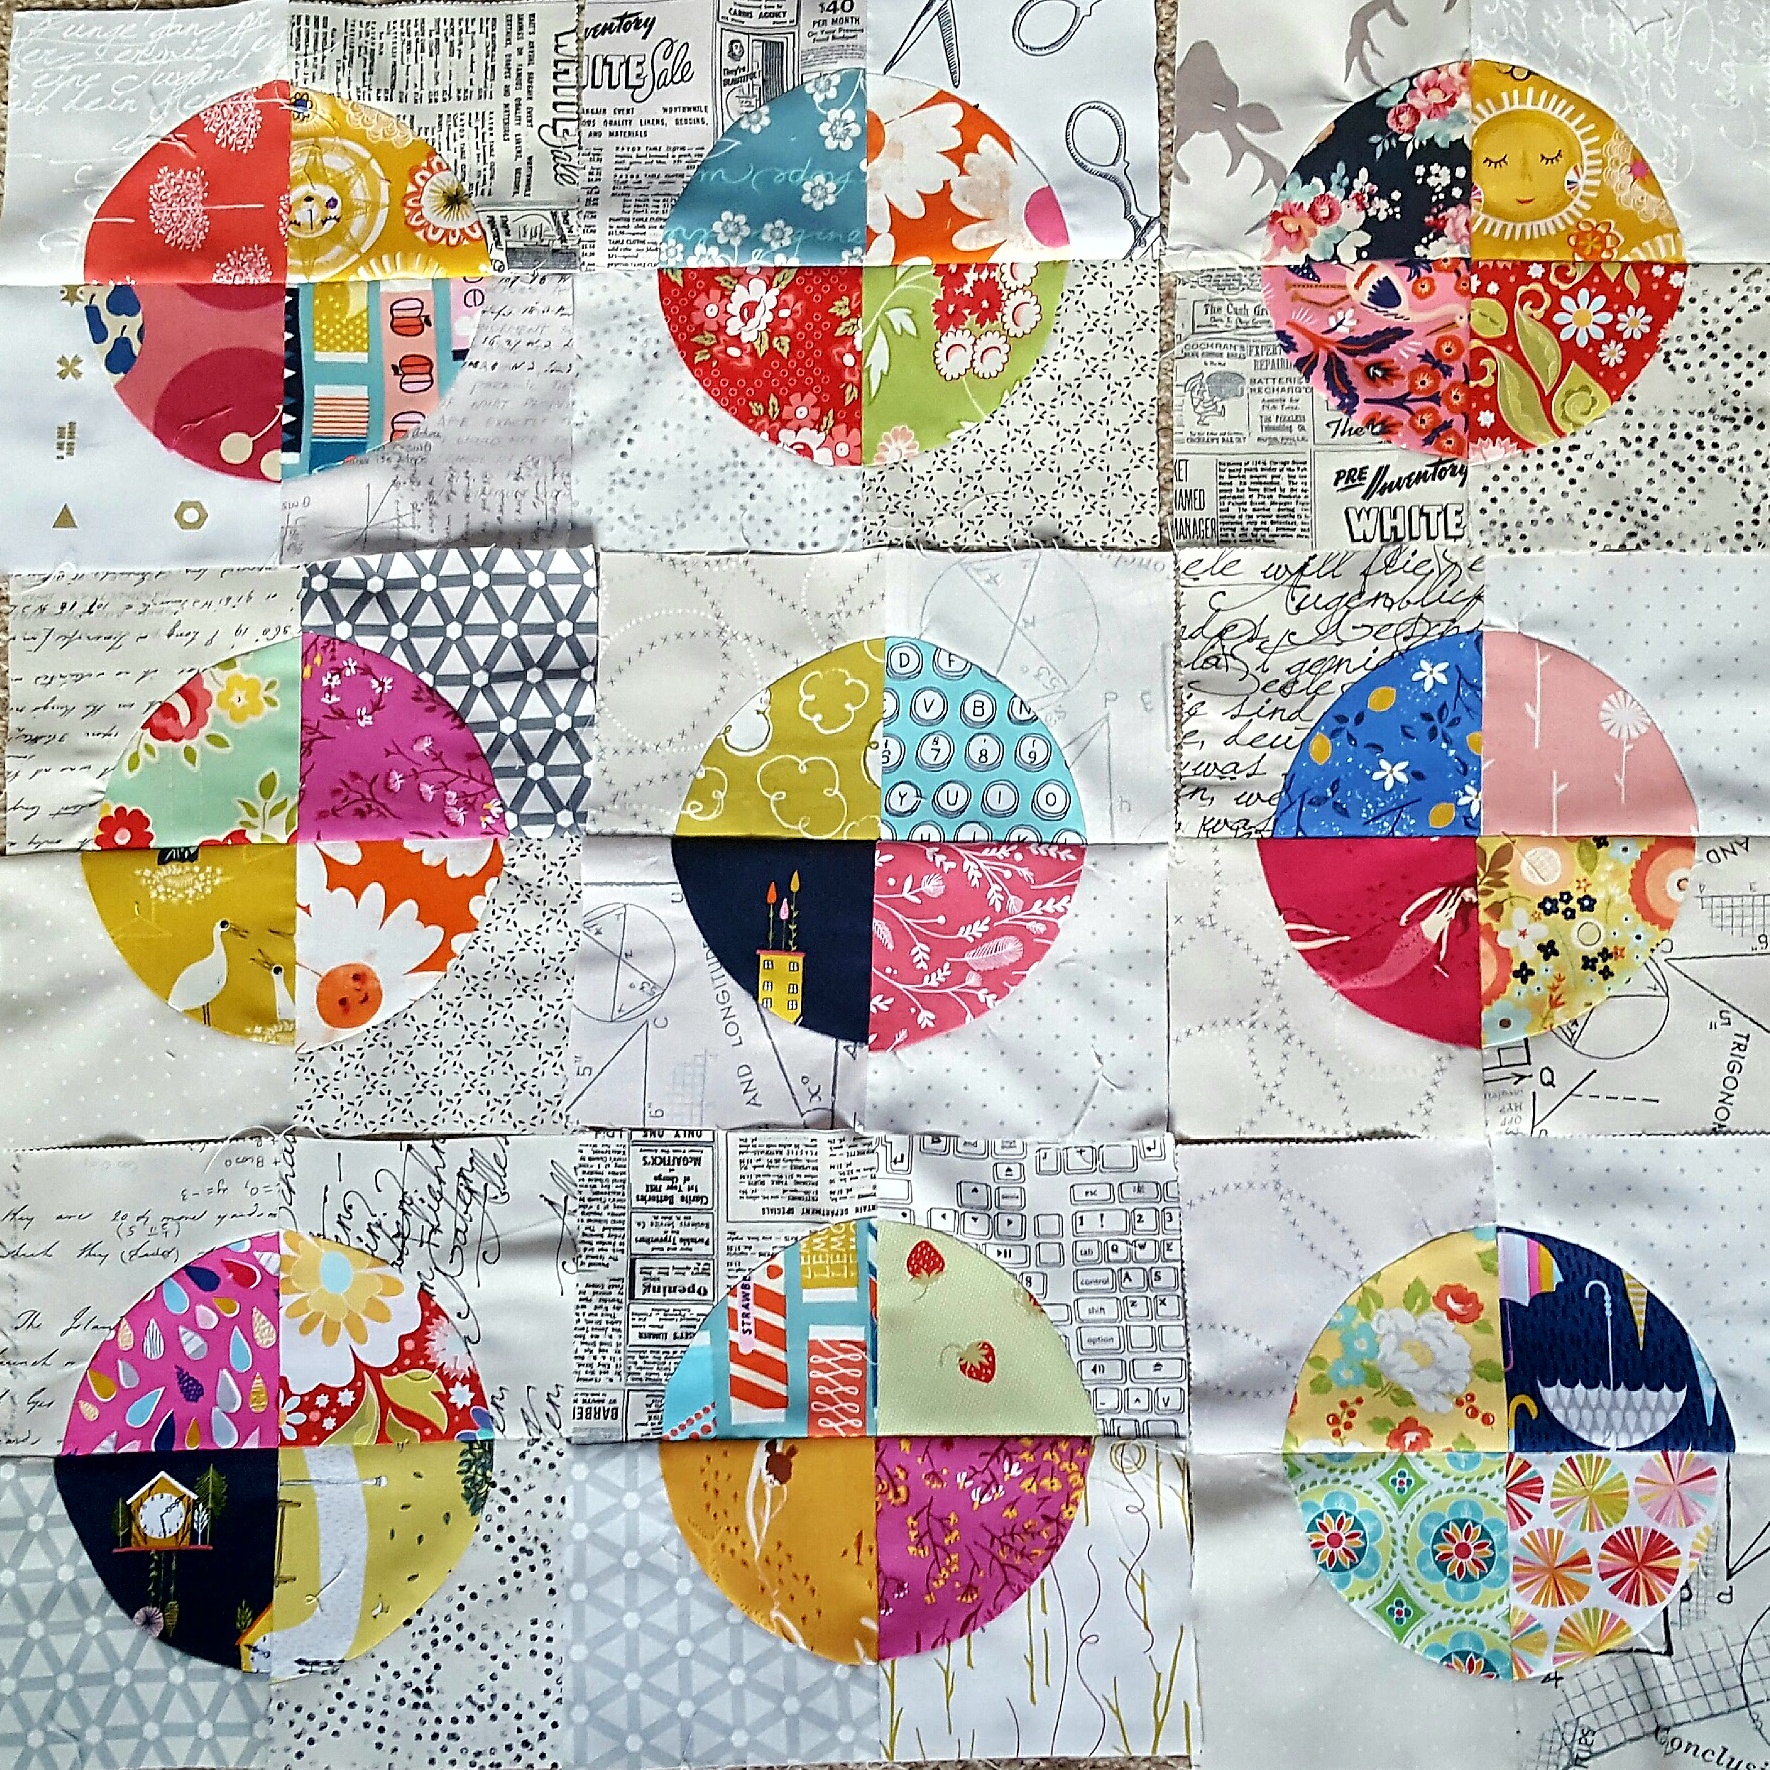
So I ended up making this. A little simpler without a boxed bottom but it keeps the “framed art” look beautifully:
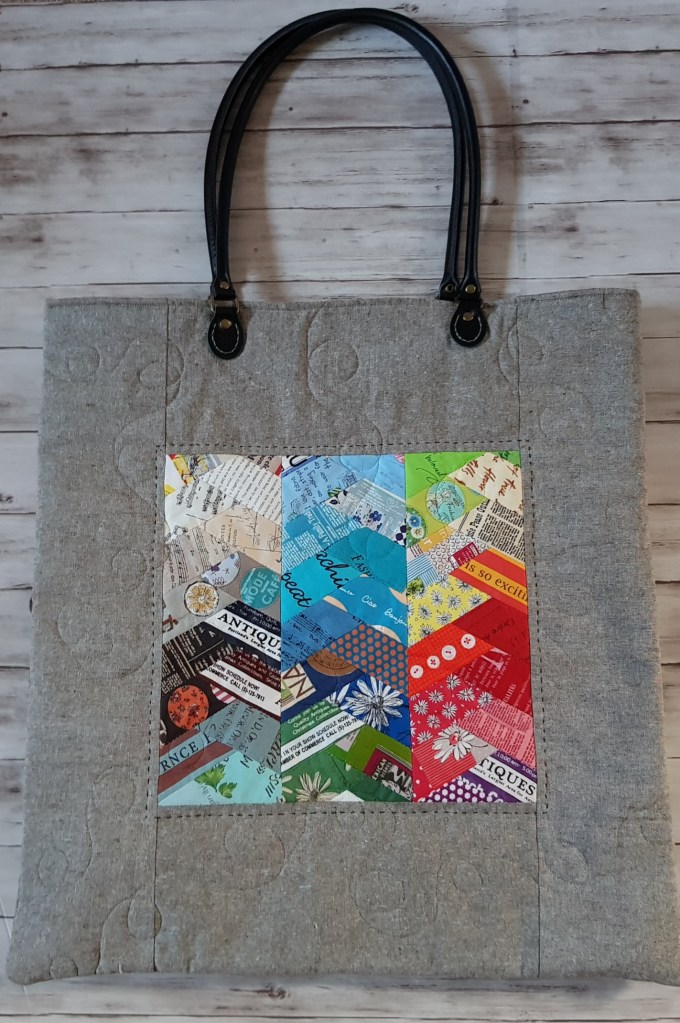
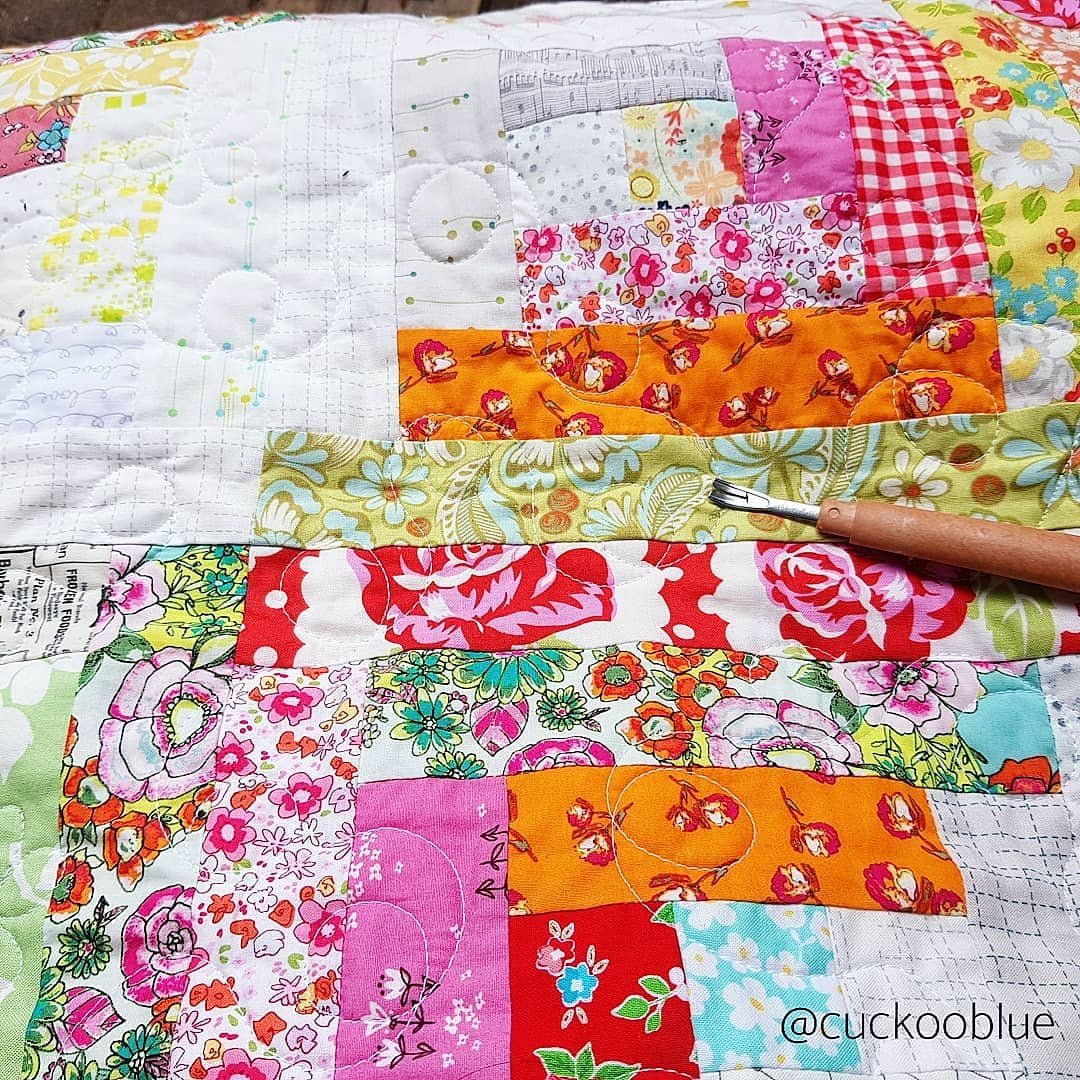
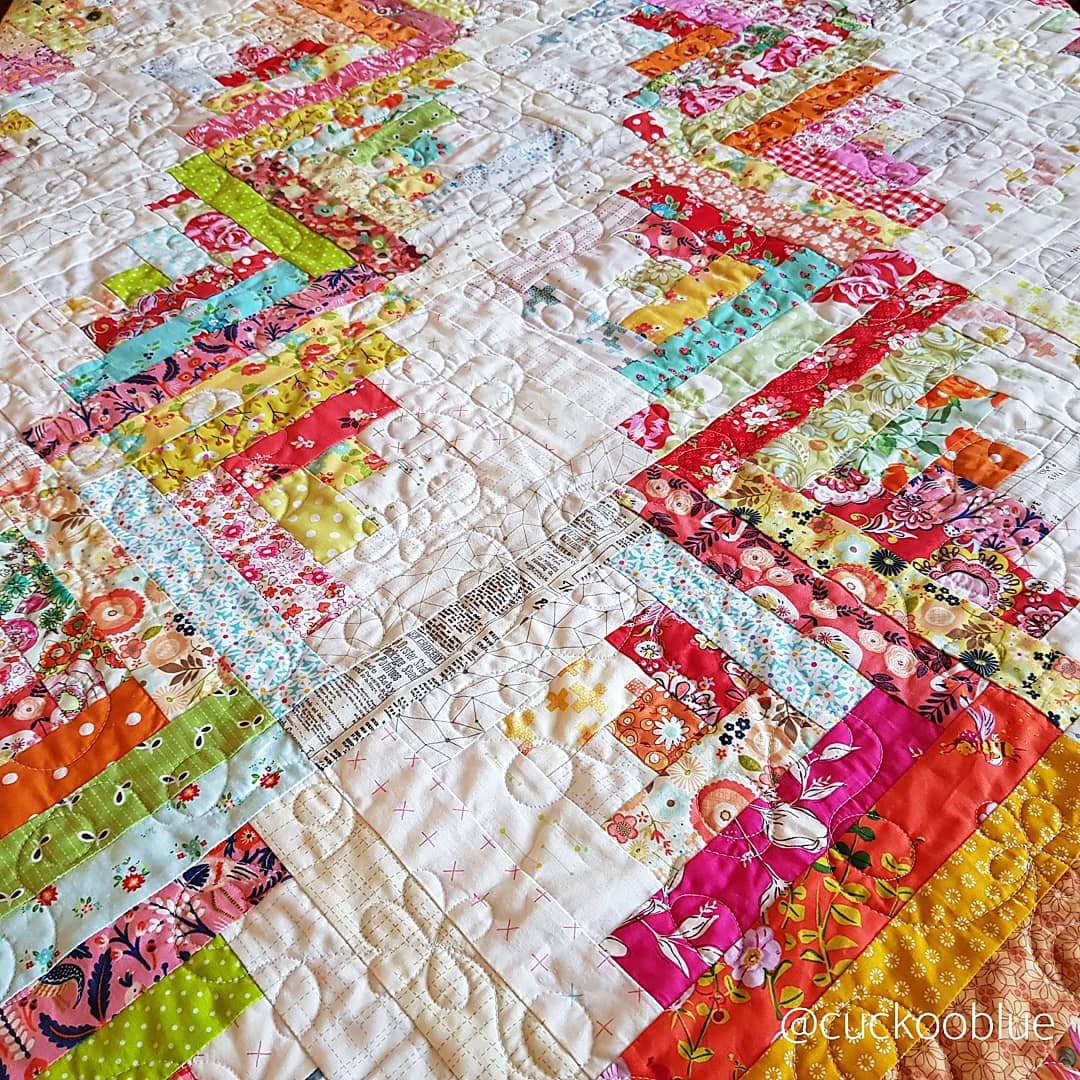
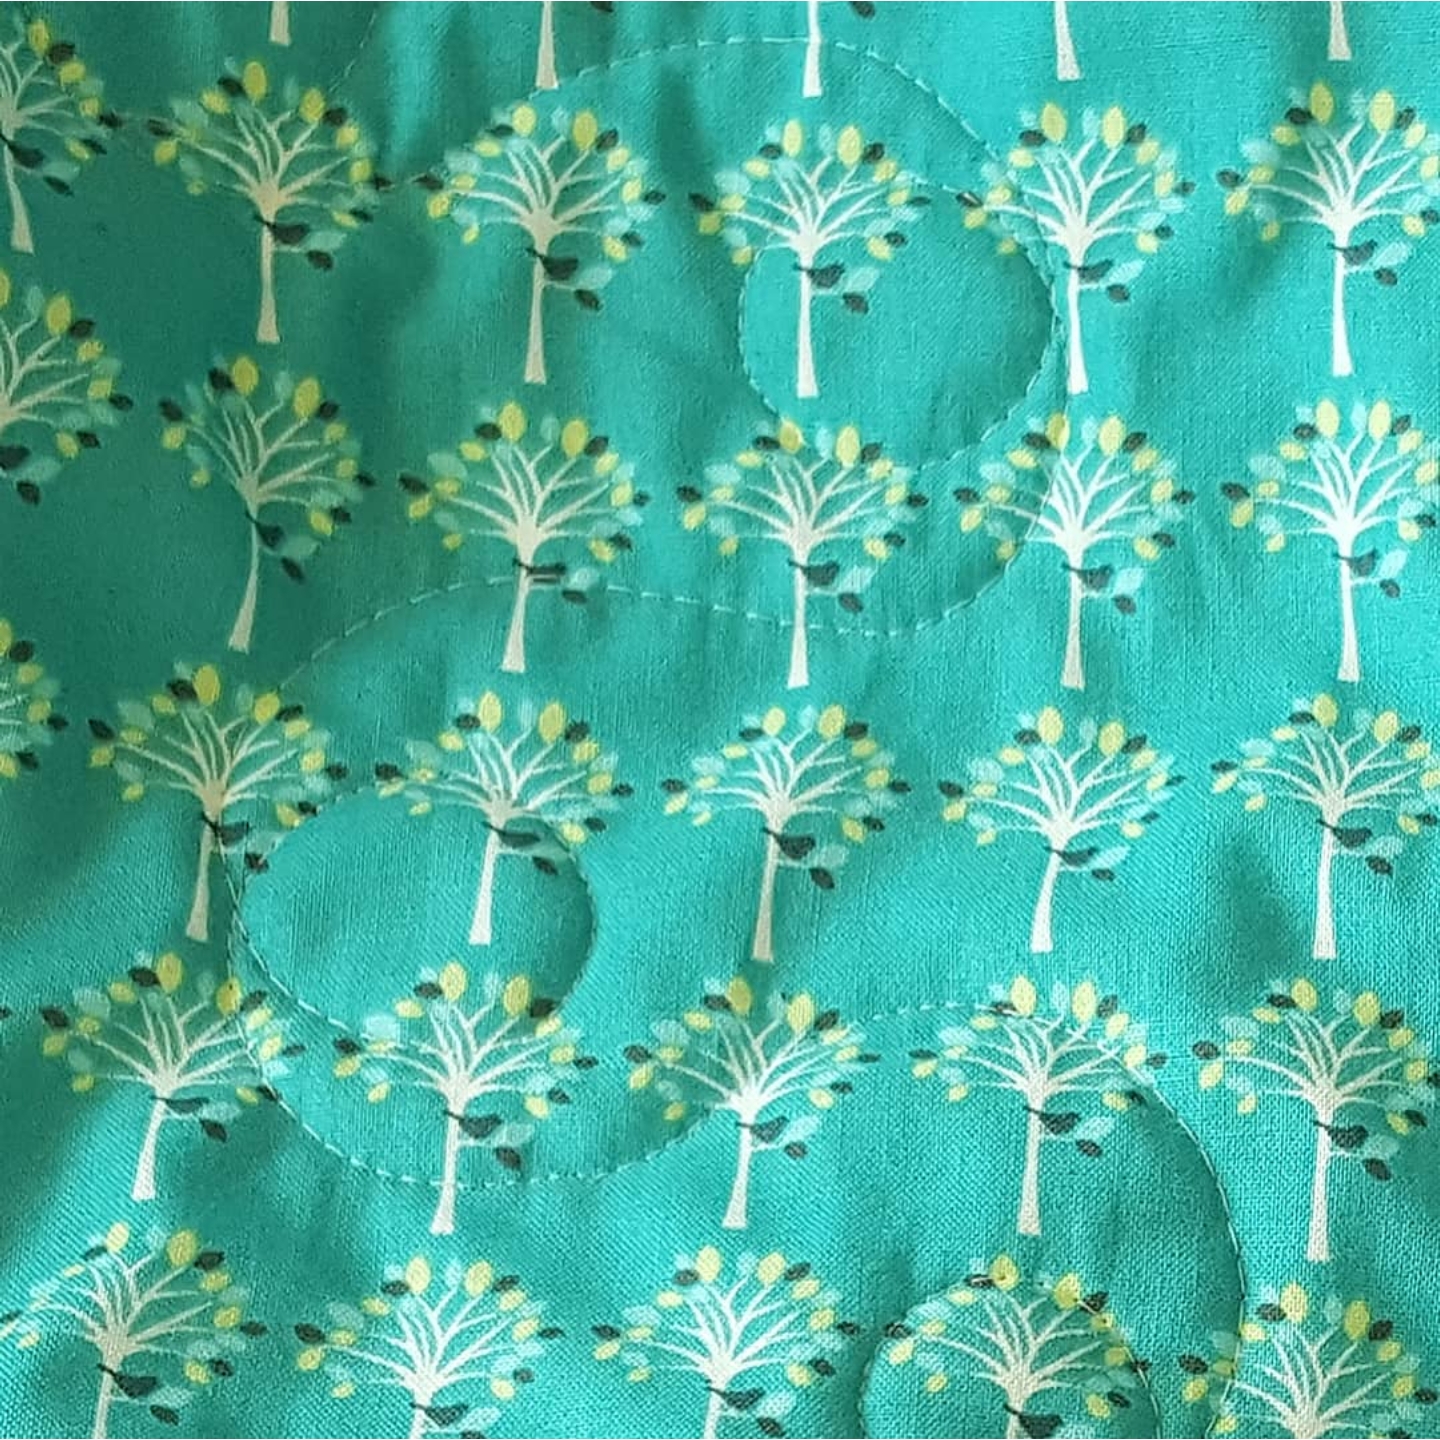
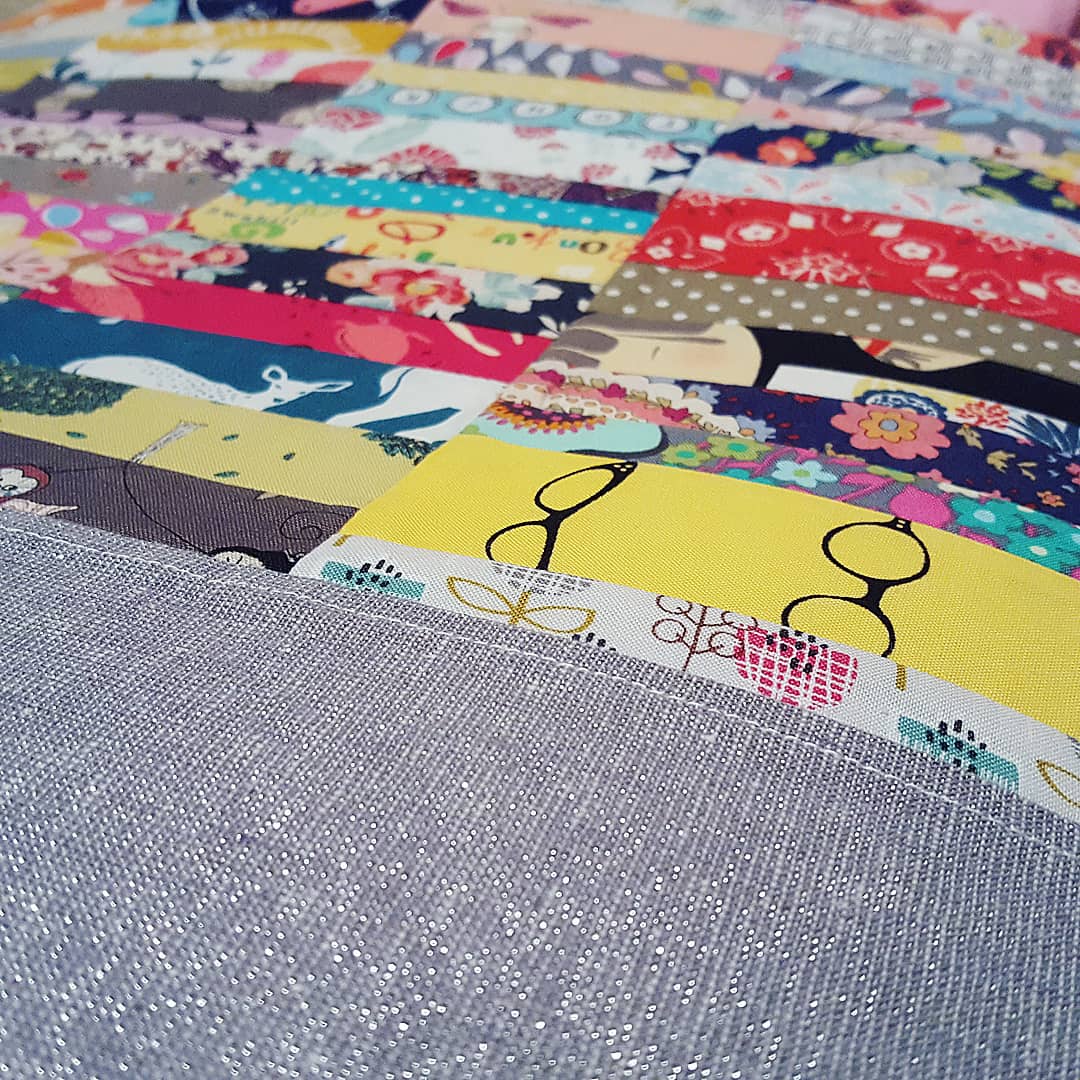
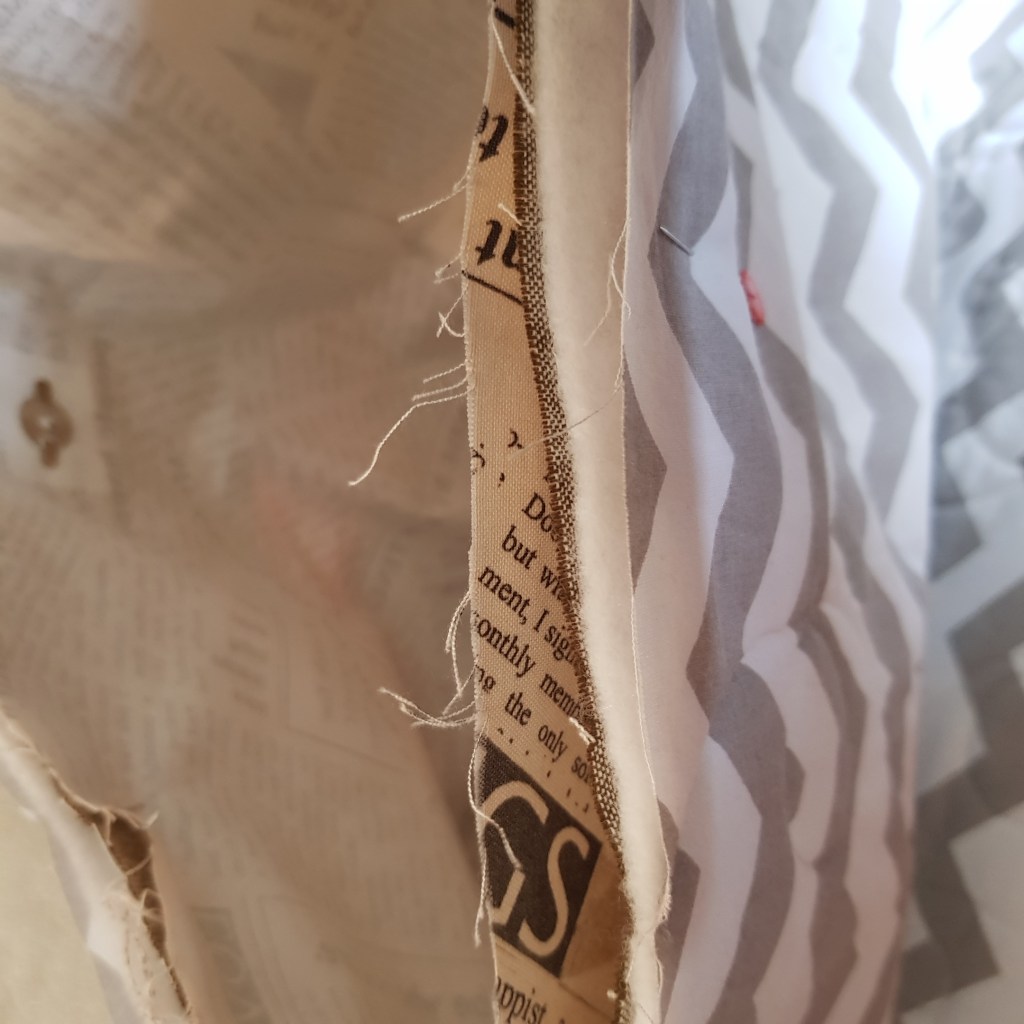
I LOVE it! It’s 19″ wide, 20″ tall, soft but sturdy with volume fleece as the interfacing. I free motion quilted some loops in invisible thread to add interest and sturdiness without muddying the colours. I have a blog post all about how to use invisible thread here: https://cuckooblue.co.uk/2016/05/01/spiderman-and-invisibility-or-how-to-quilt-with-invisible-thread/
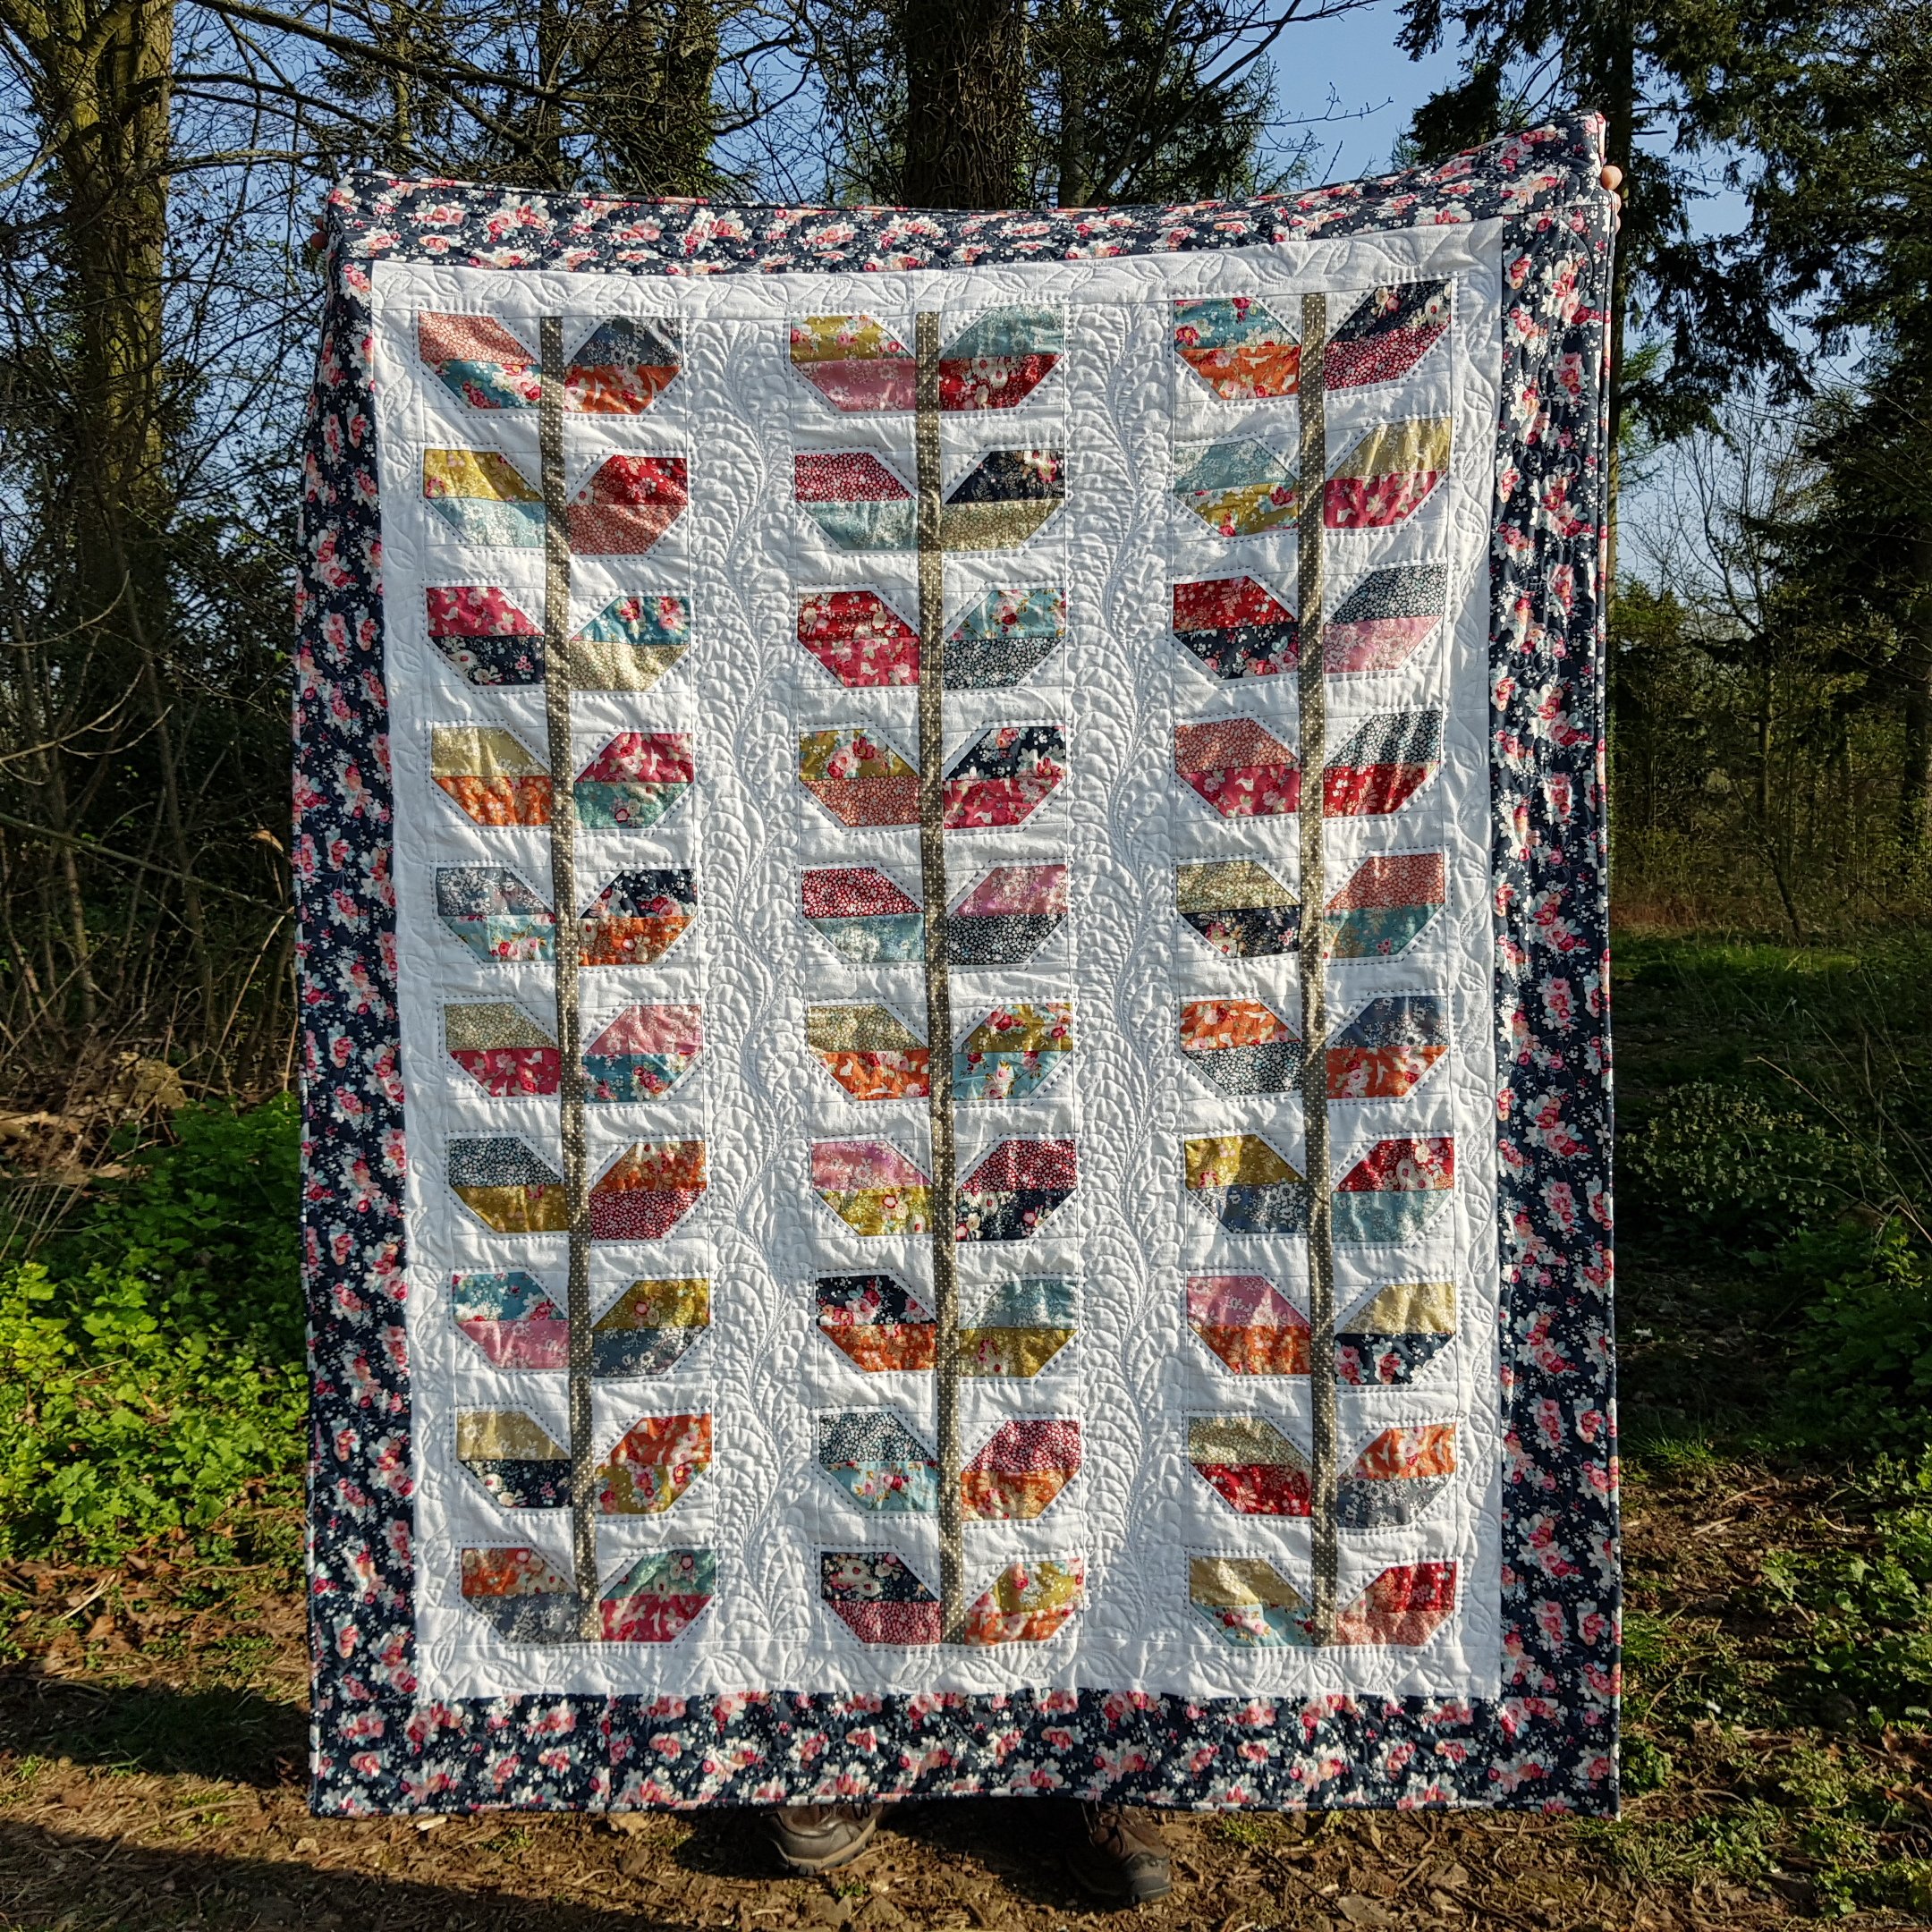
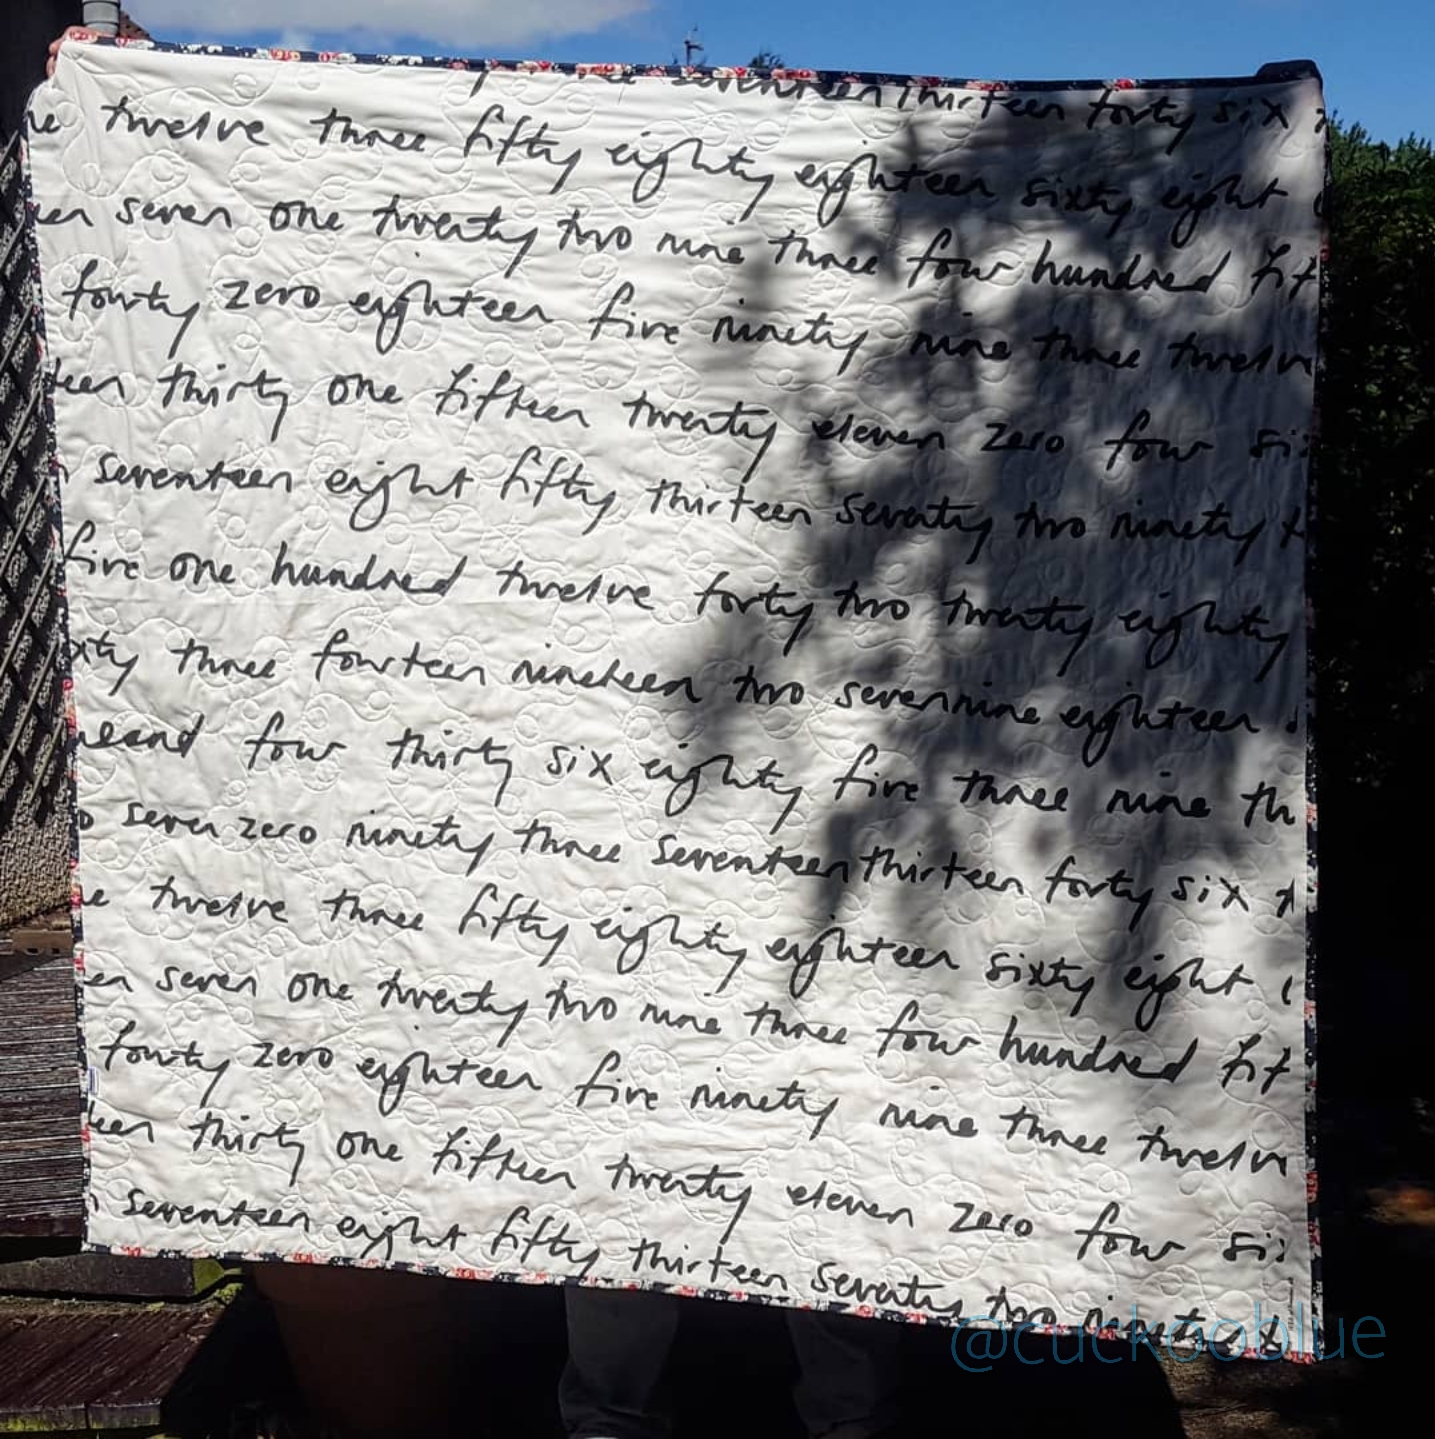
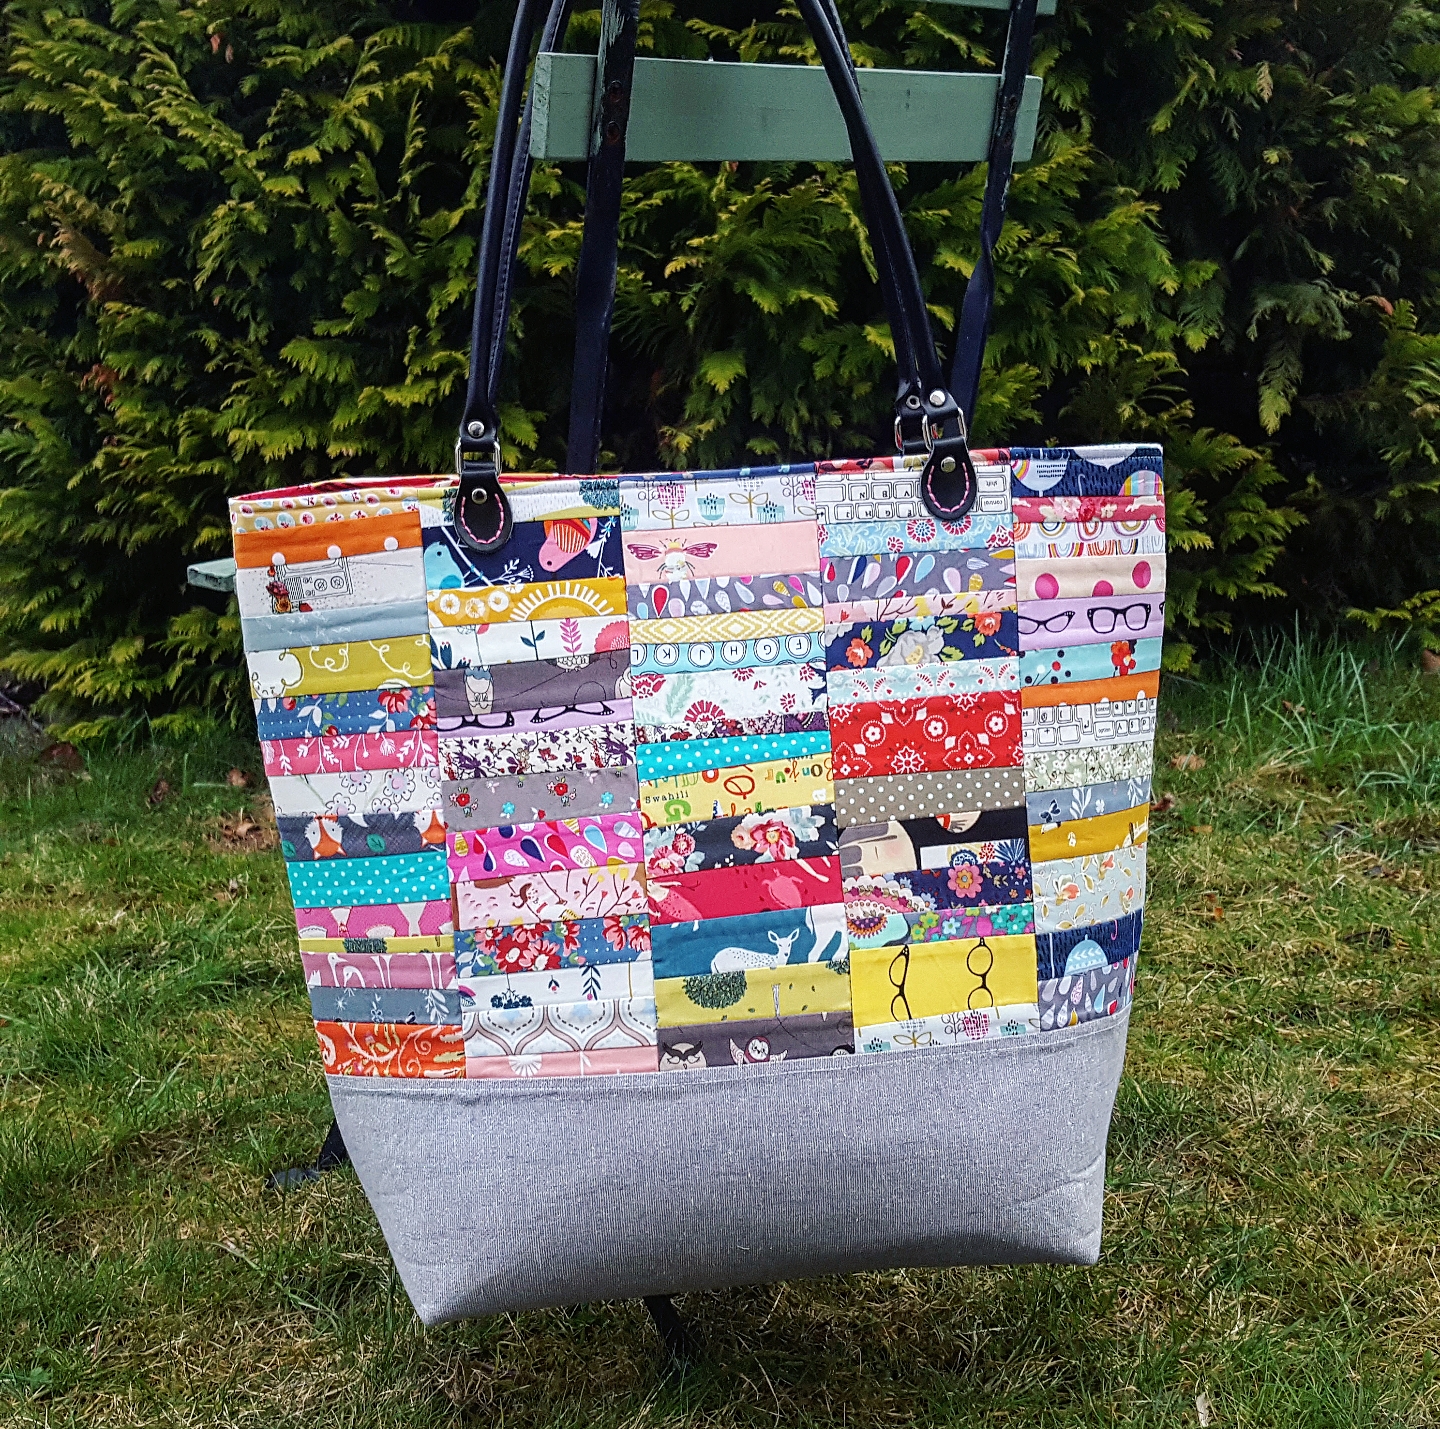
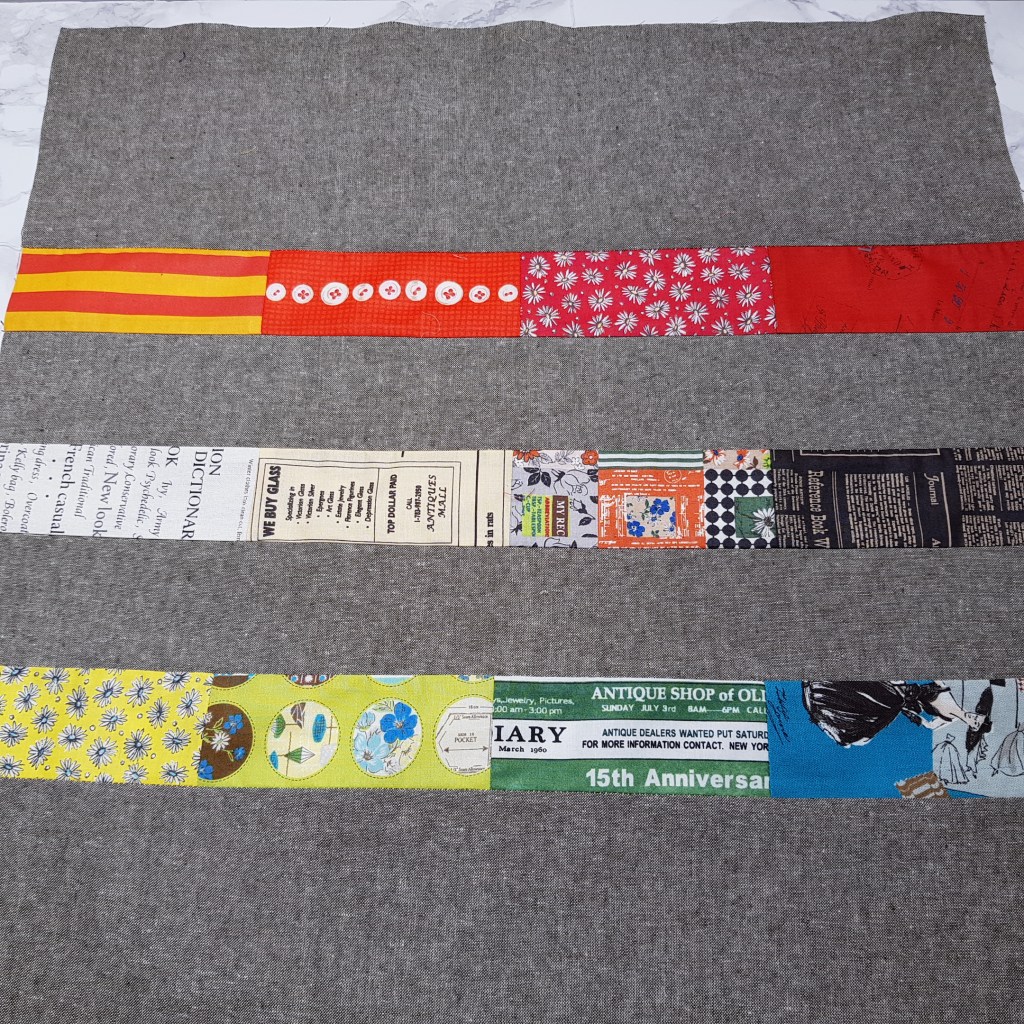
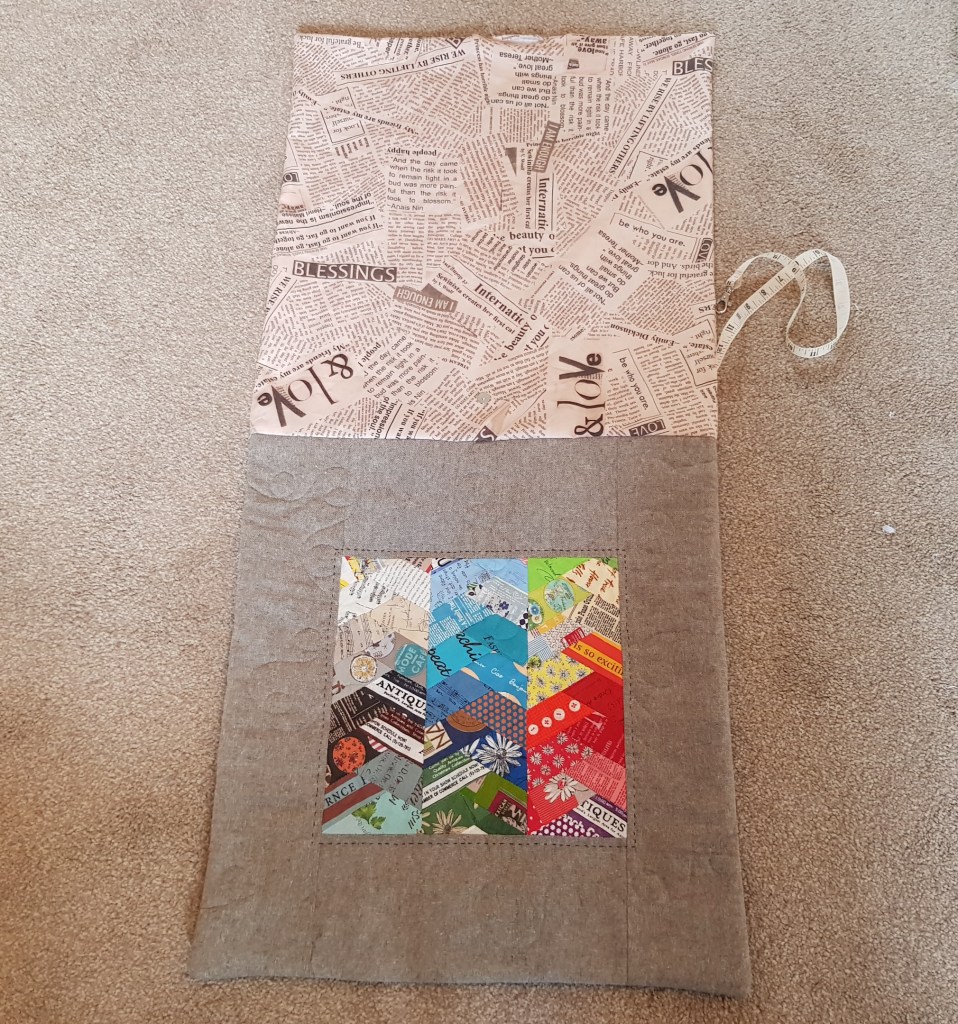
Of course I needed a back, so I made one up fairly quickly with some 5.5″ x 2.5″ scrap leftovers of the same fabric. The background is Essex Yarn Dyed Linen in Olive; the three thinner strips are 3″ x 21″unfinished and the Top and bottom thinner strips are 6″ x 21″. I trimmed the back down to match the front after quilting.
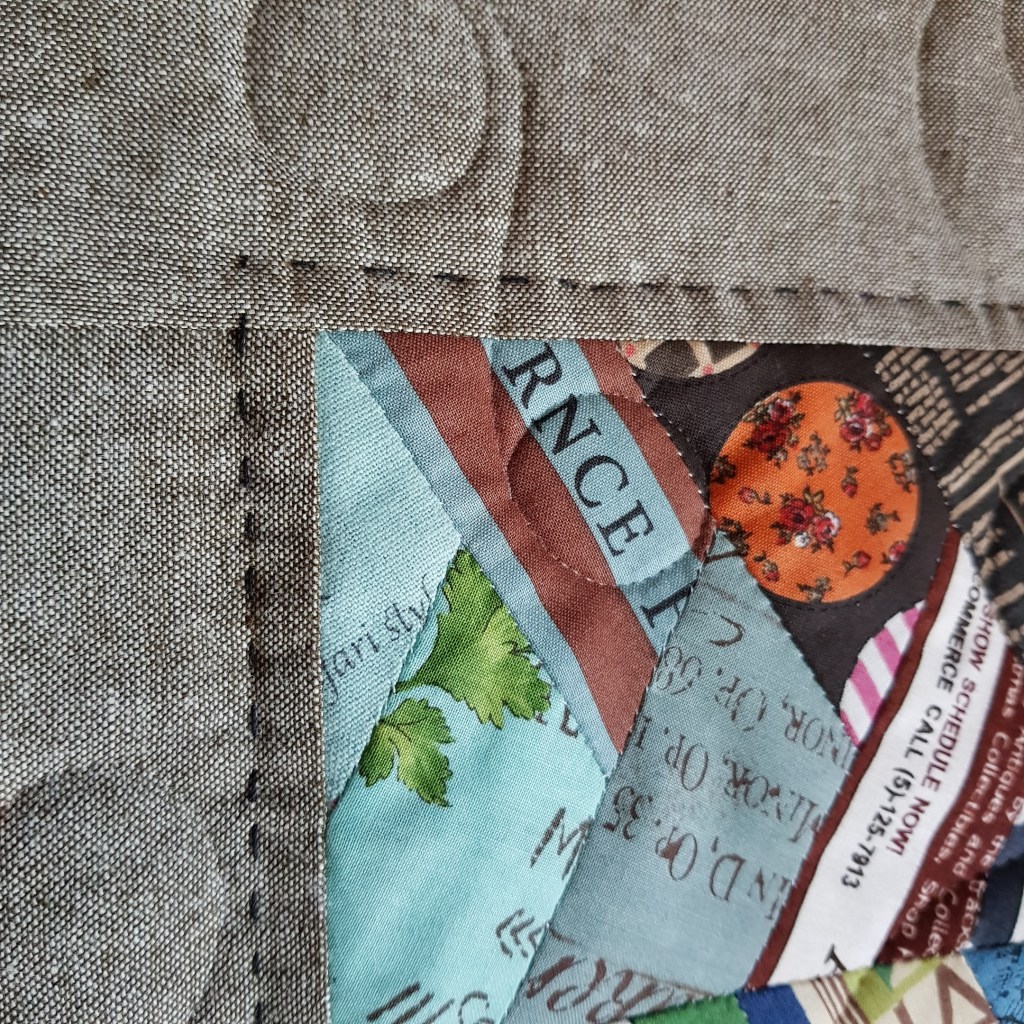
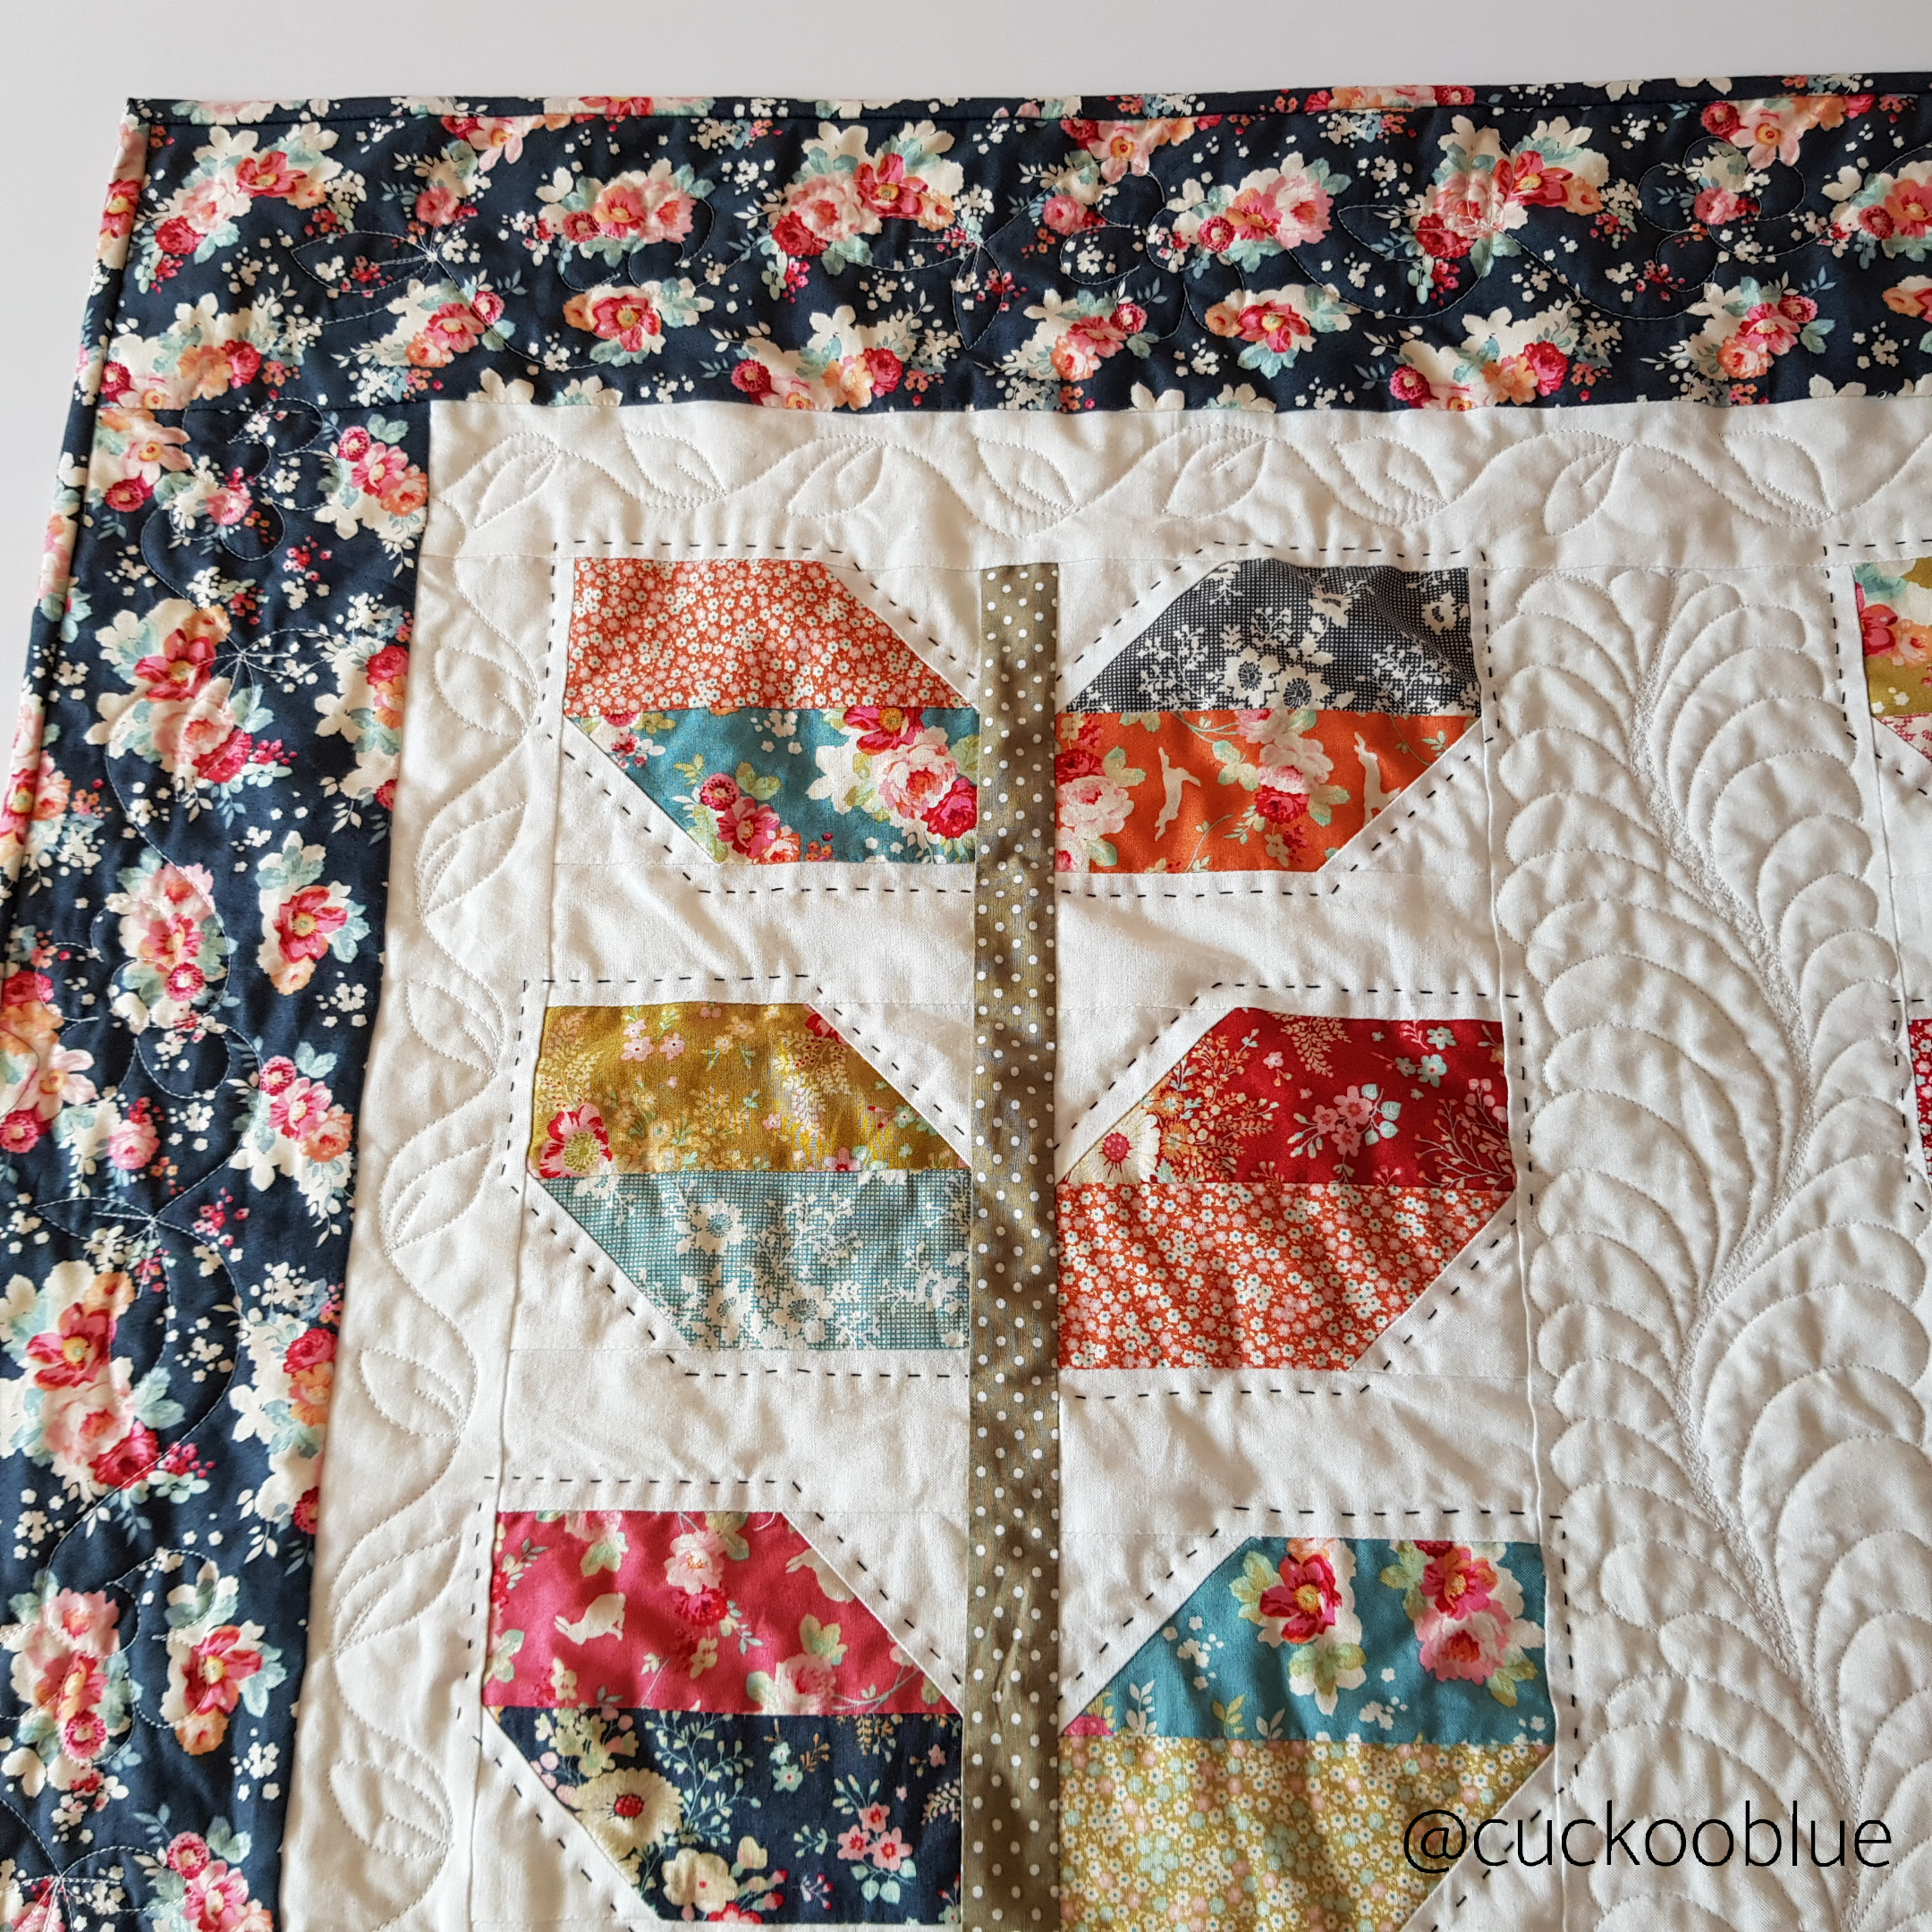
Some handstitching detail with 12wt Spagetti thread from Wonderfil Speciality threads:

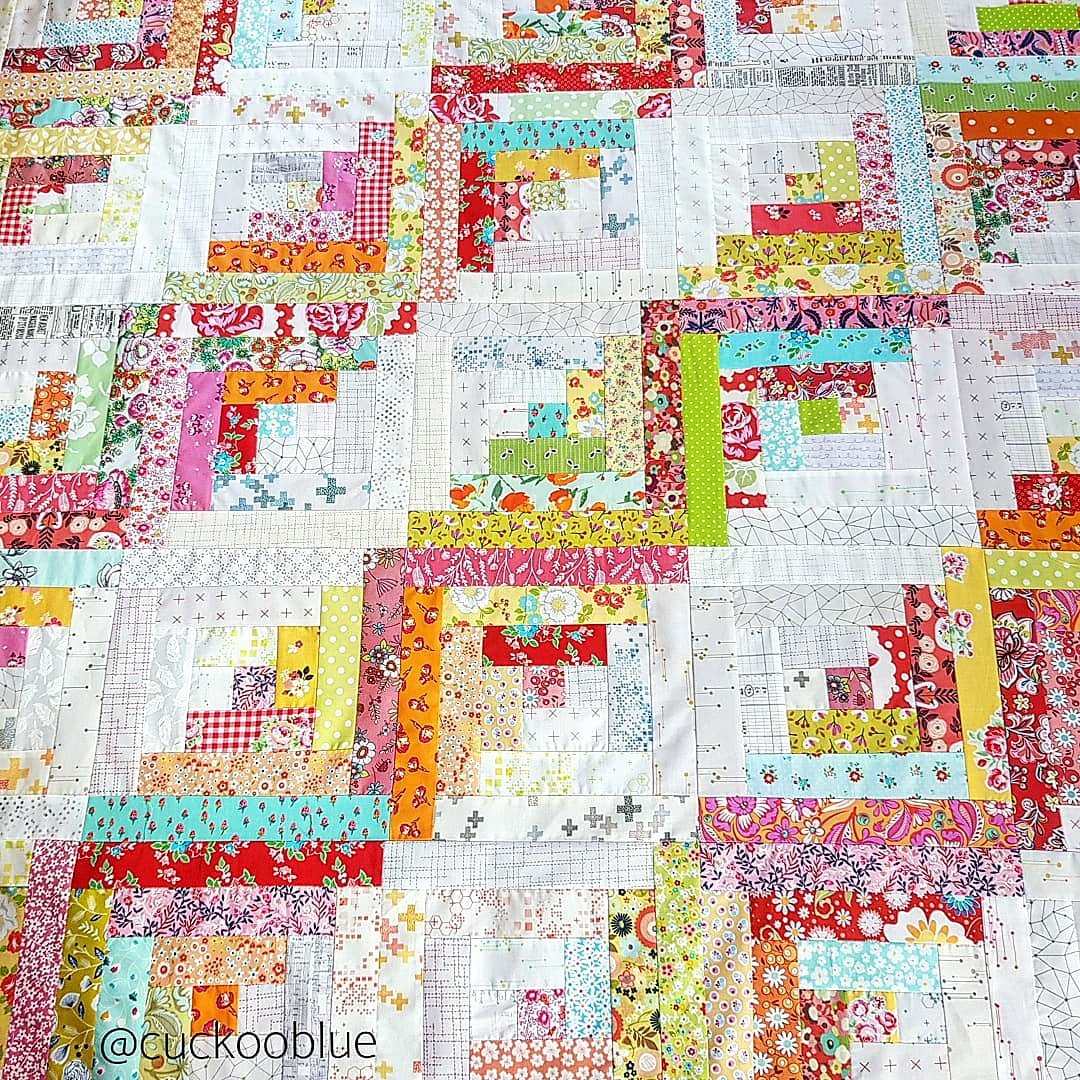
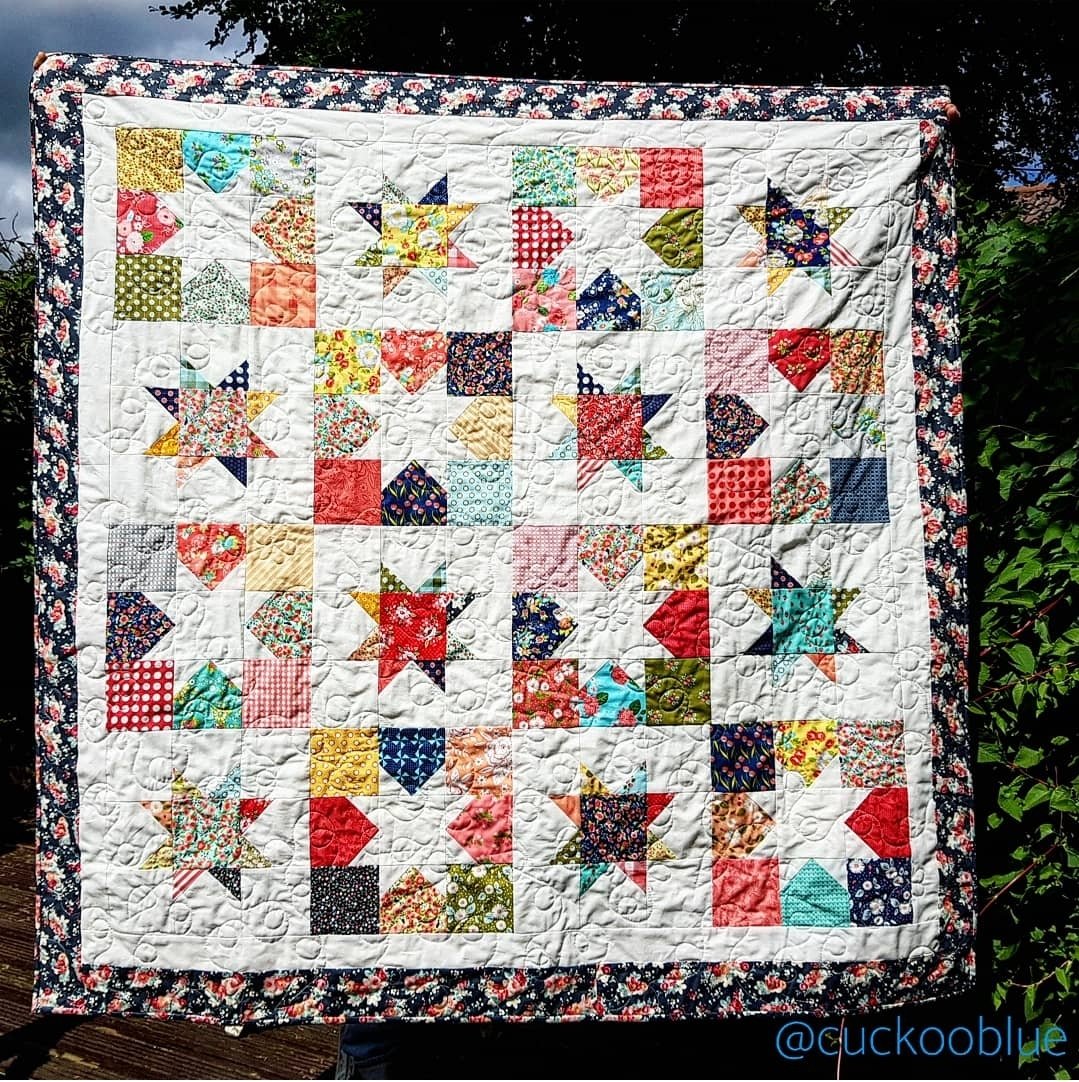
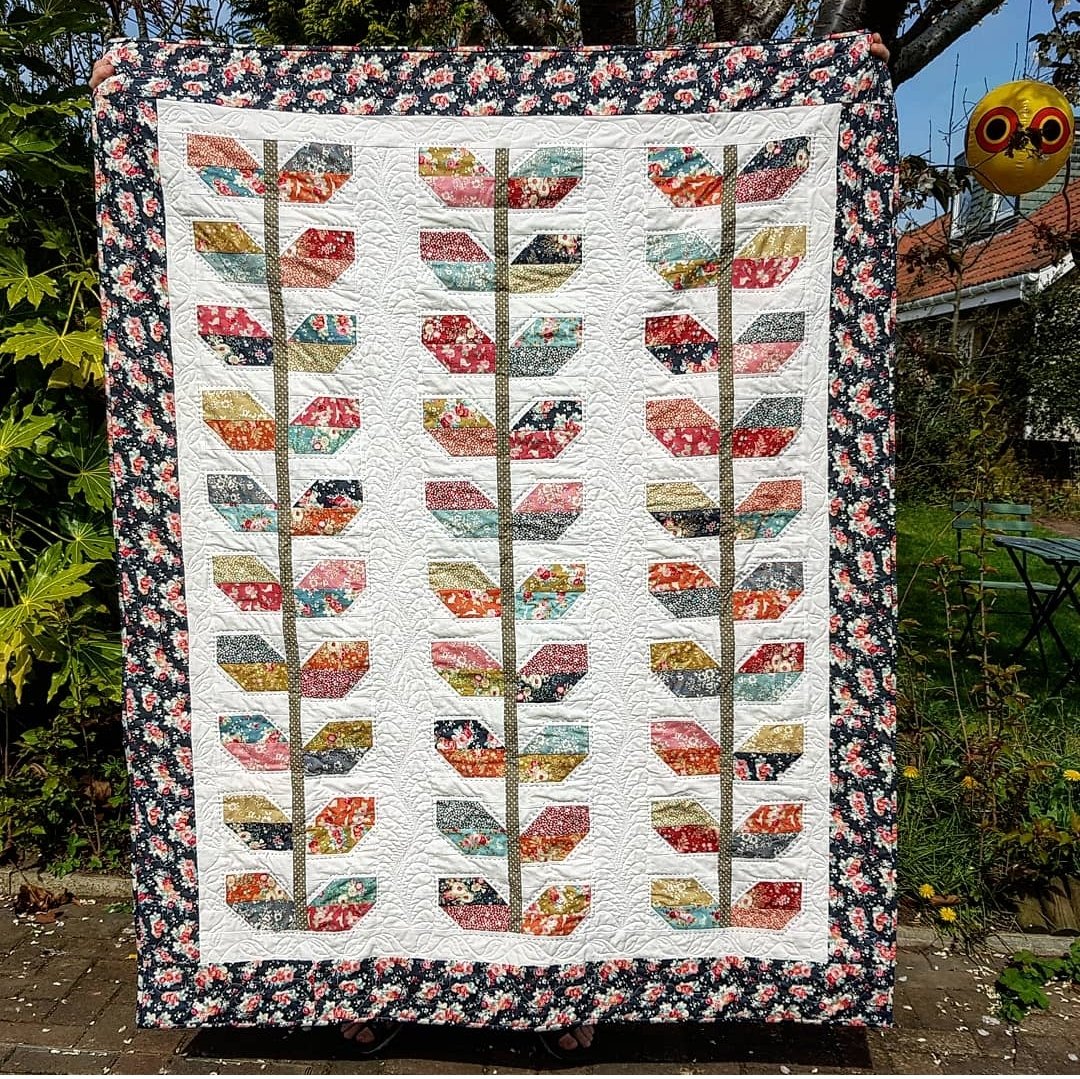
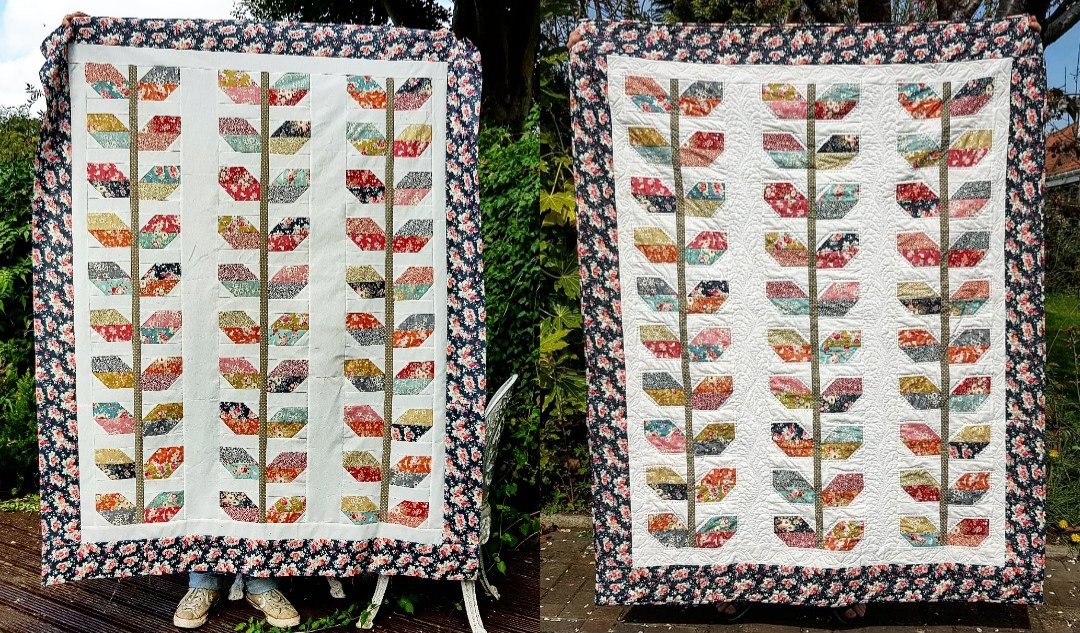
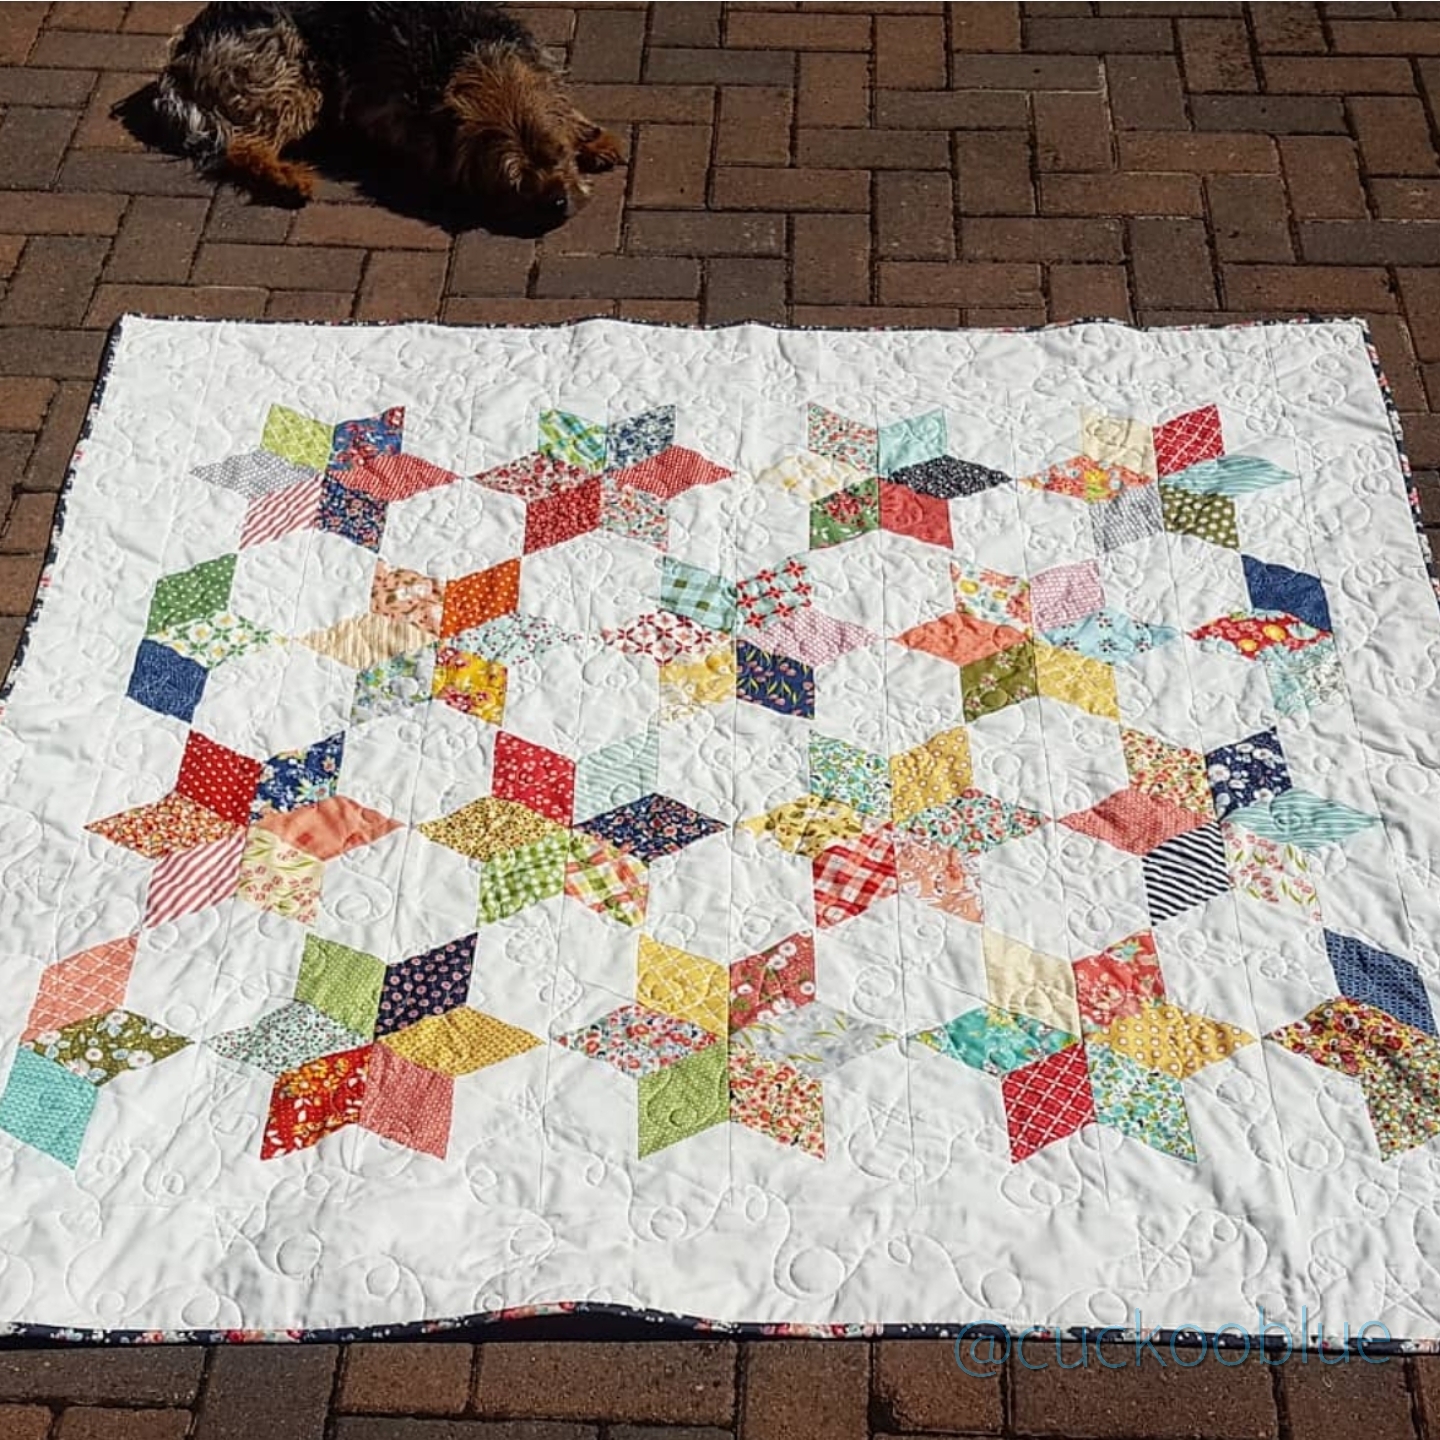
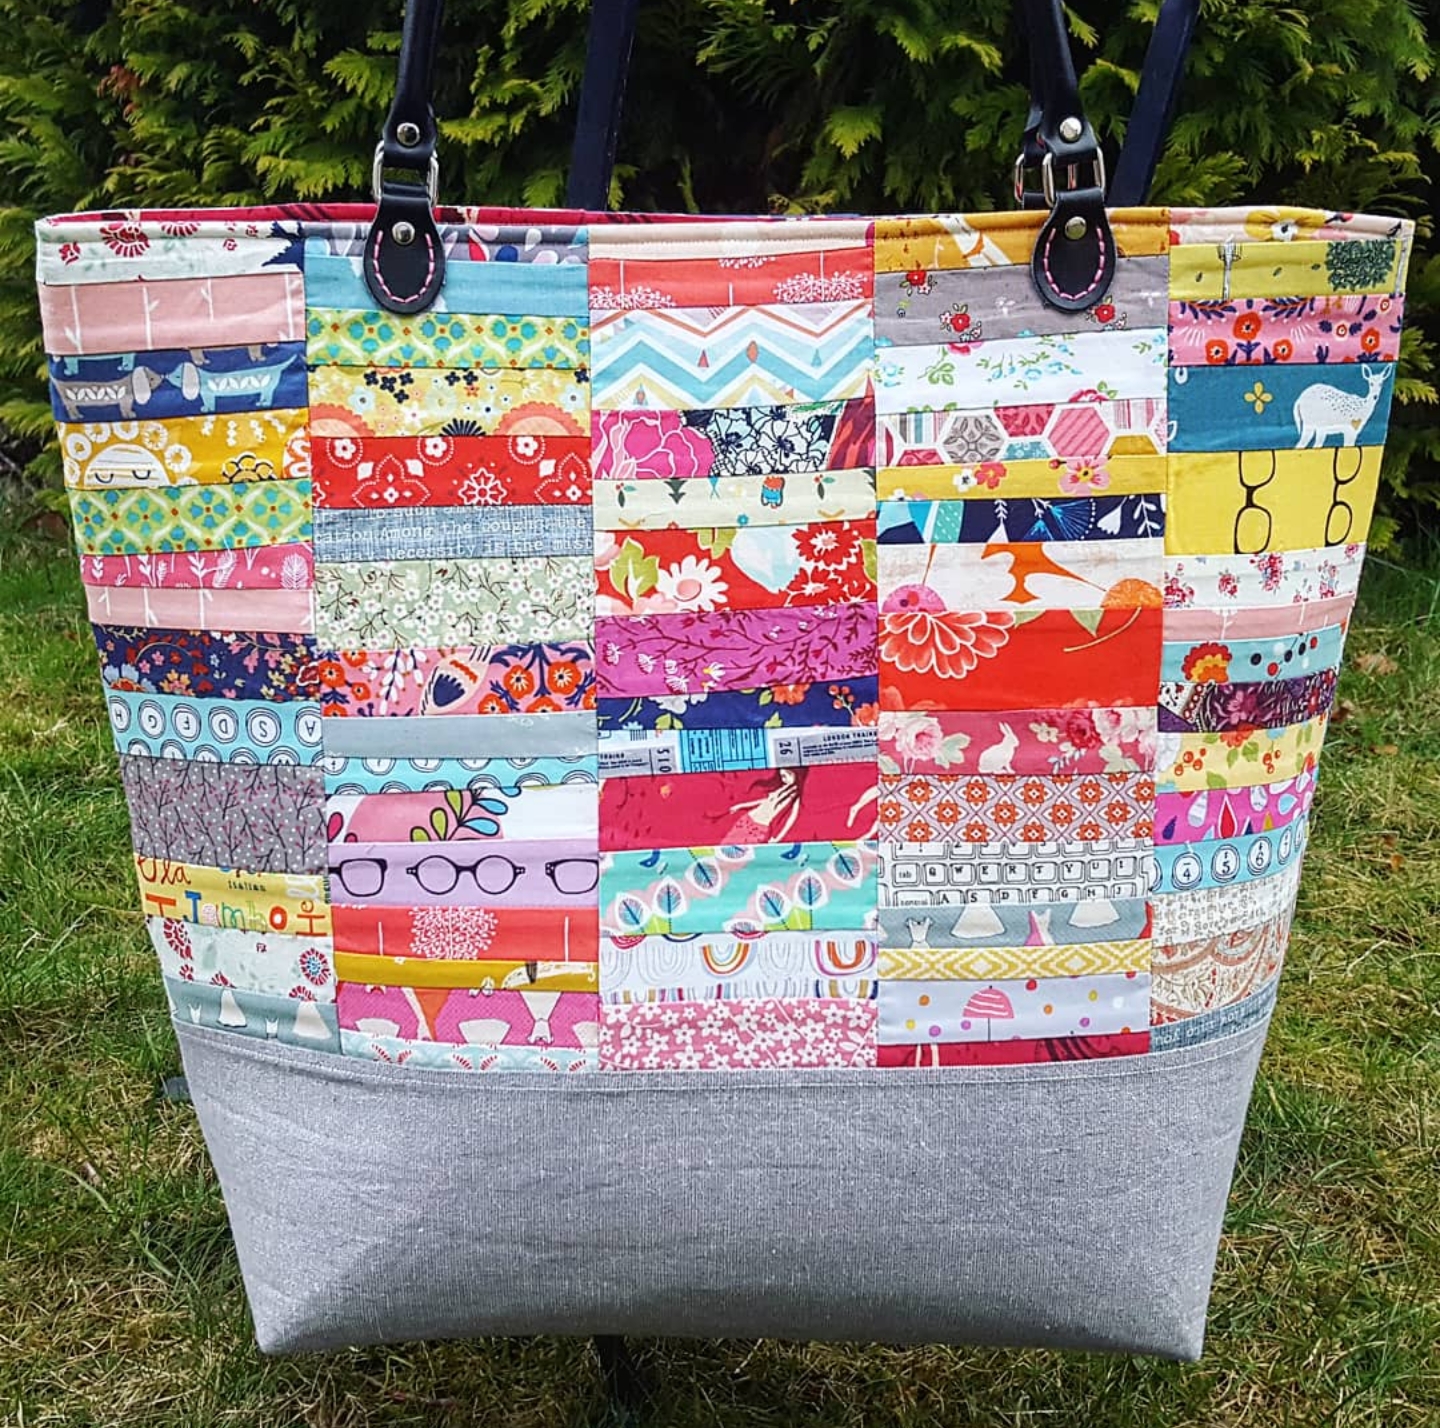
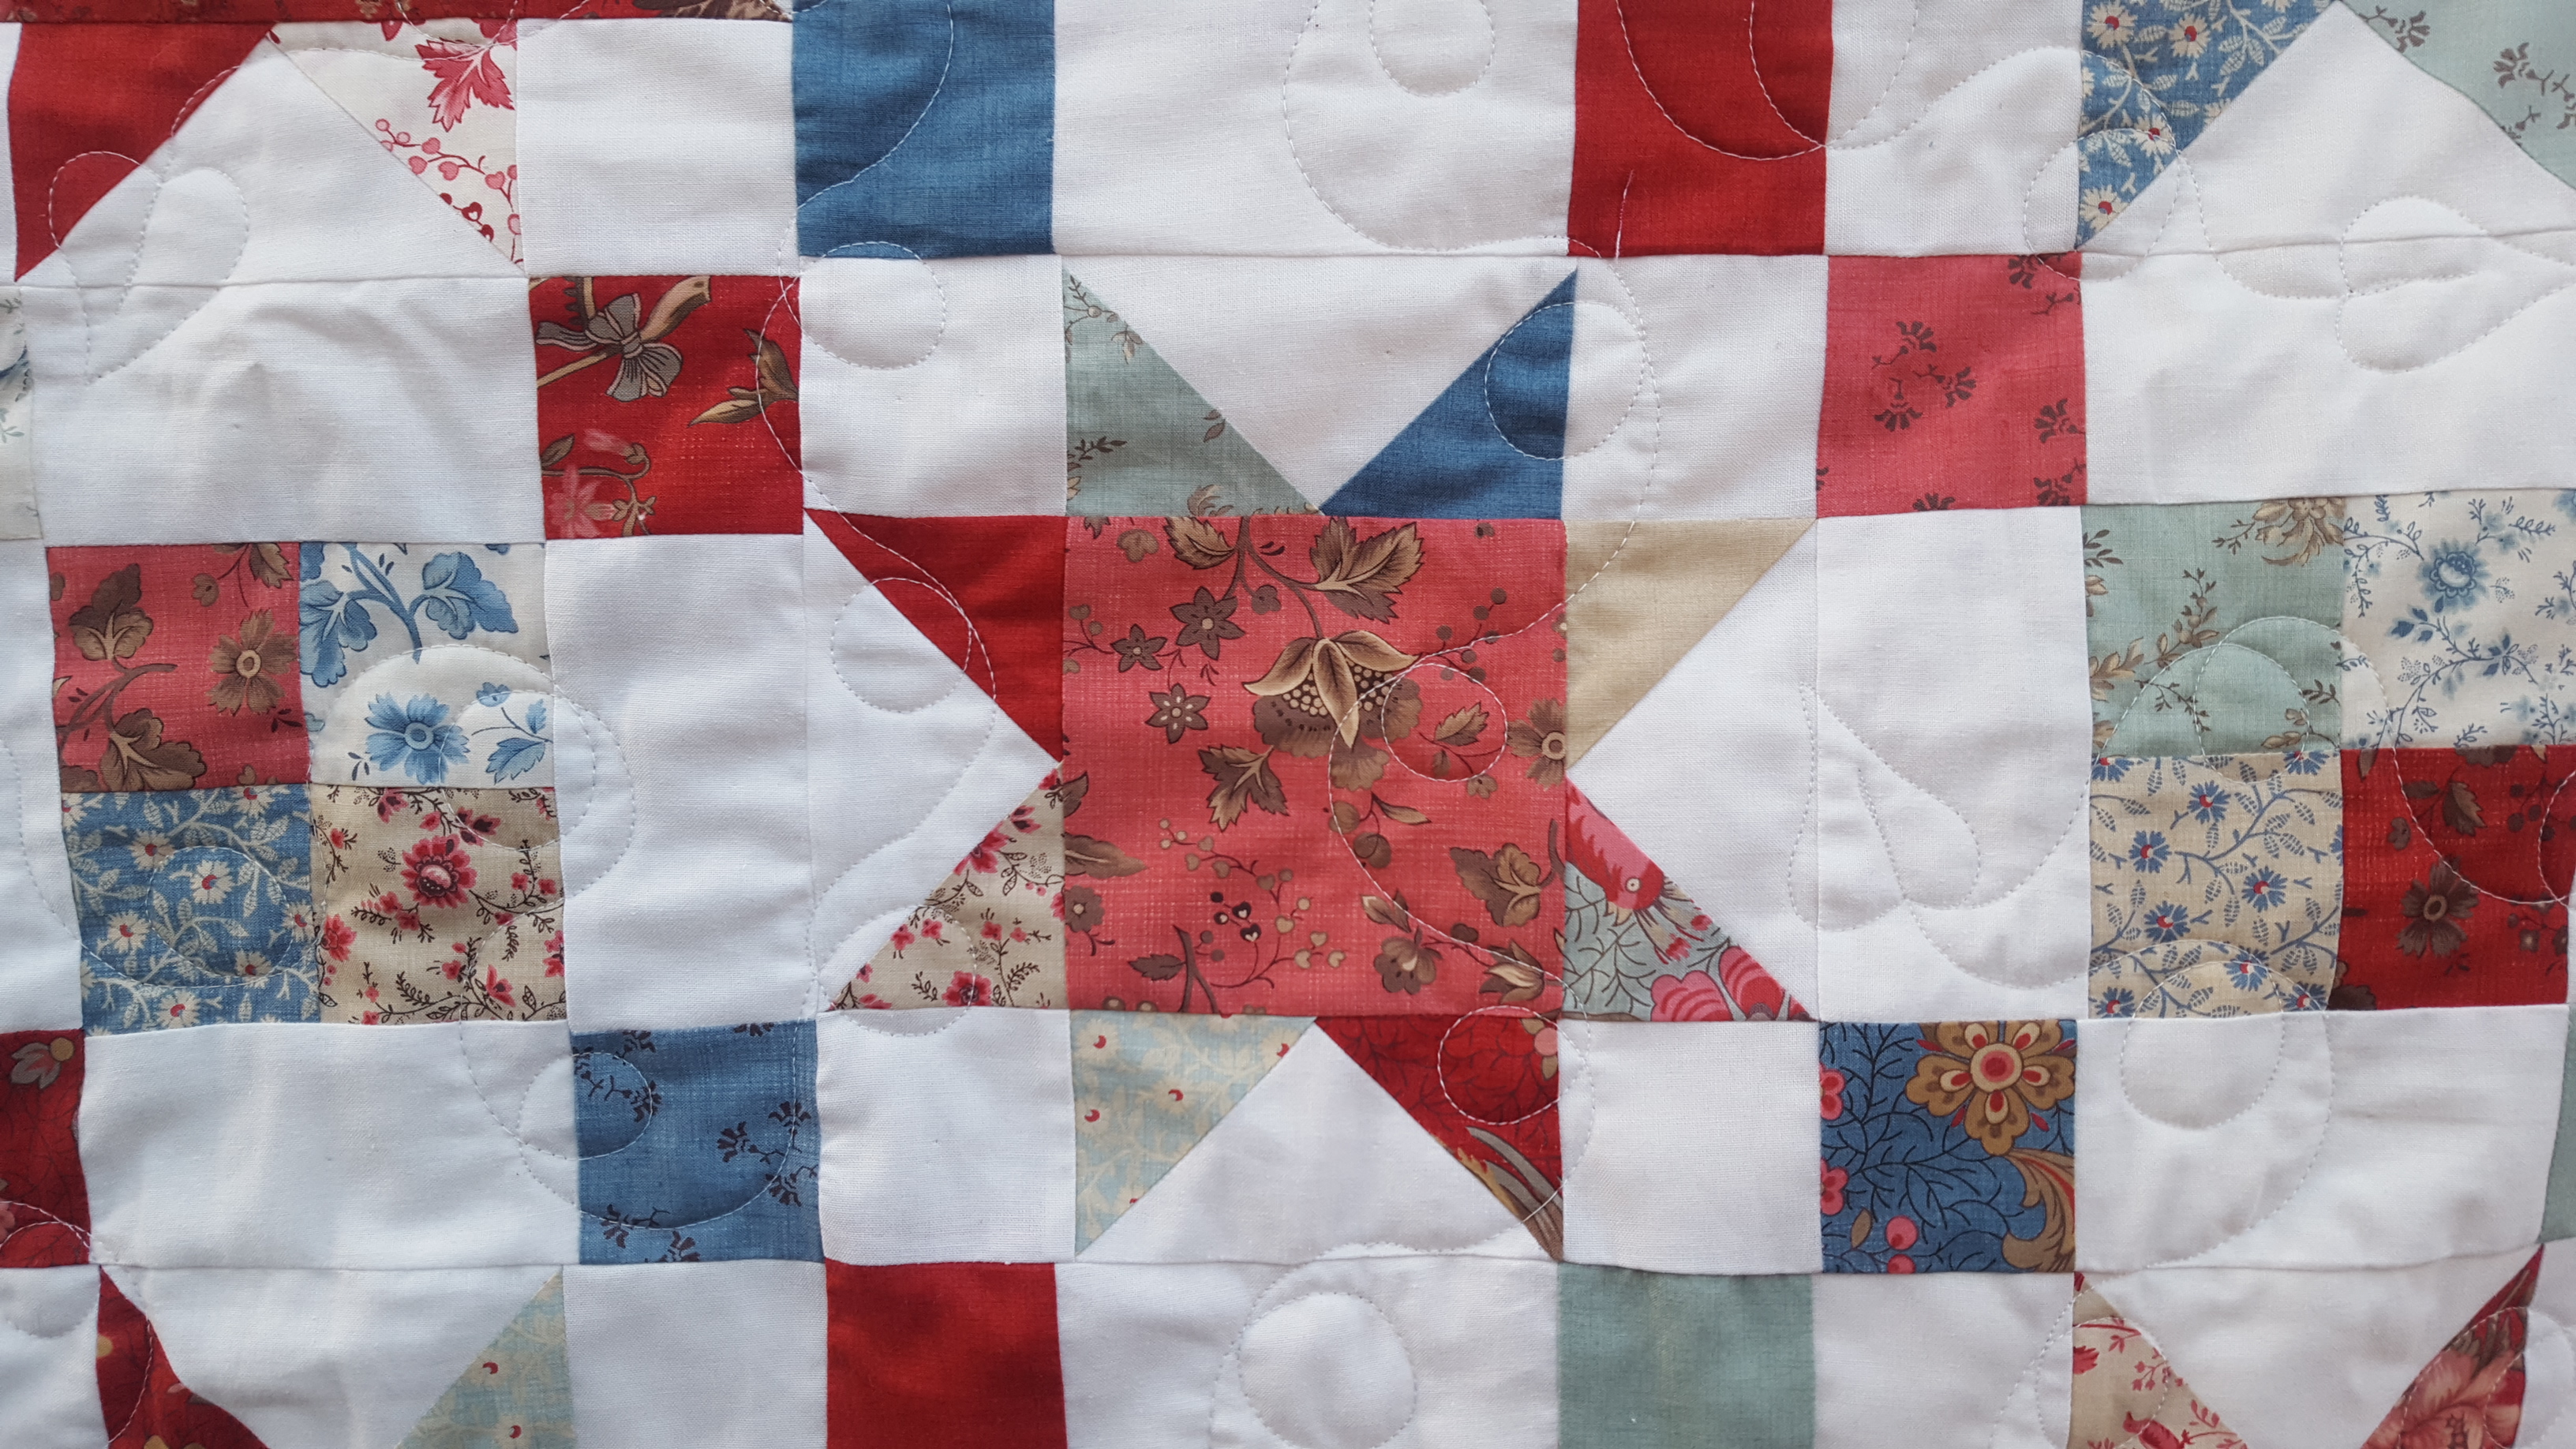
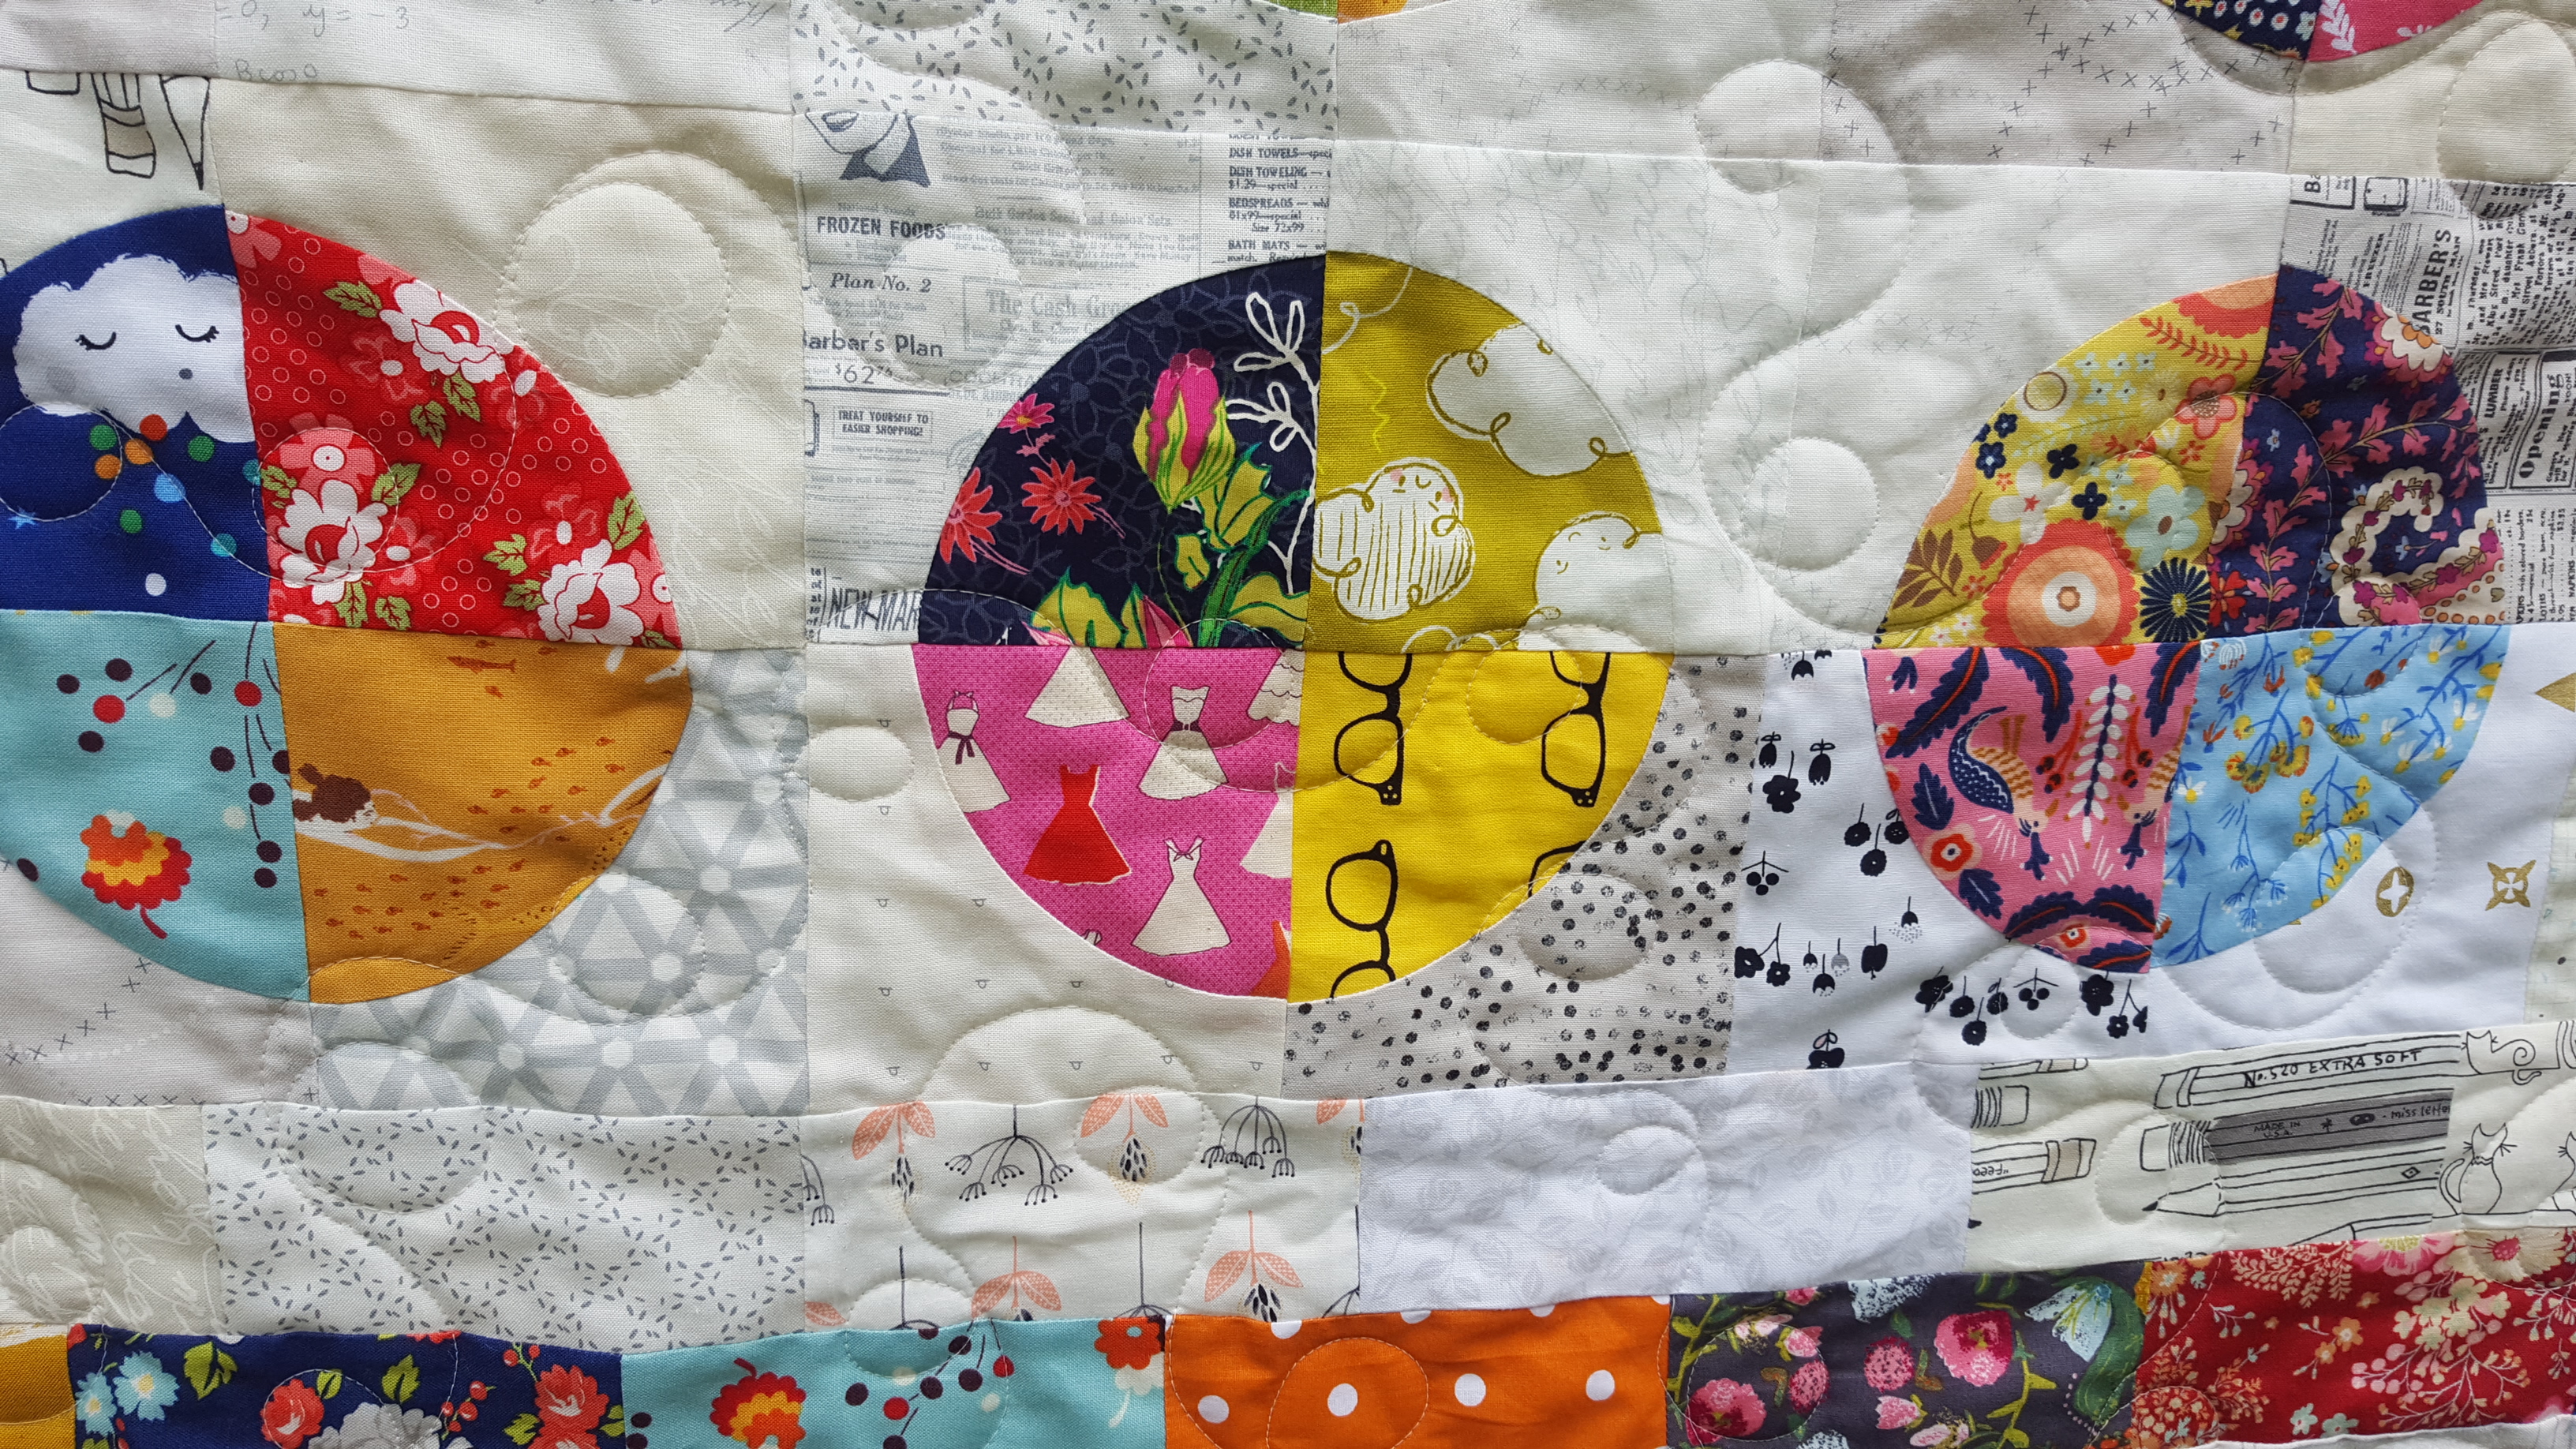
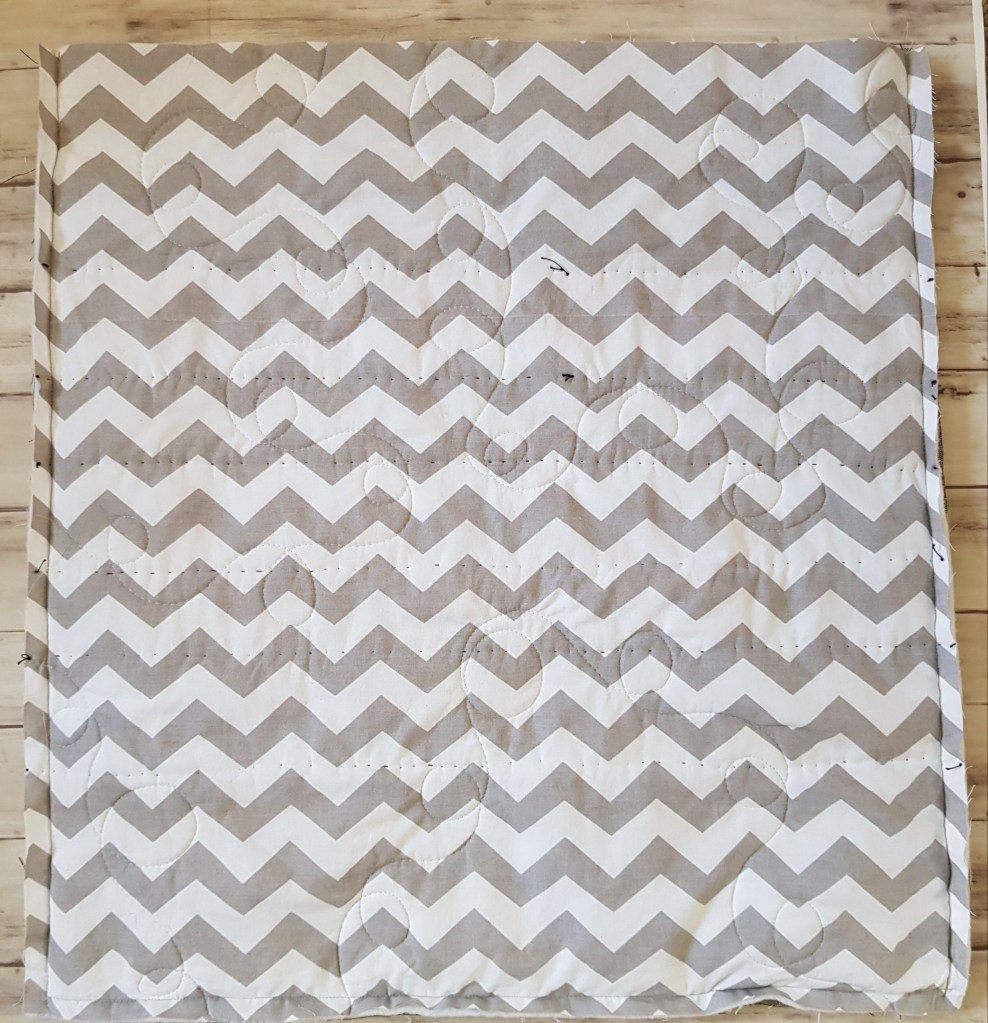
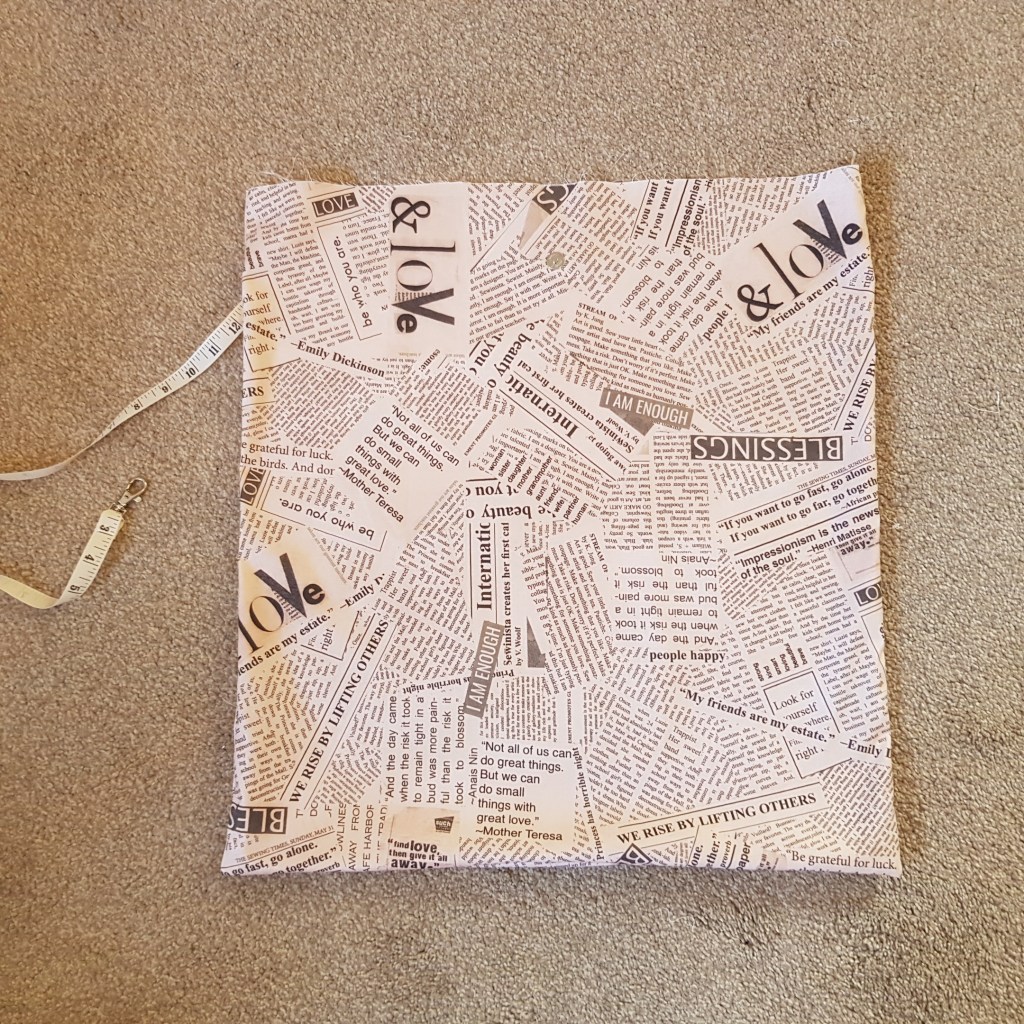
And there’s the back! Which I do like, and it was very quick to put together. But I must say I ADORE the front:
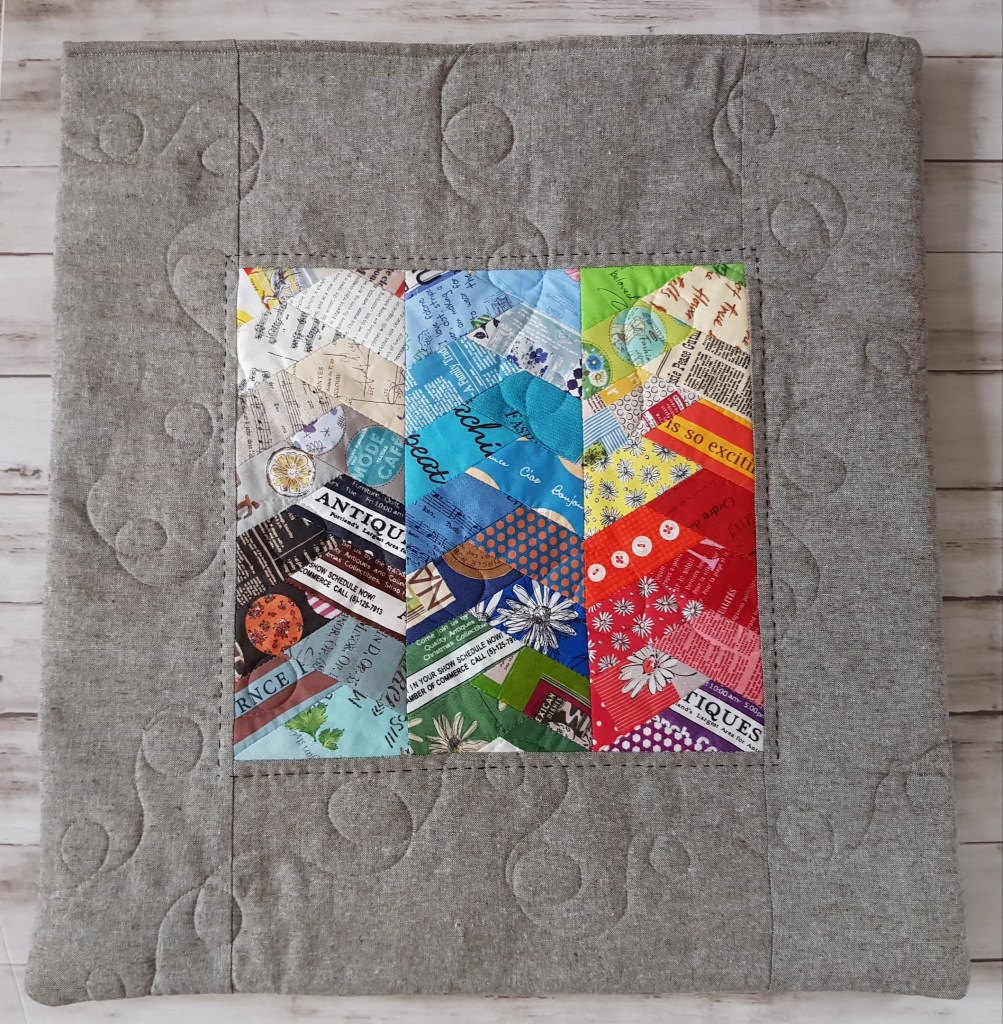
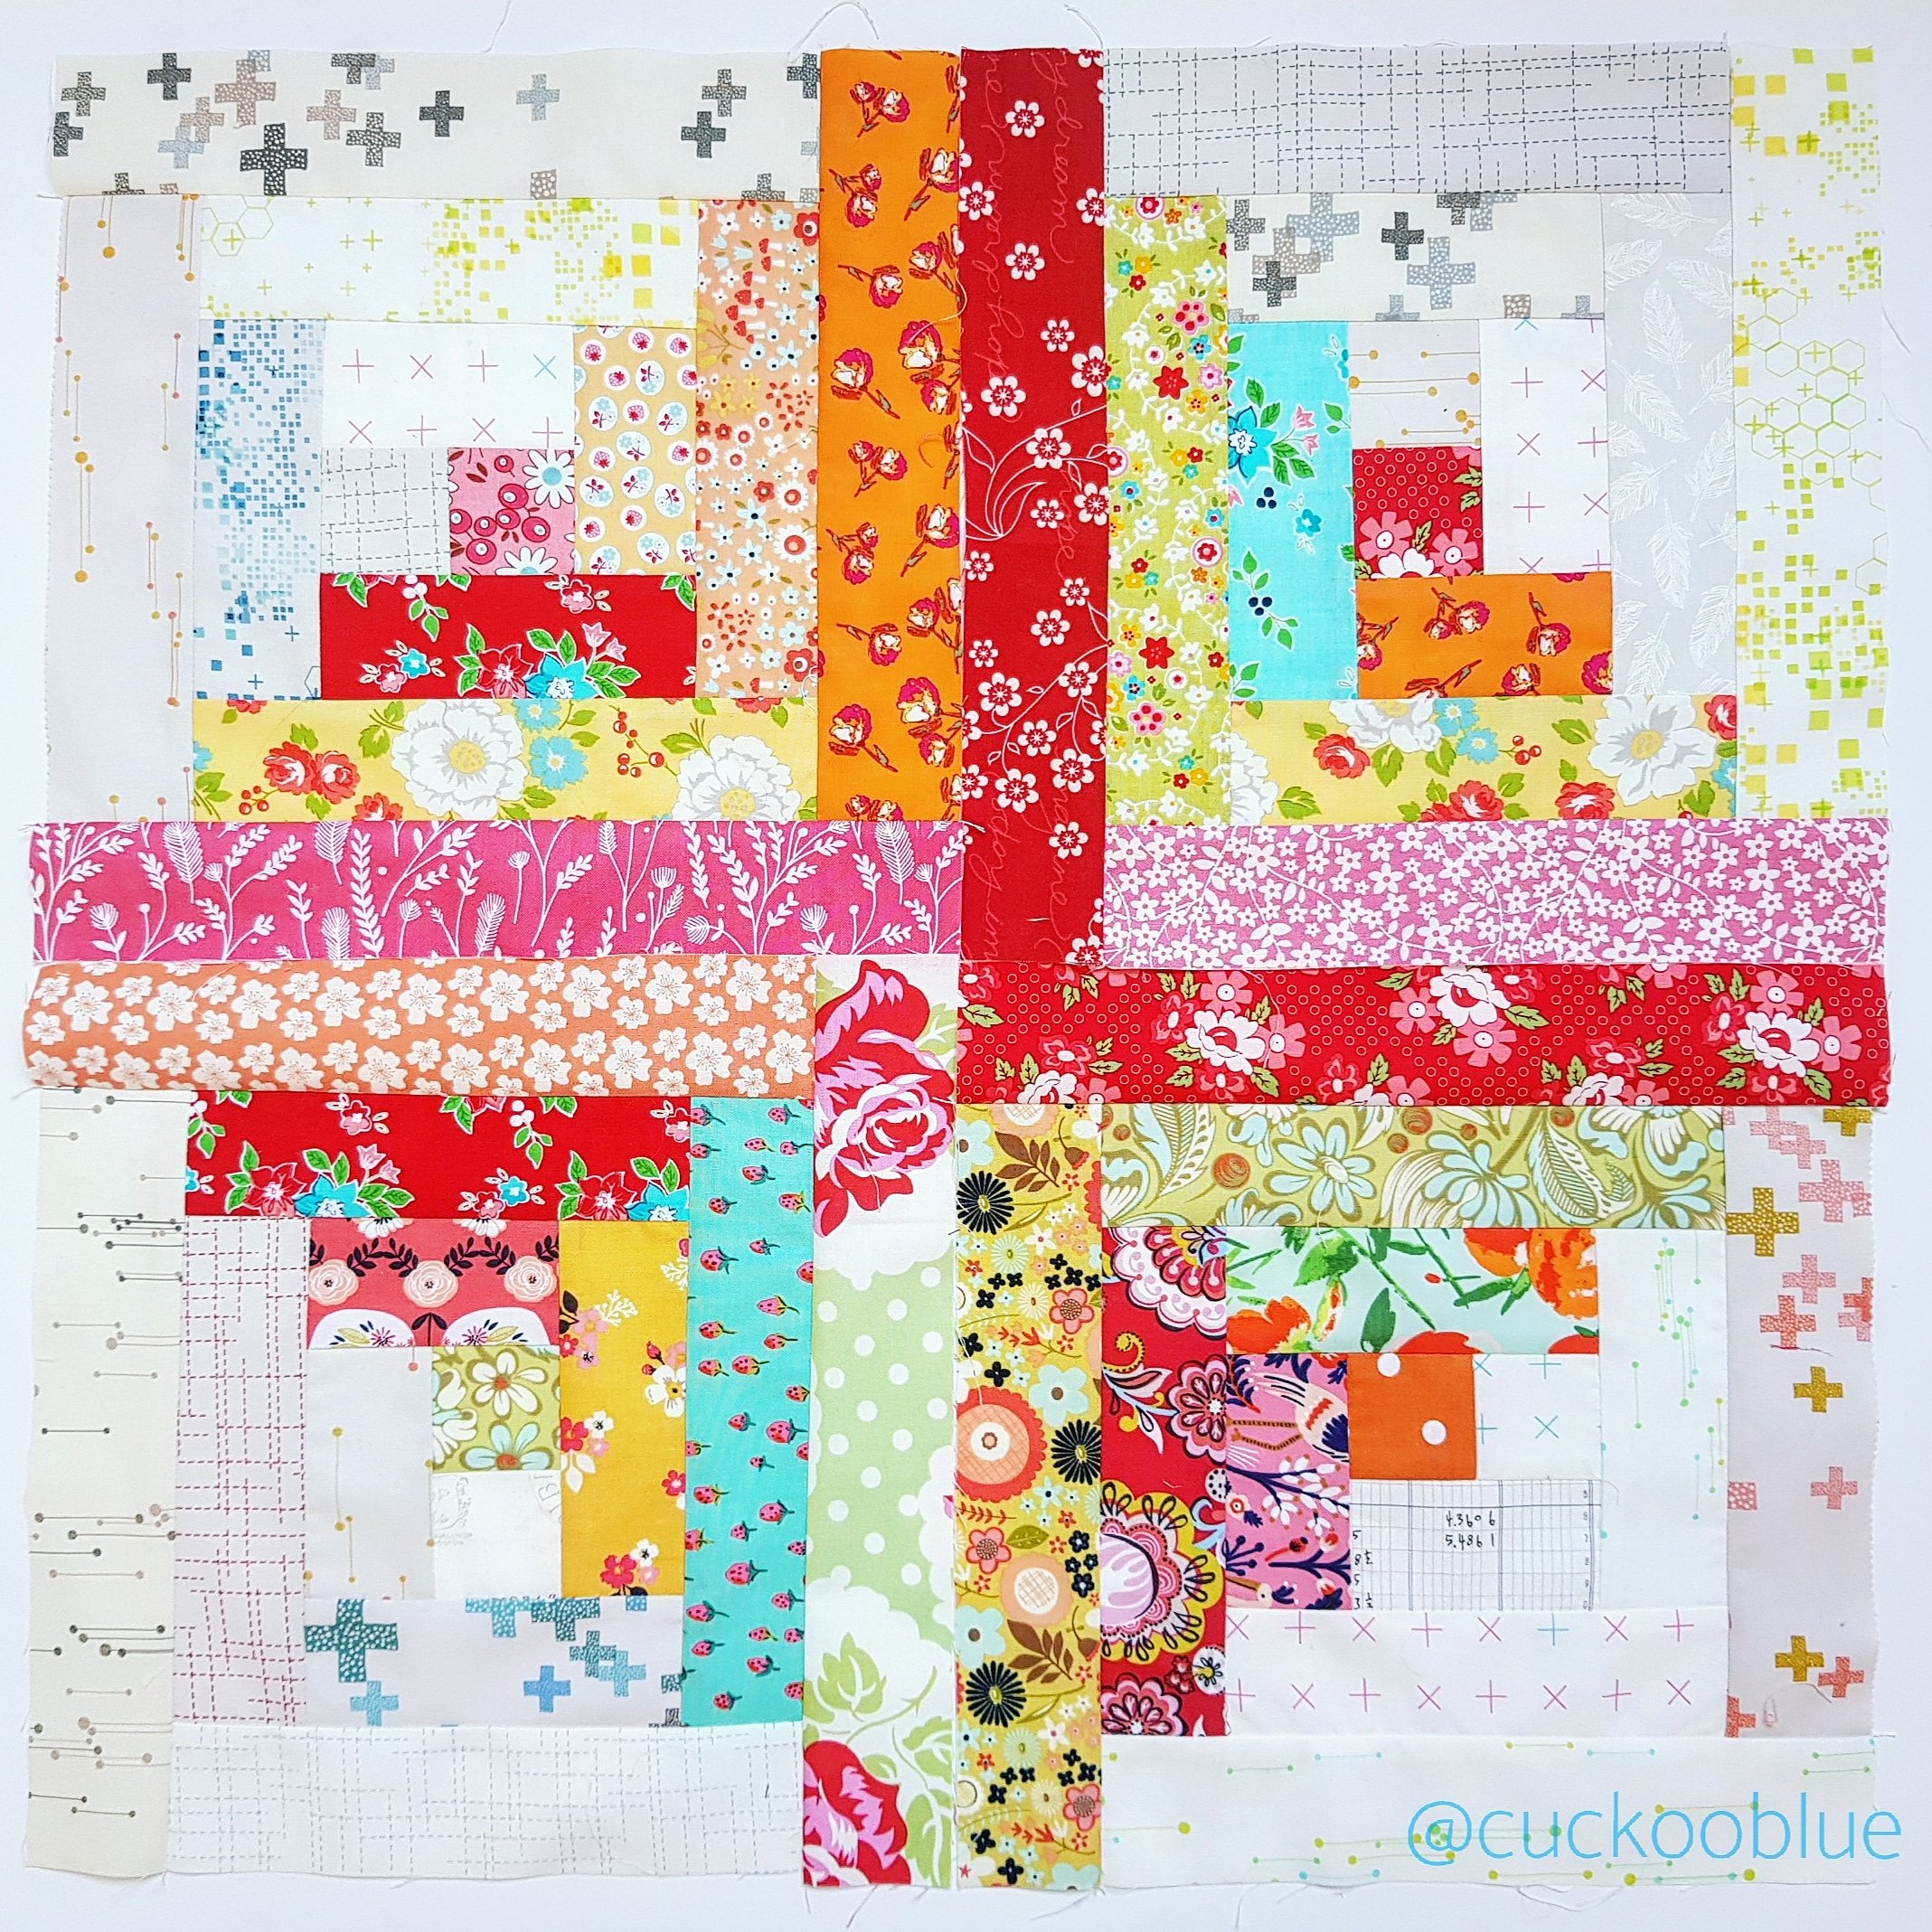
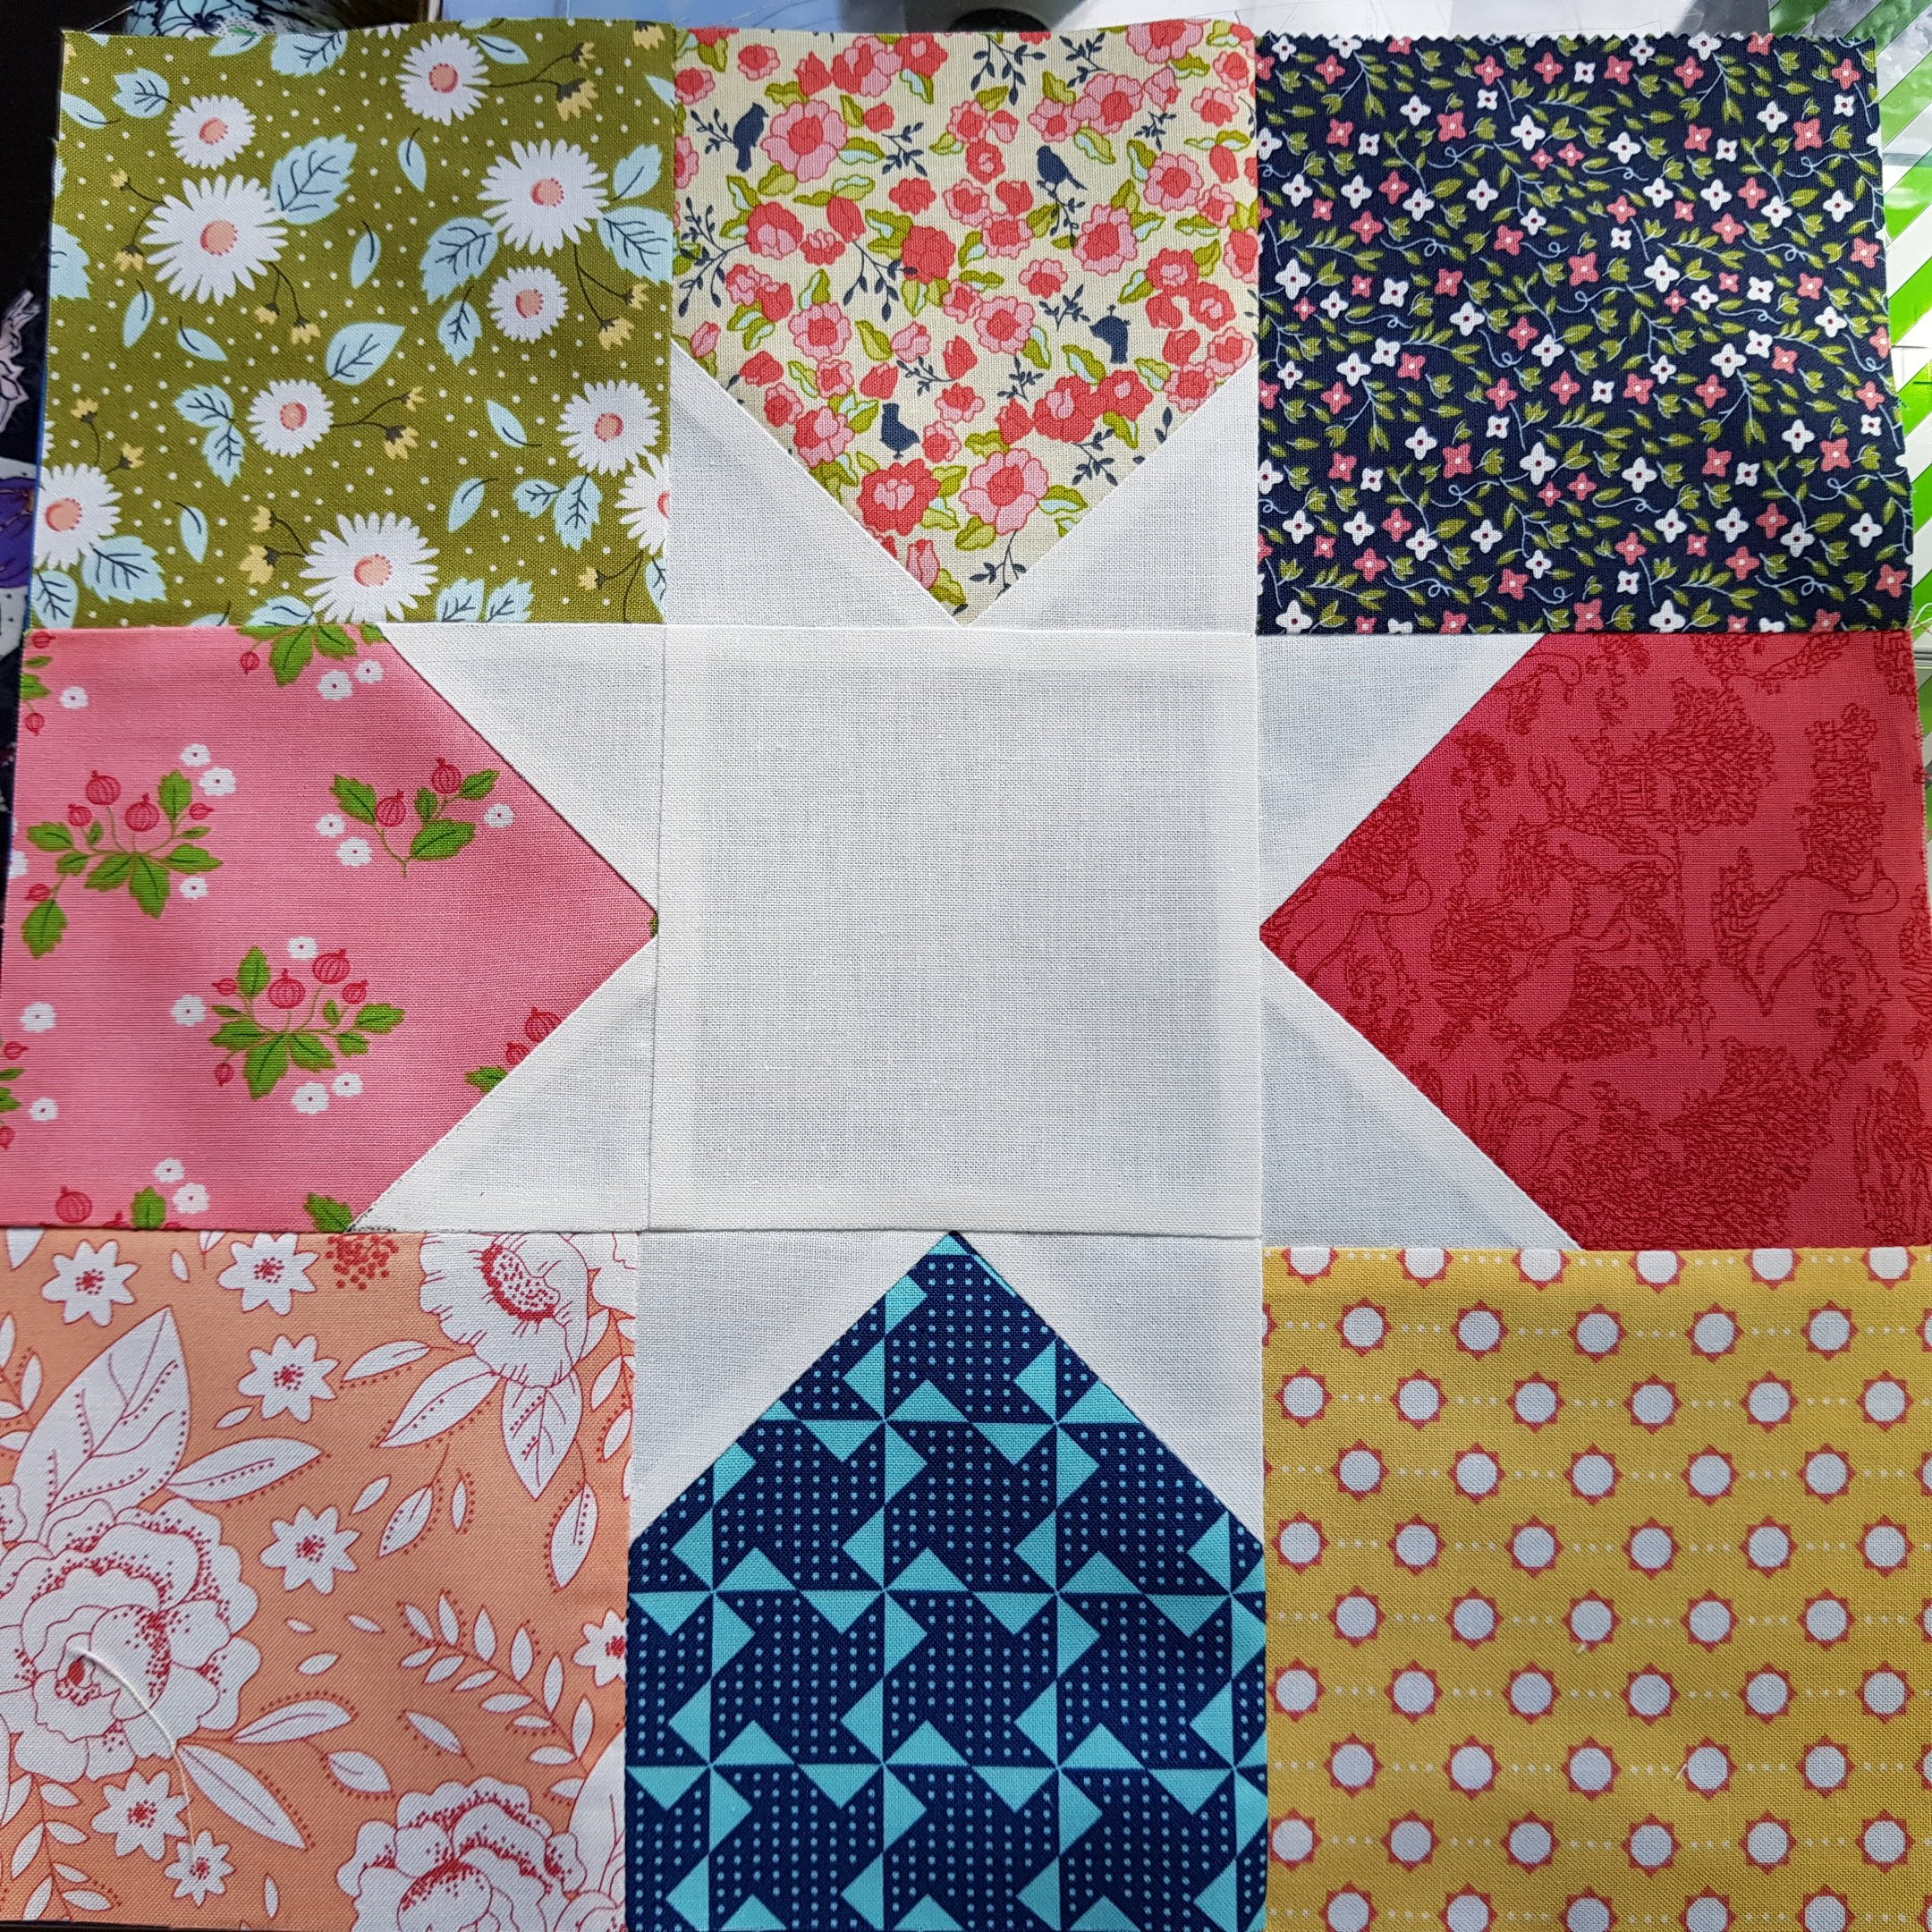
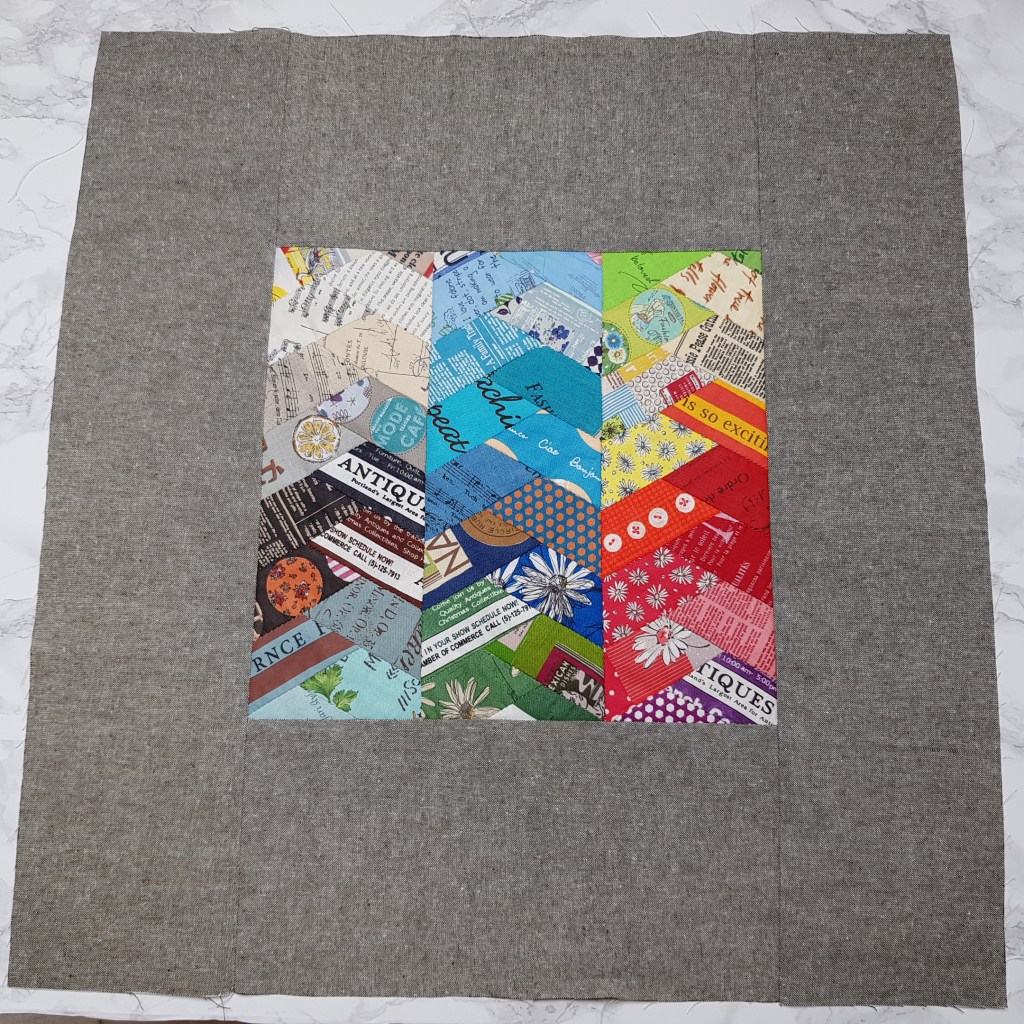
The front of the bag before adding handles – I guess that’s how it would look as a cushion cover!
It’s such a straightforward bag, with no boxed bottom, that most of you won’t need a tutorial, but for completeness here we go with some basic instructions:
You will need:
Bag front panel, quilted onto volume fleece or batting (mine finished at 20.5″ wide x 21.5″ high)
Bag back panel , quilted onto fleece or batting (measurements for mine are in the above text) – trim to size of front panel
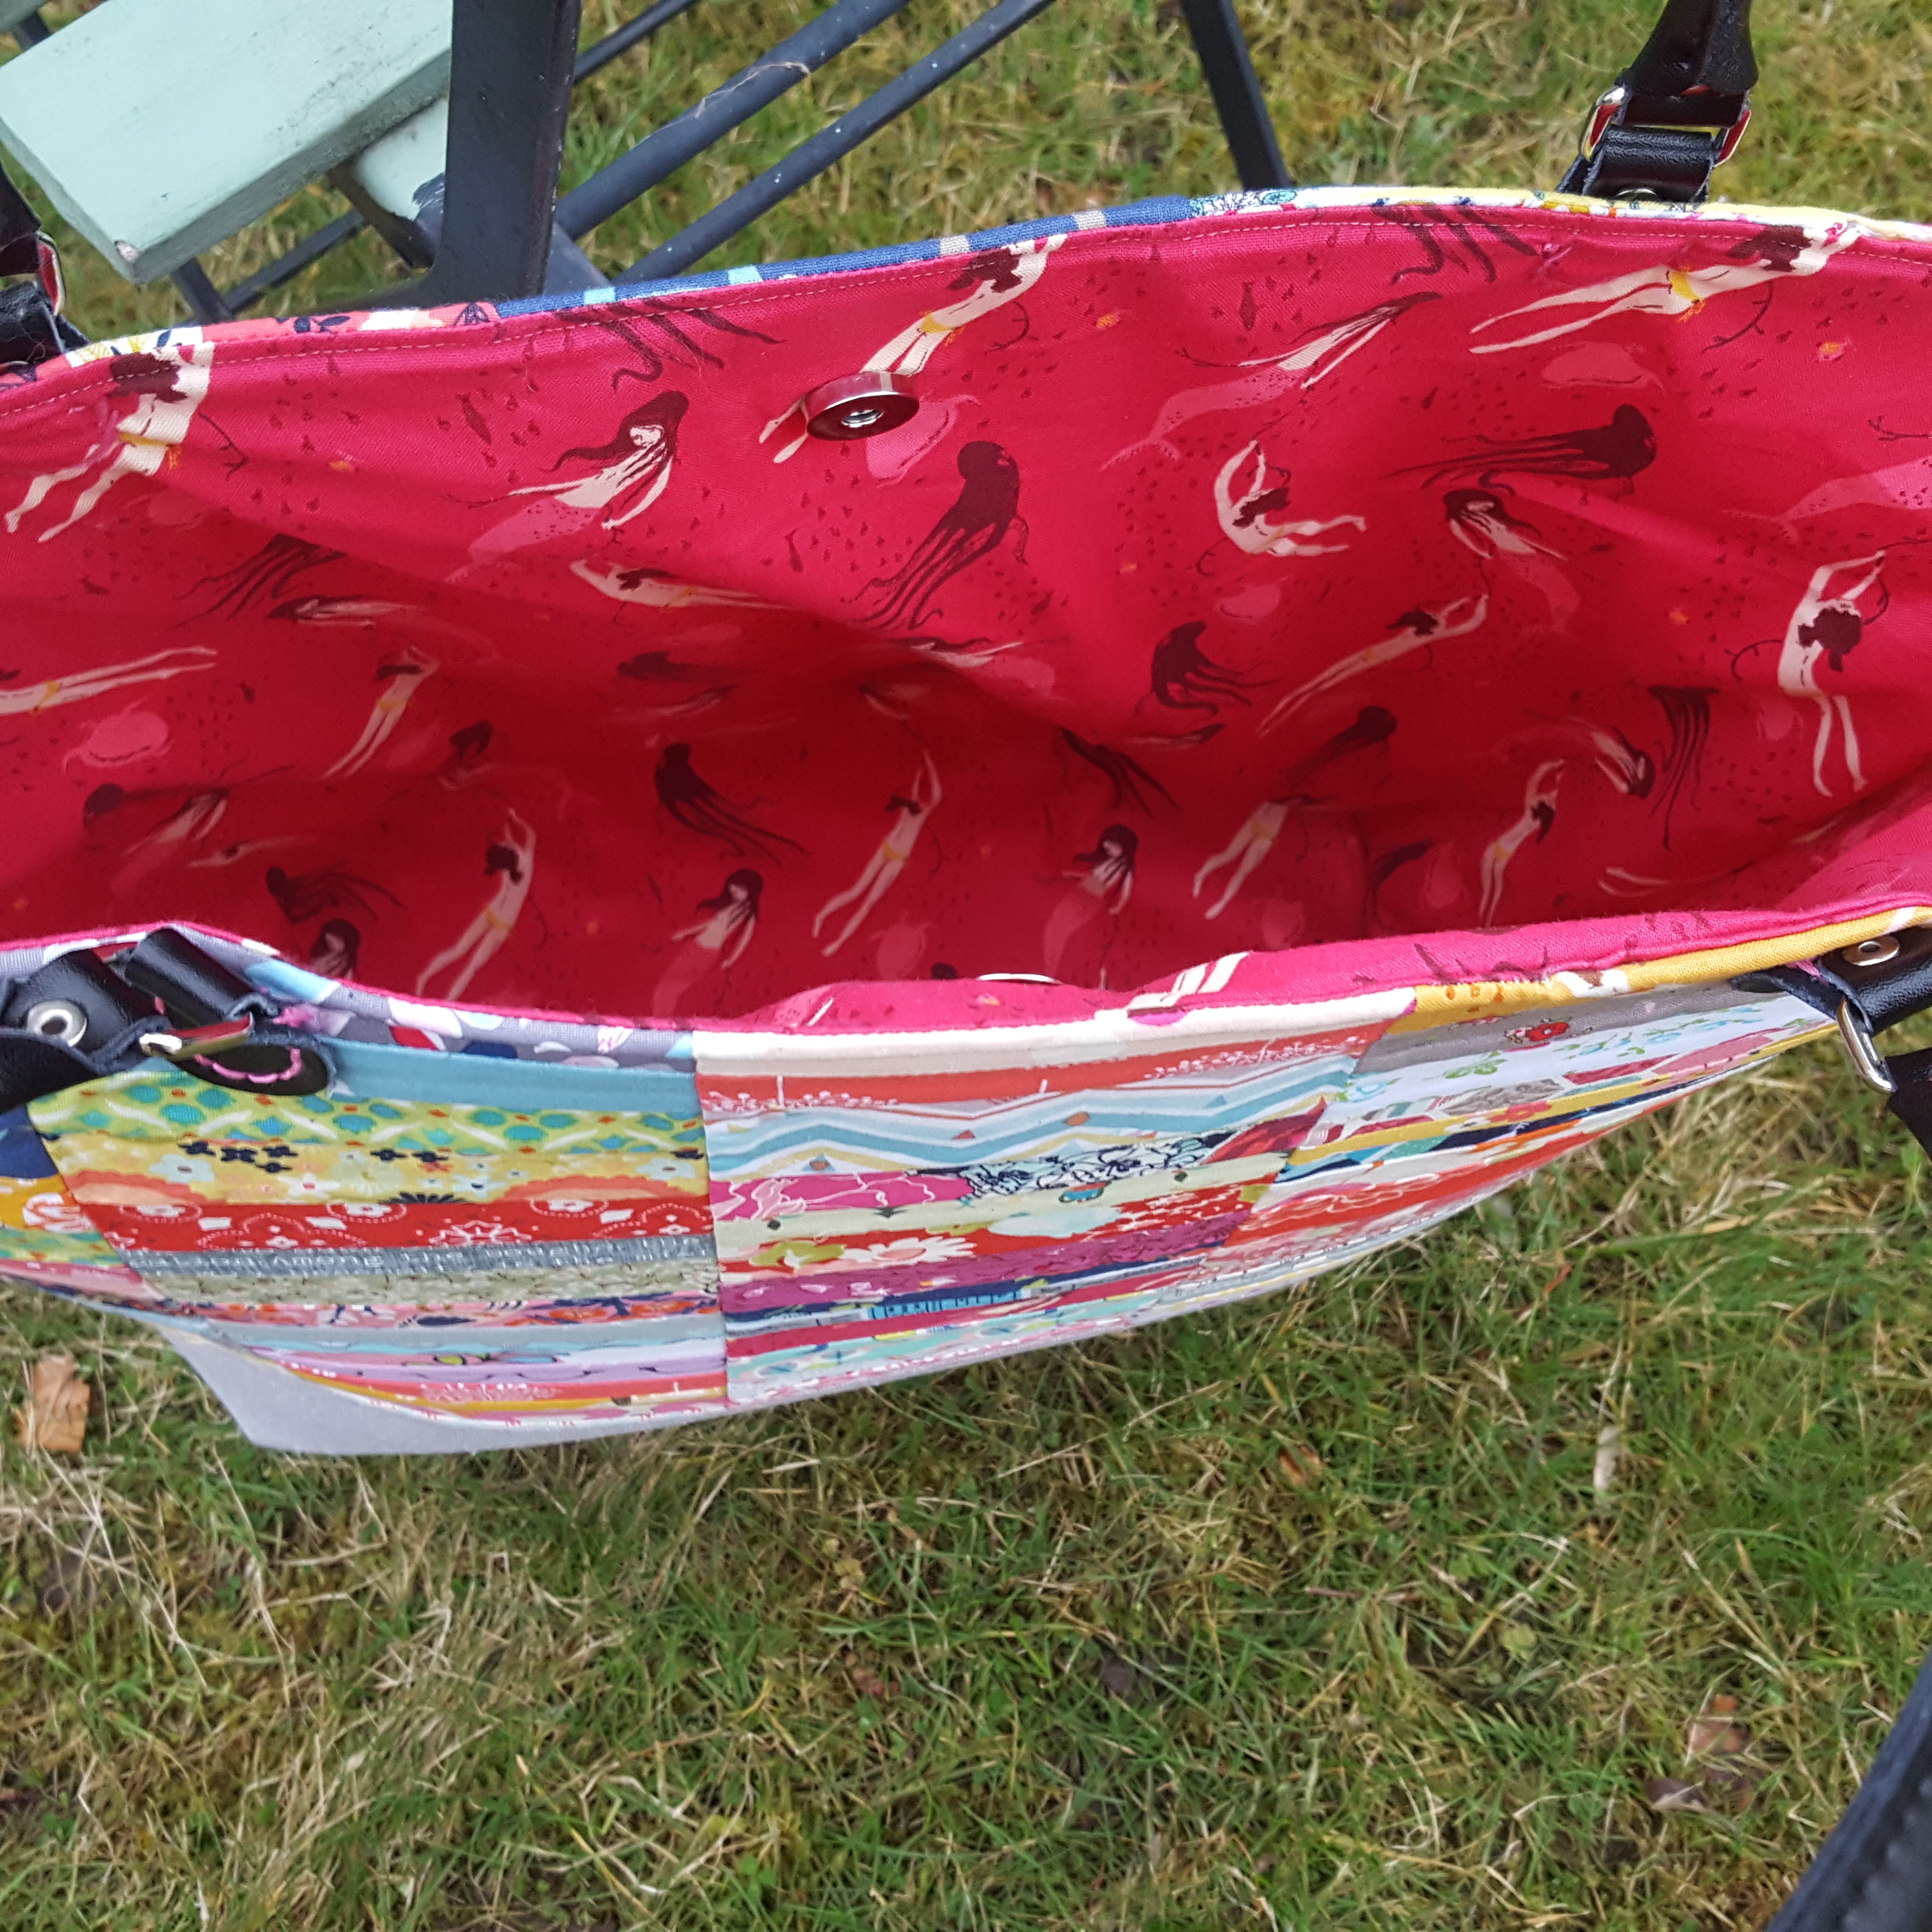
2 pieces cotton lining fabric, each cut to same size as the front bag panel
magnetic snap and 2 small pieces fusible interfacing (1.5″ square is enough)
handles (I think mine are 28″)
(optional – 22″ piece ribbon with lobster clasp or keyring for keys sewn to it)
Instructions:
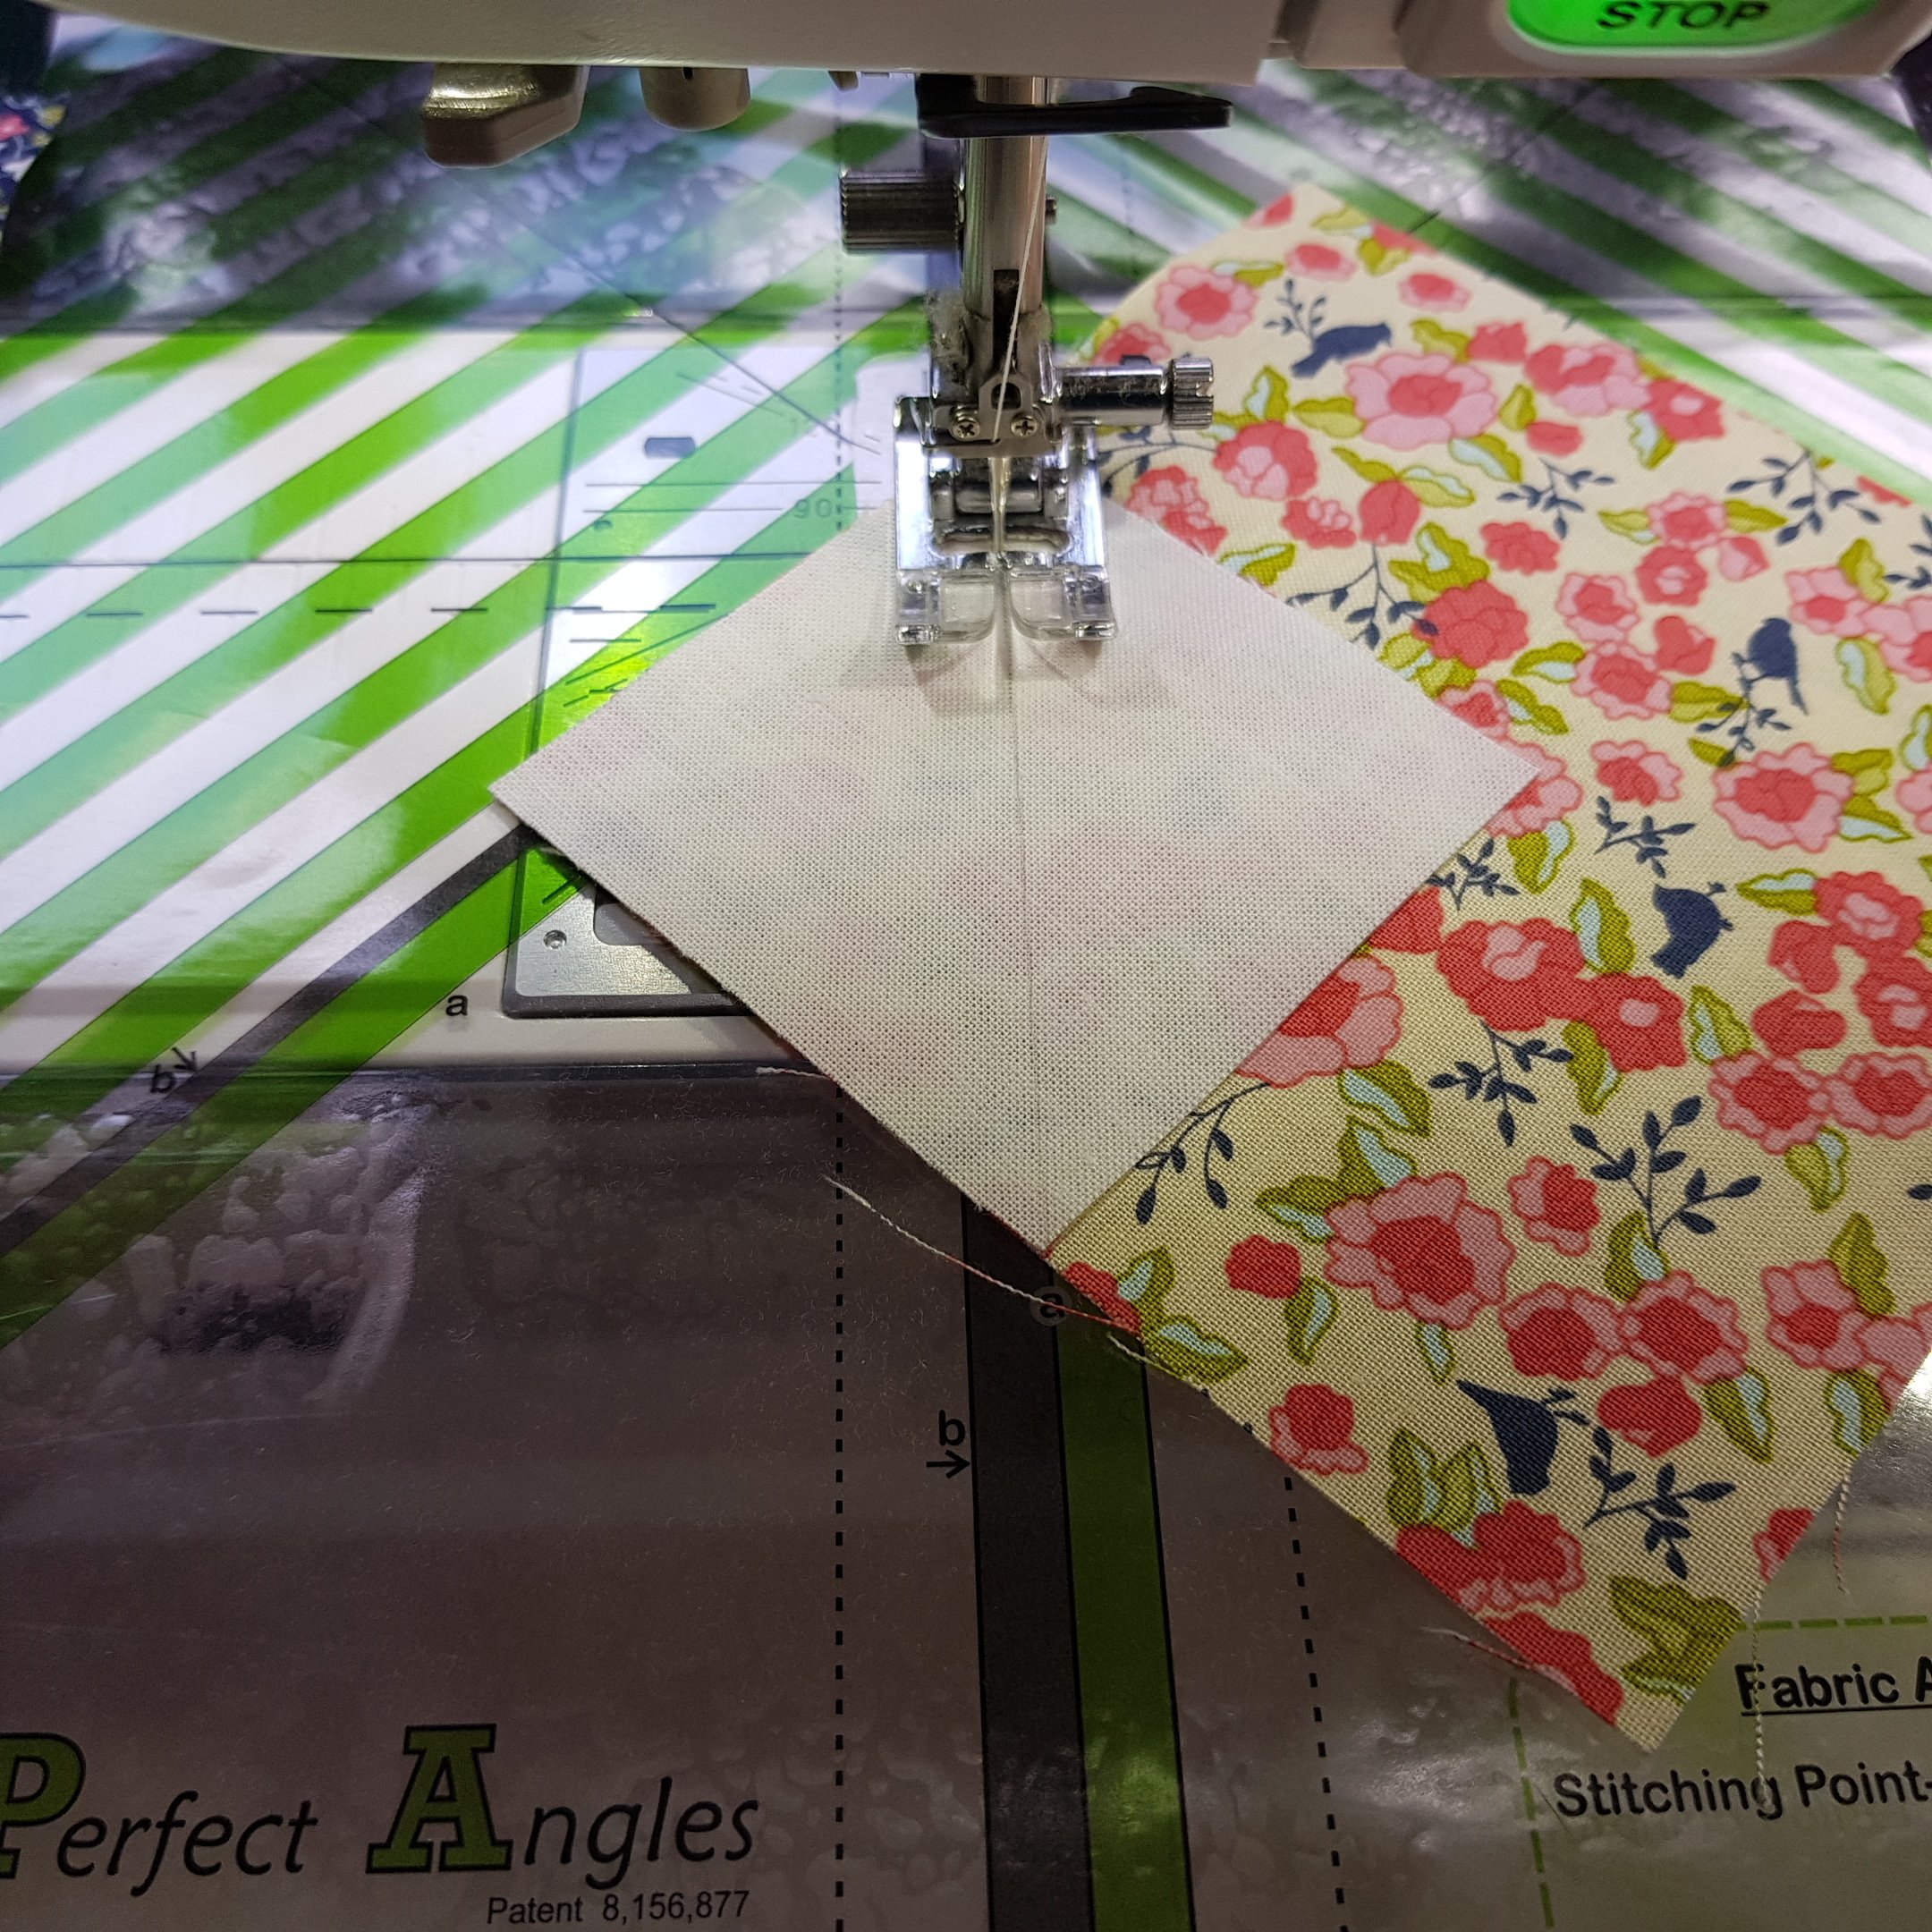
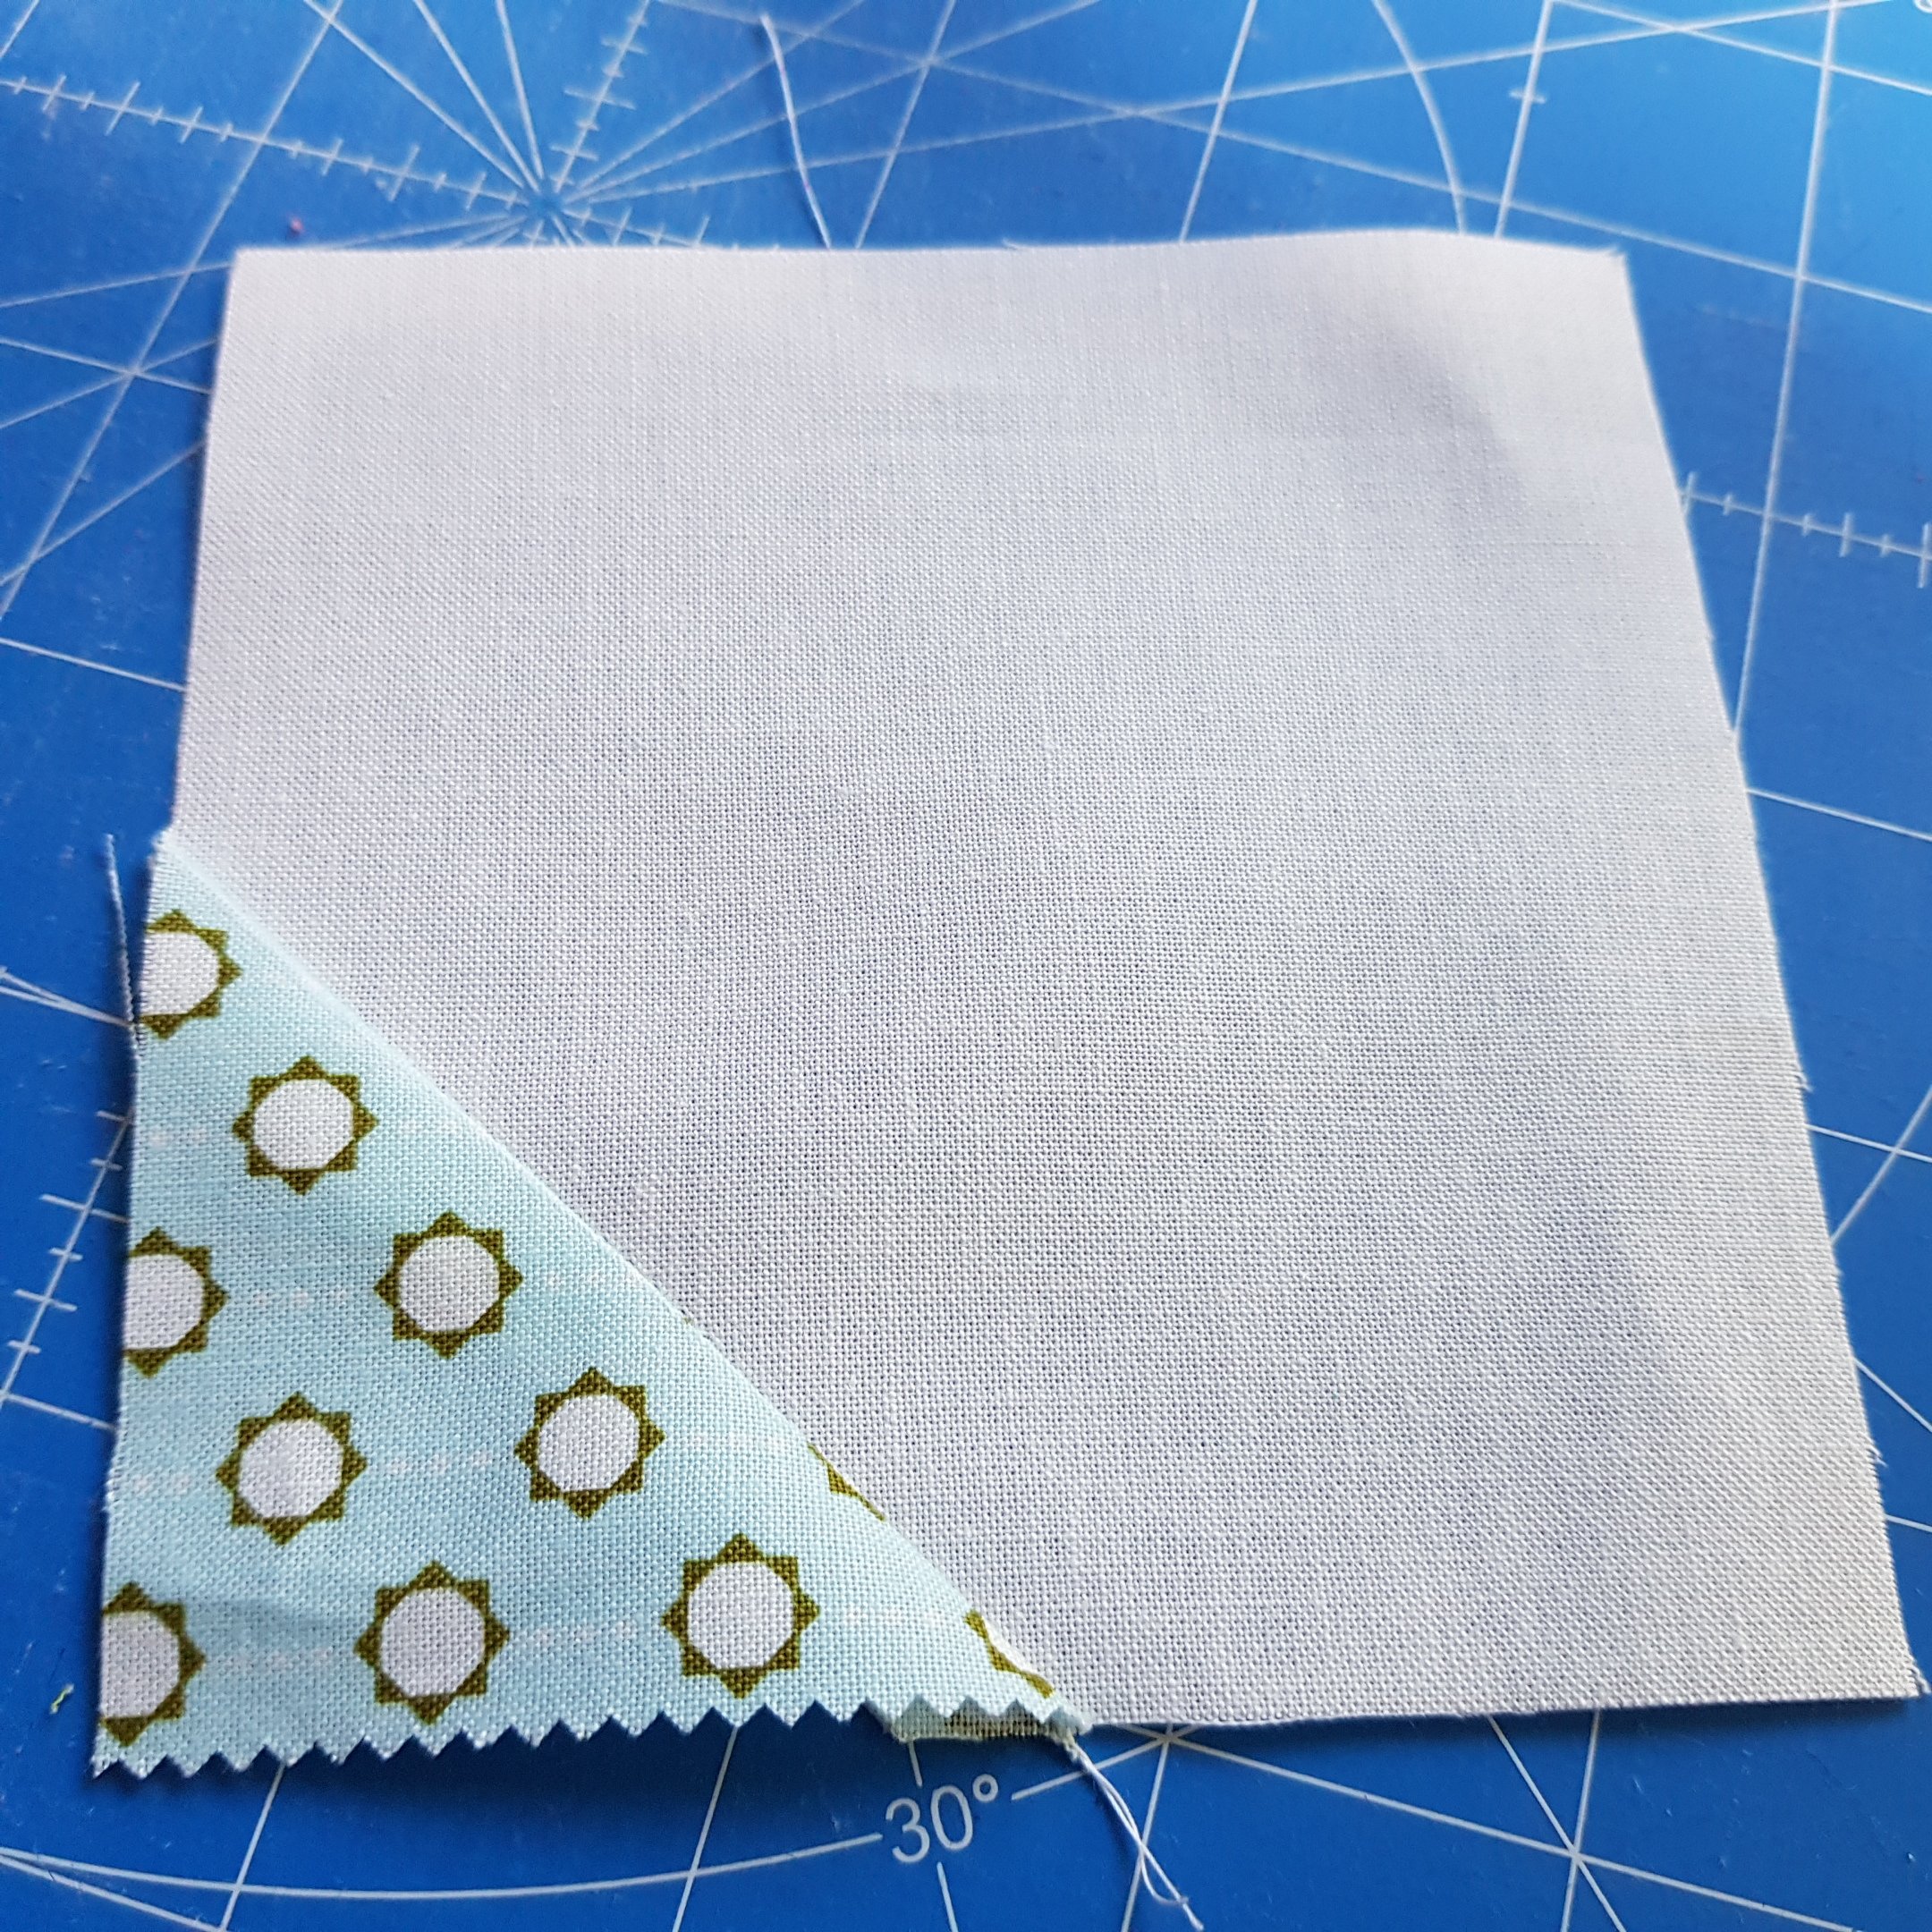
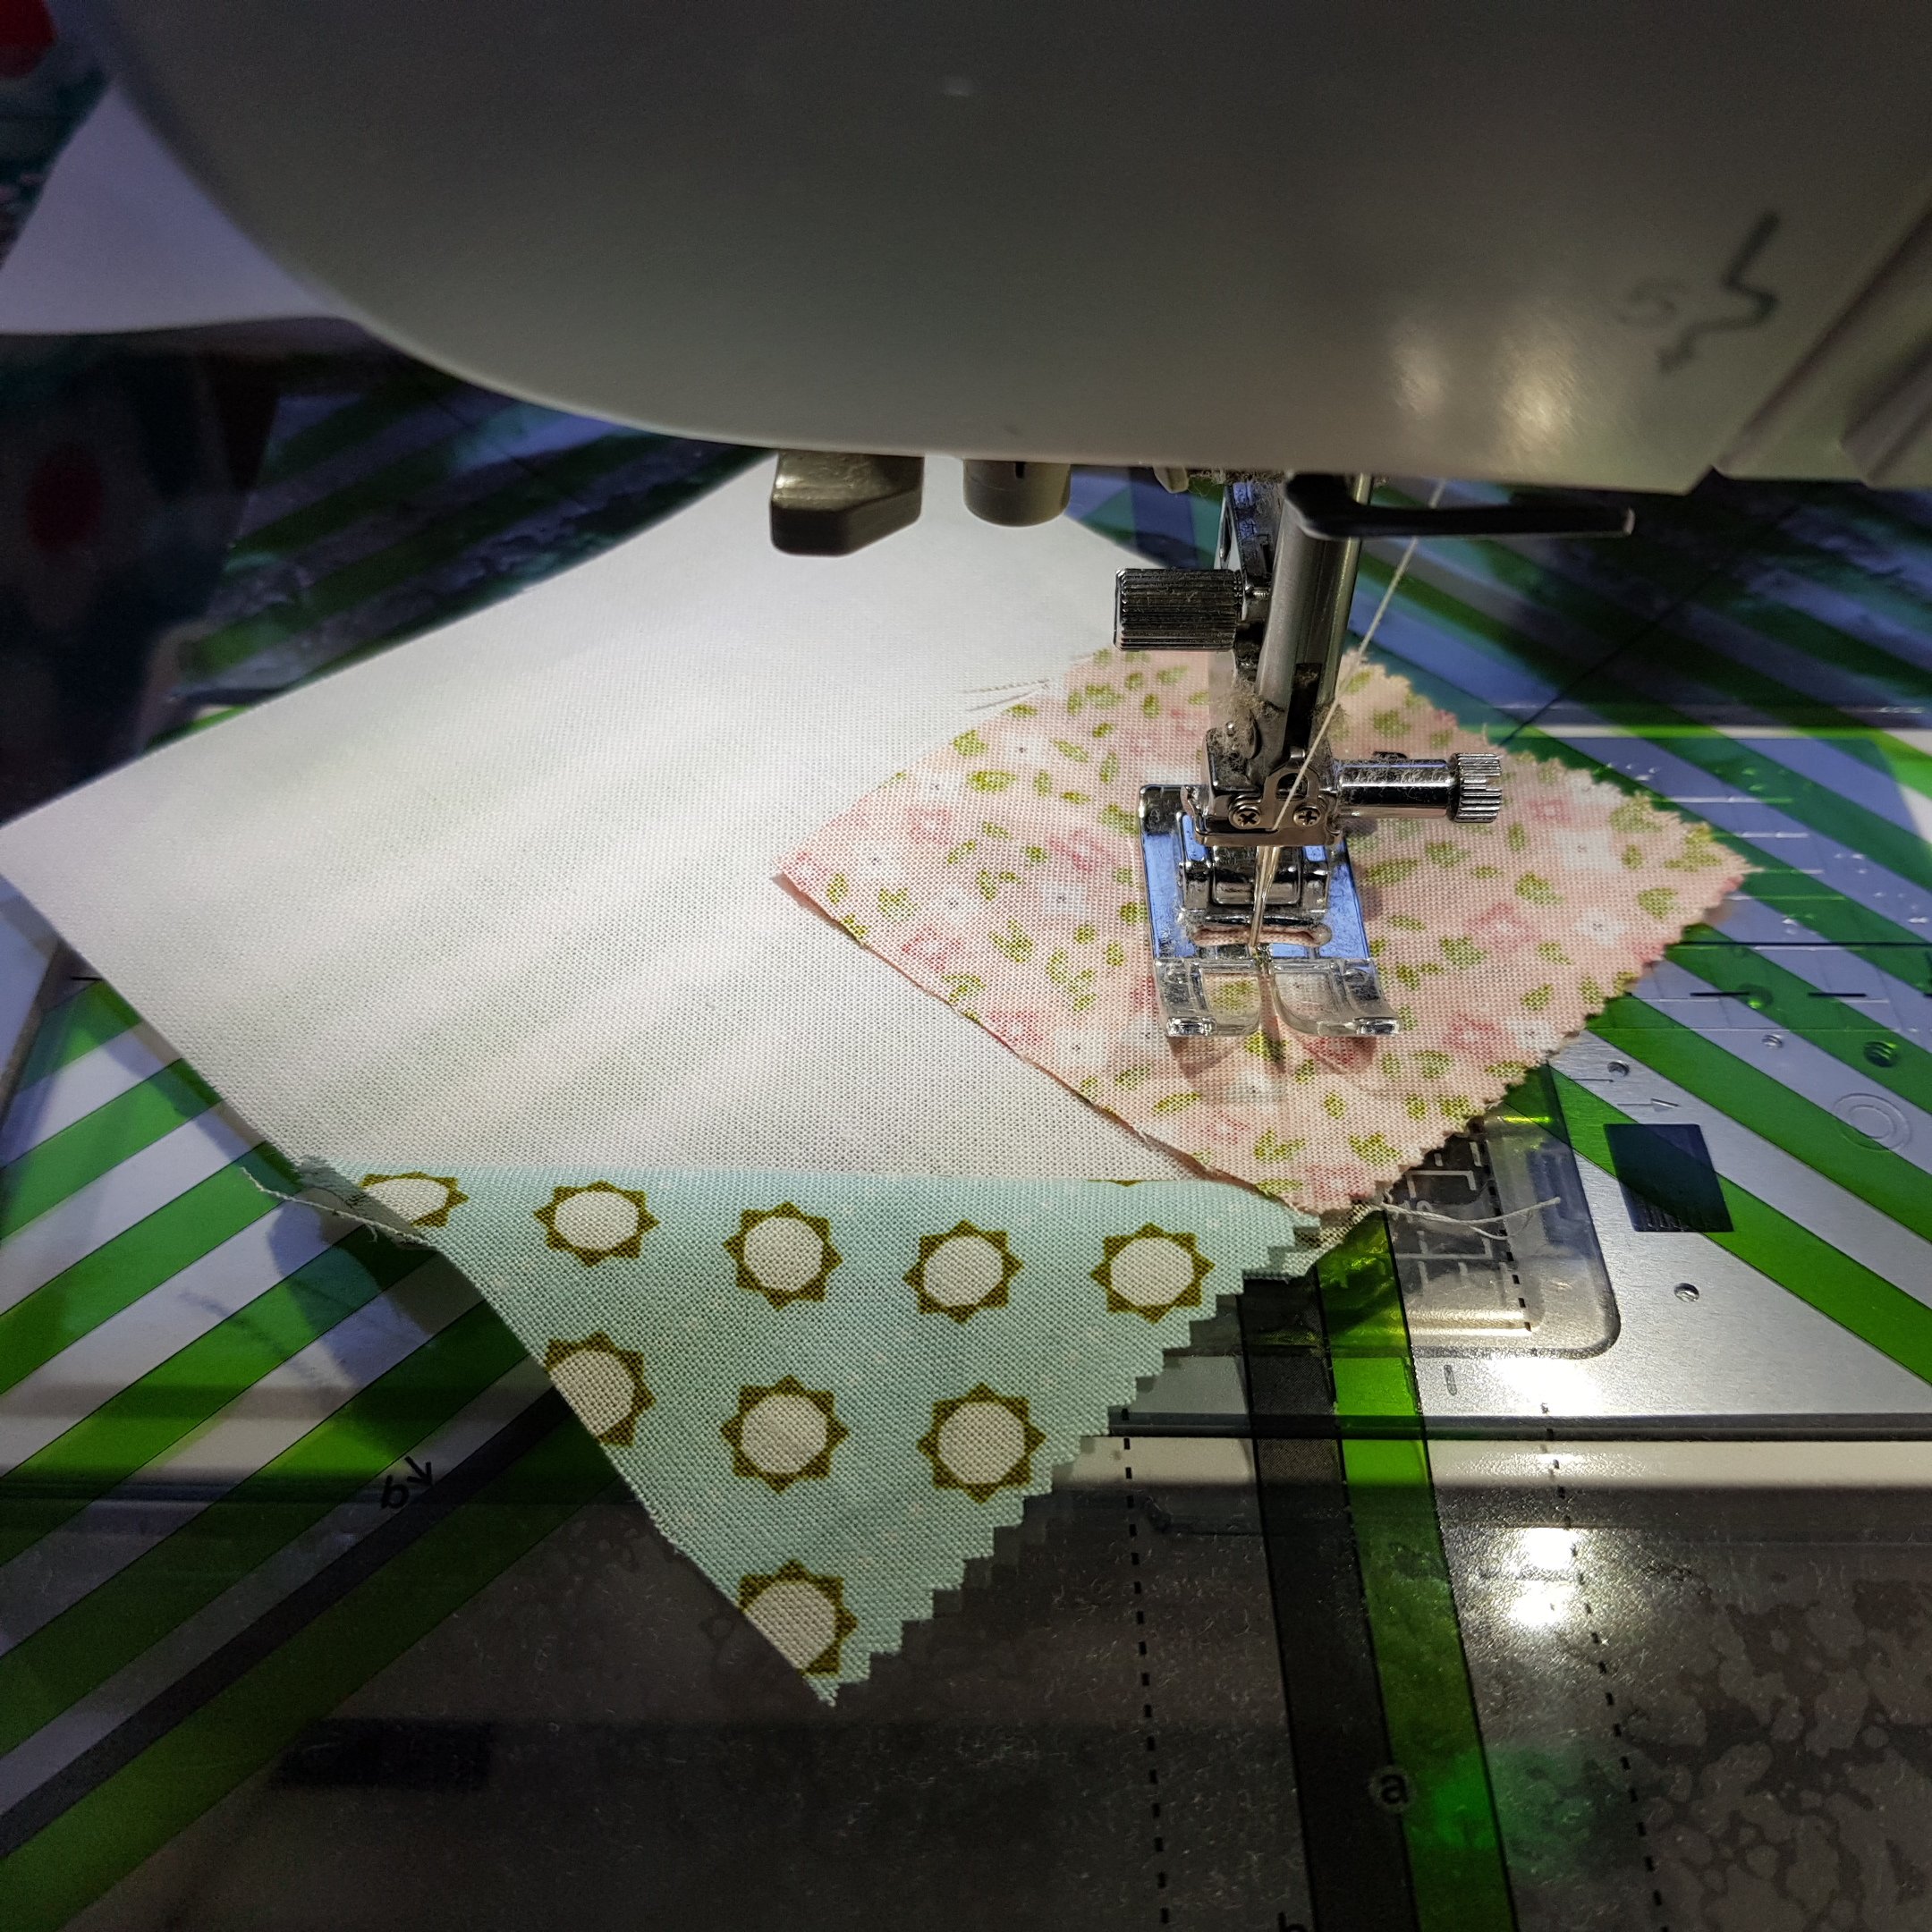
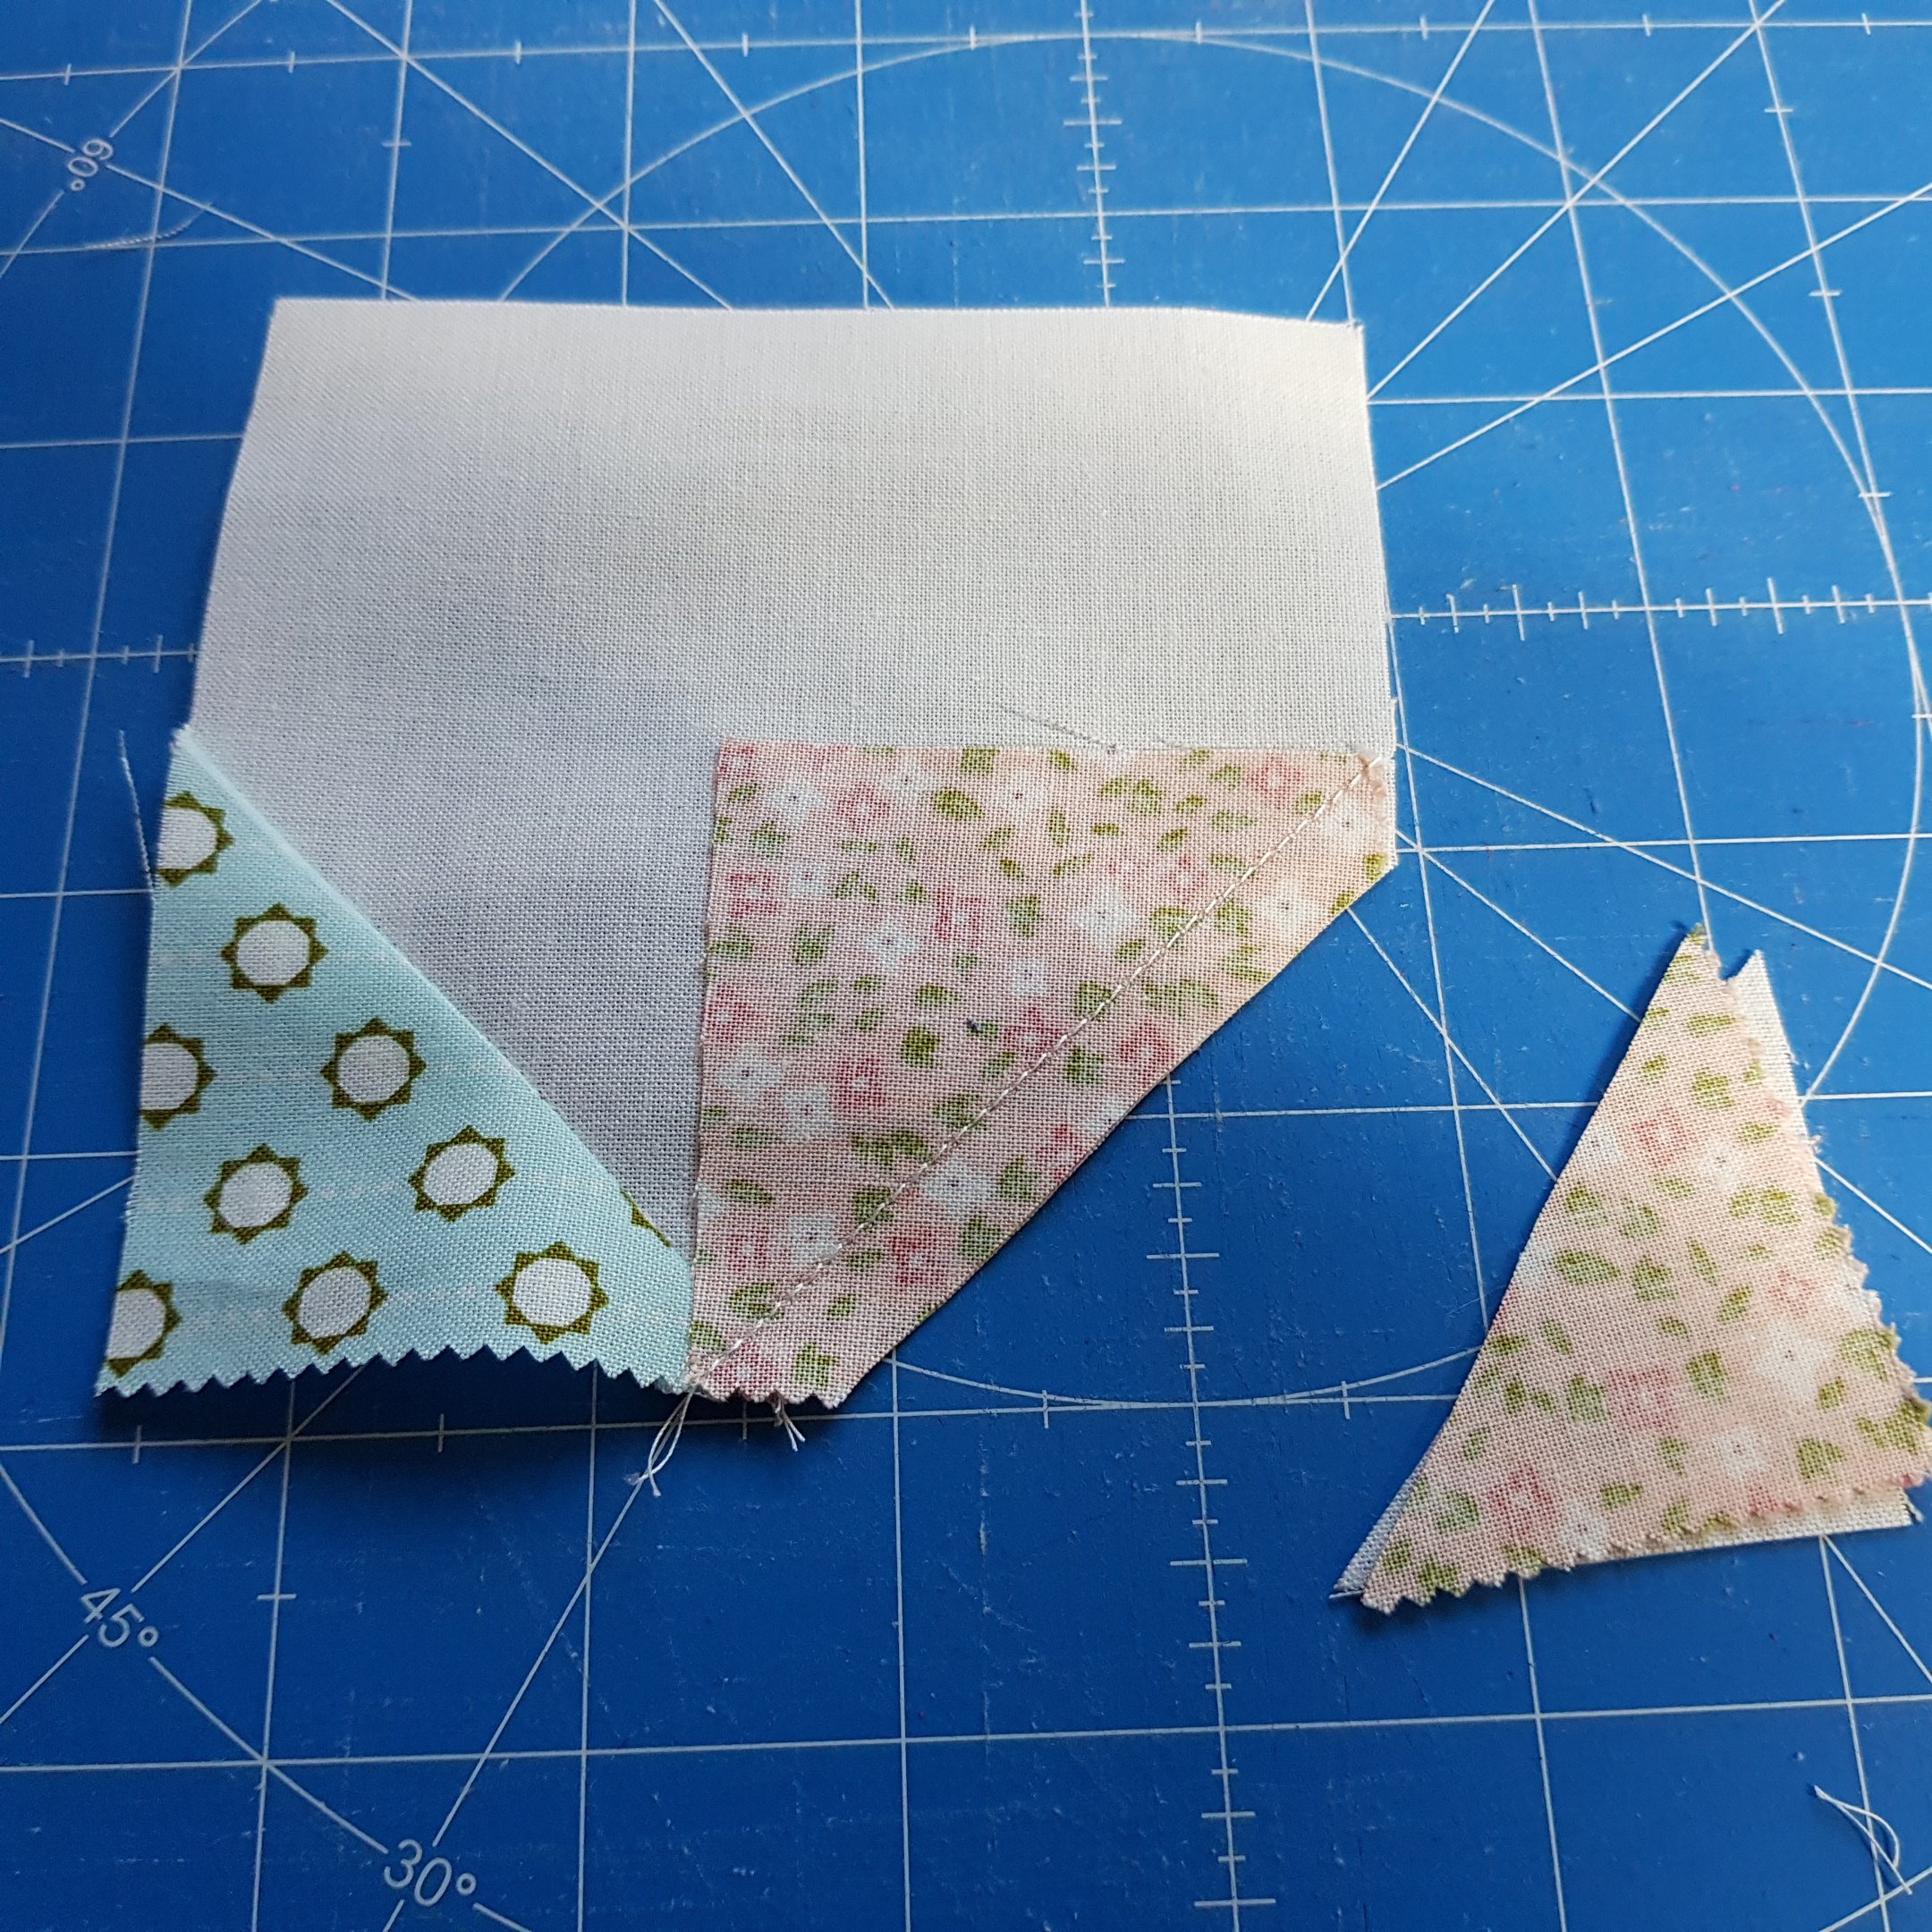
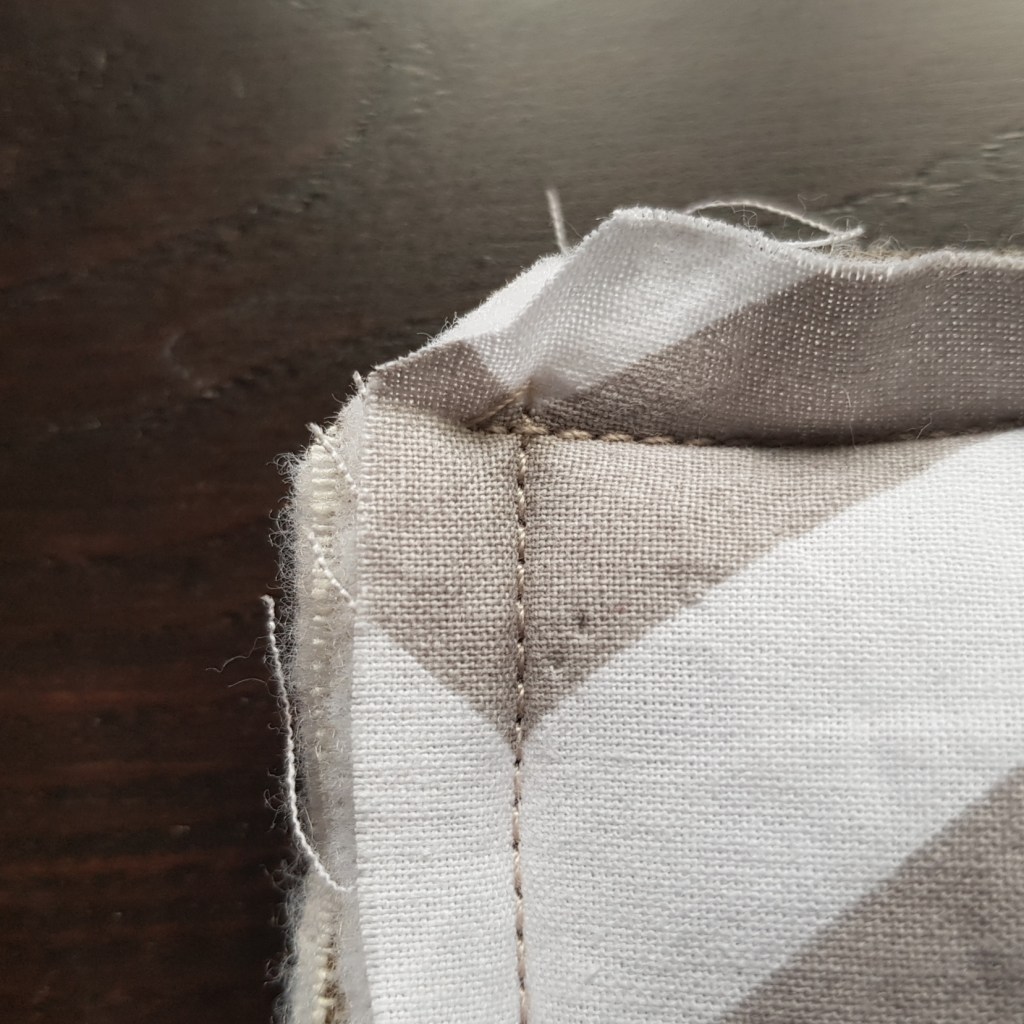
- Place bag panels right side together, making sure they are not upside down, and sew the sides and bottom edge together using a 3/8″ seam allowance. Trim off the excess fabric in the corners, being careful not to cut into the stitching.
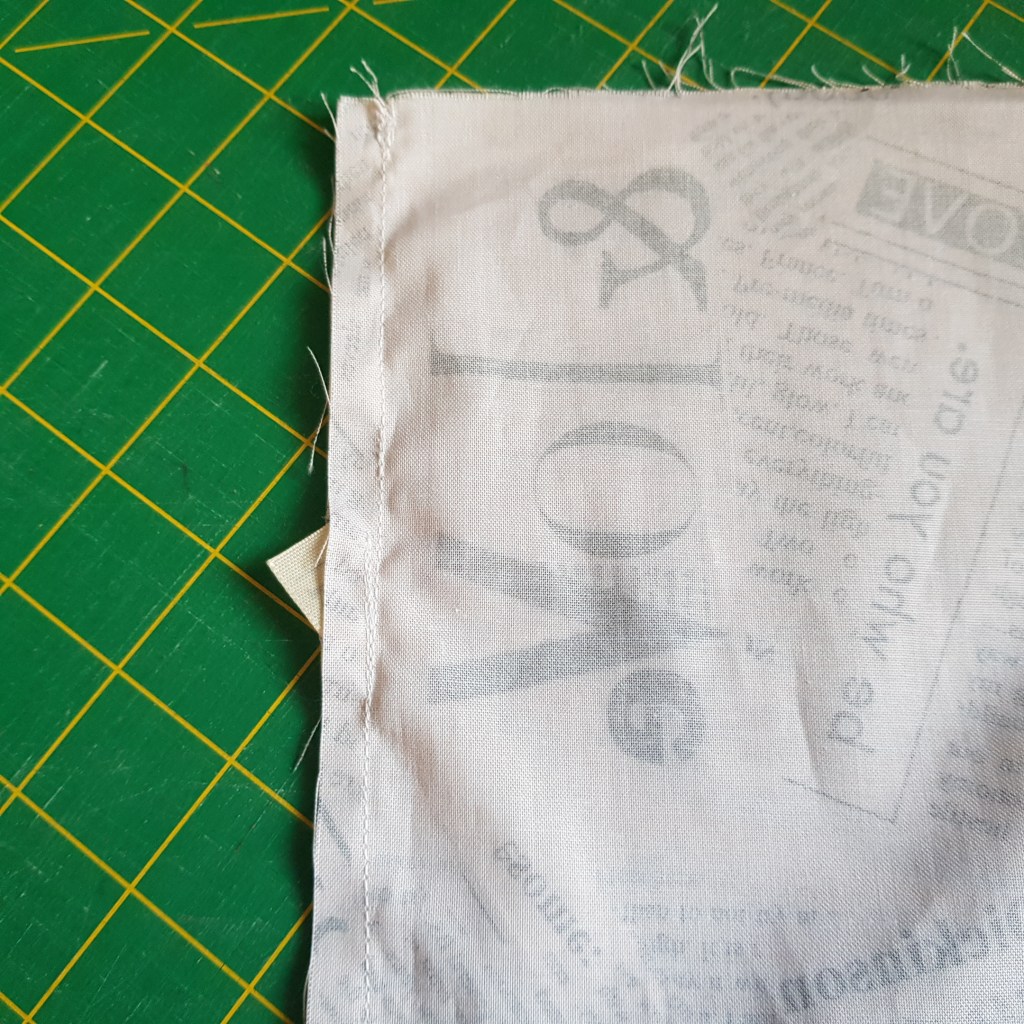
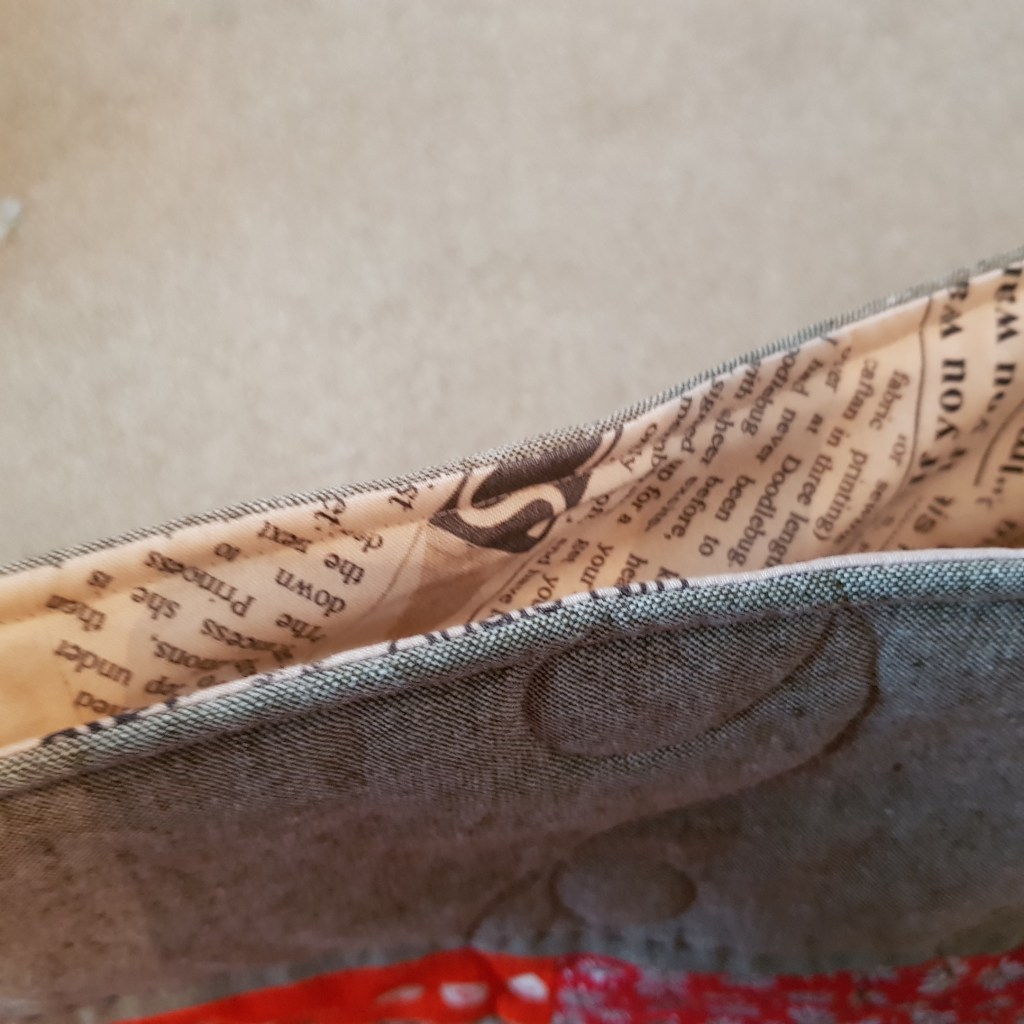
2. Repeat with the lining fabrics pieces, again right sides together, but leave a 4 – 5″ gap in the bottom seam. I trapped the free end of my ribbon into one of the side seams, a couple of inches from the top, angled downwards.
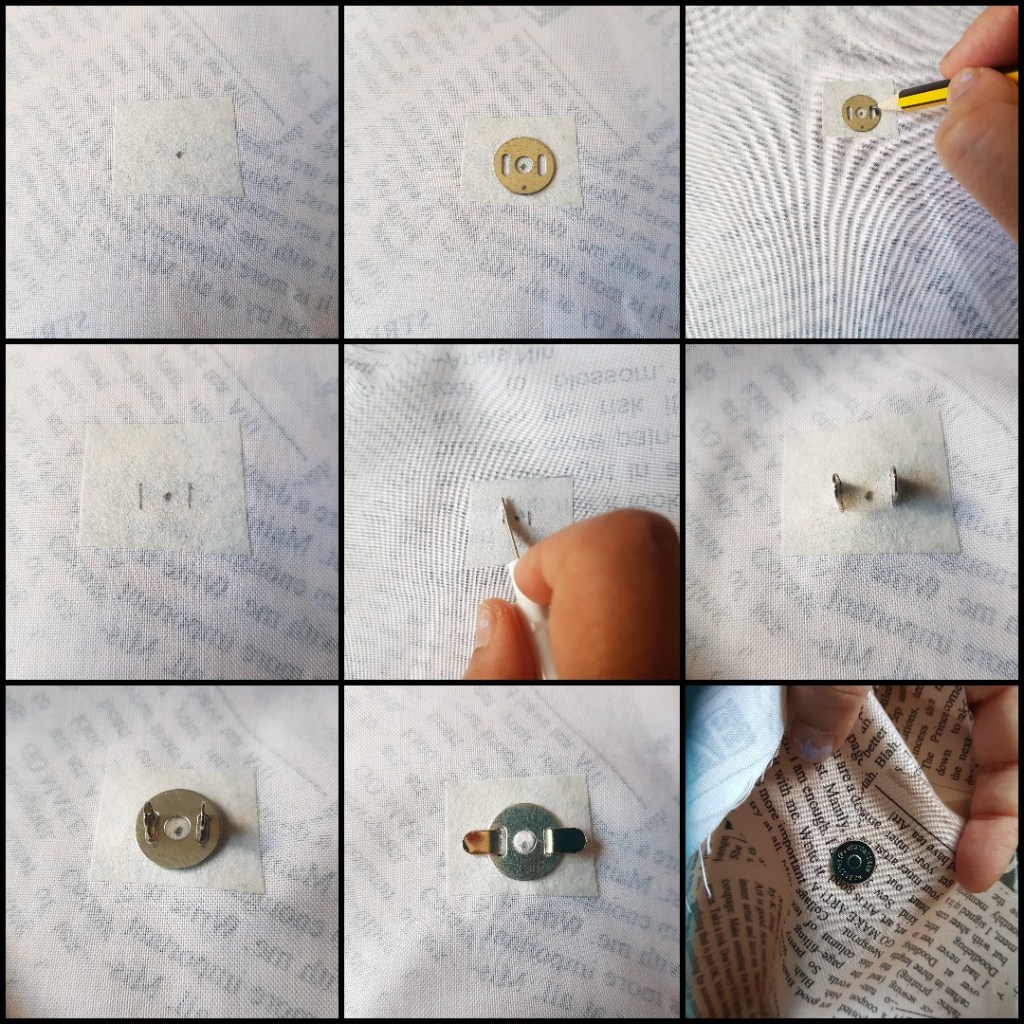
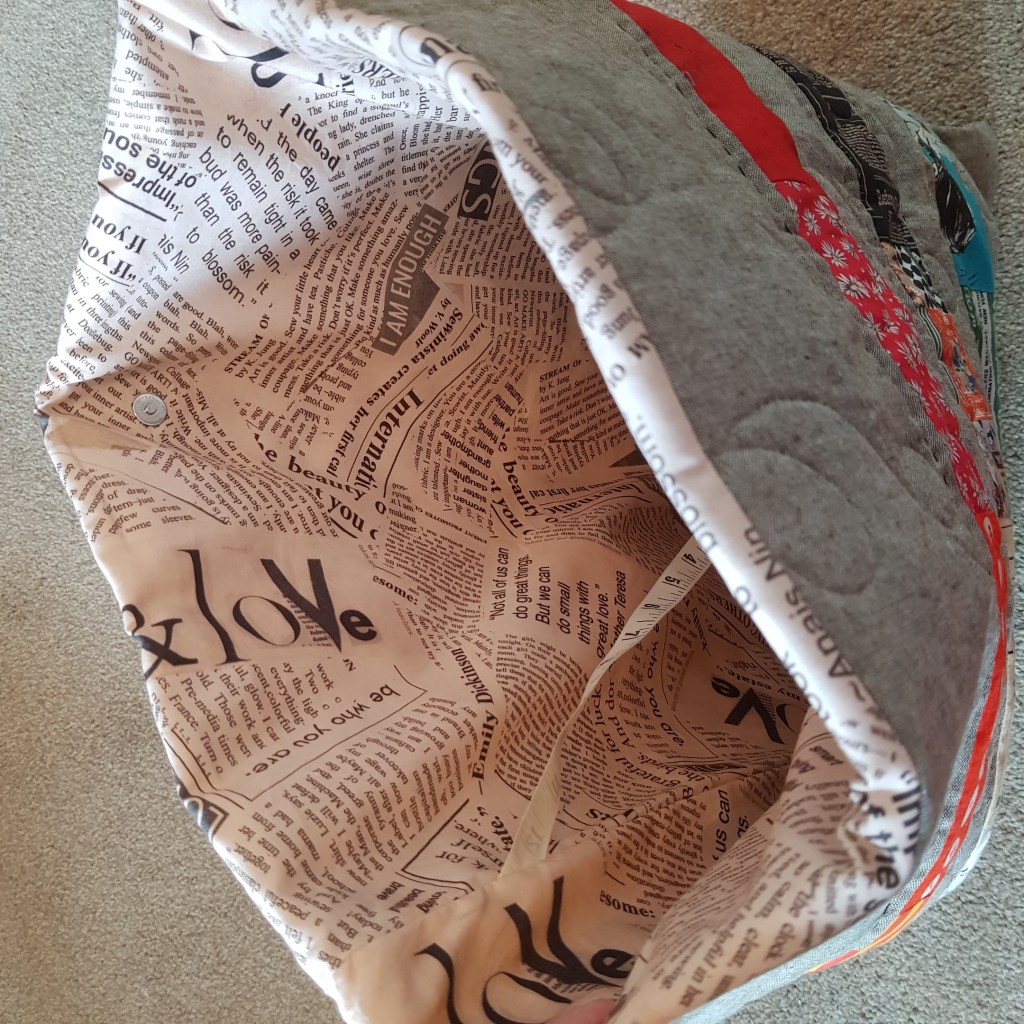
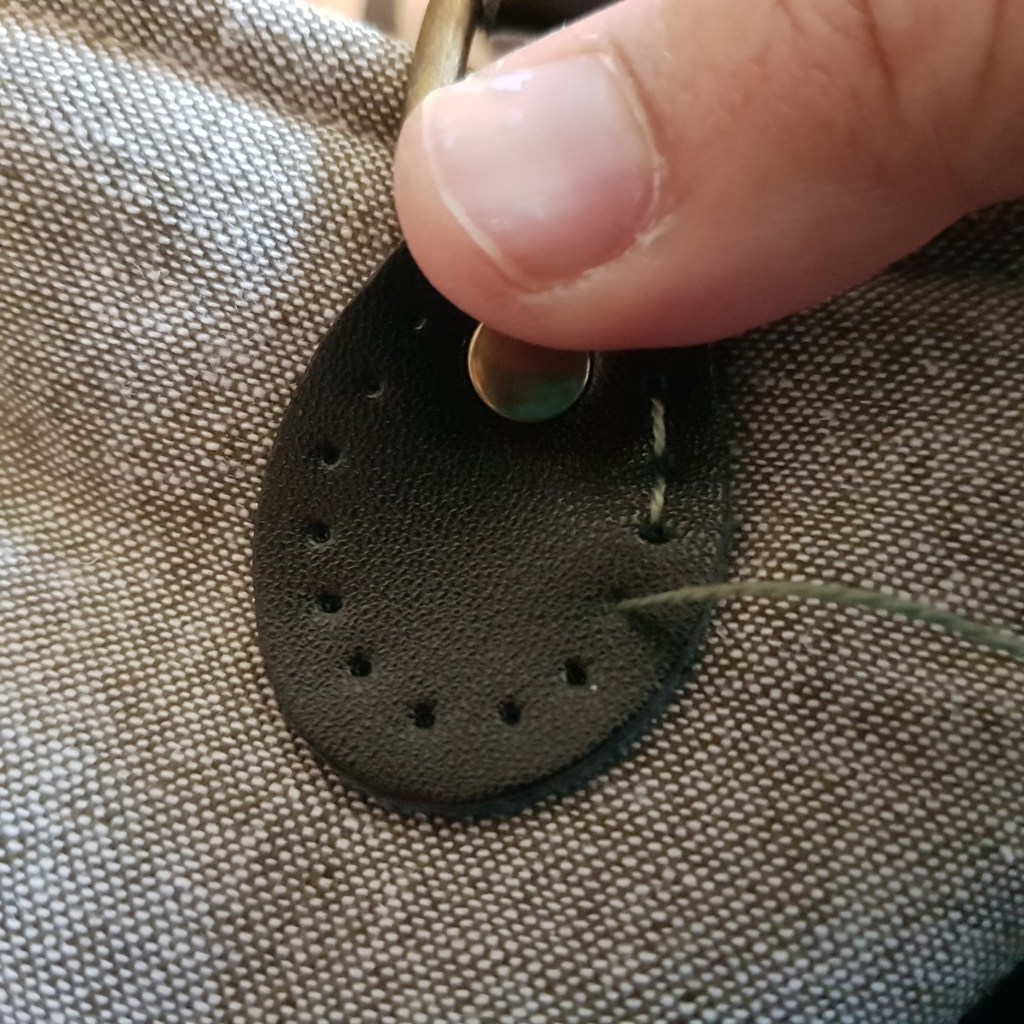
3. Insert your magnetic snap. Mark a point on the wrong side of the lining fabrics at the midway point between your seams. I made mine 2.5″ down from the top, but you can choose wherever you like! I always fuse a small square of interfacing over that point to add strength and prevent tearing. using the little disc as a guide, mark the insertion slits with a pencil. Carefully cut the slits with a seam ripper. Insert one half of the smap through the right side of the fabric through the slits you just made. Add the disc and use a heavy object (I use a tealight holder!) to bend down the sides. You have inserted your snap! Repeat on the other side of the lining with the other half of the snap.
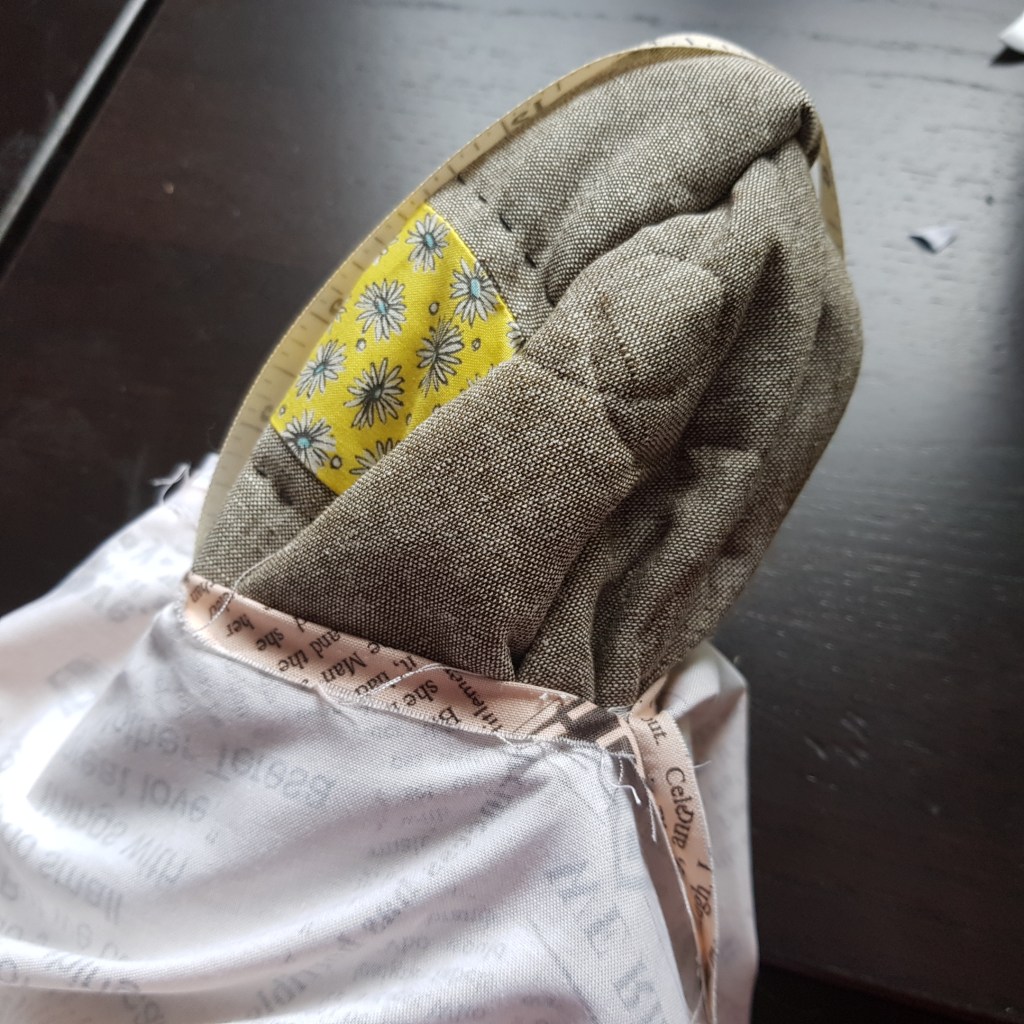
4. Turn the lining right sides out:
5. Place the lining inside the outer bag. The outer bag is still turned inside out and the right side of the outer panels are touching the right side of the lining fabric. Line up the tops and pin so that the side seams are matching.
6. Sew all the way round the top edge of the bag with a 3/8″ seam allowance, sewing together the inside out outer bag and the lining fabric.

7. Now, reach into the inside of the bag, through the gap you left in the lining fabric’s bottom seam and carefully pull through the outer bag.
8. Nearly done! Sew the gap in the lining fabric bottom seam shut by hand or machine. Now push the lining fabric into the body of the bag and press the lining top edge into the outer using a warm iron.
9. Top stitch round the top of the bag.


10. Looking good? Great. Now sew on your handles with a backstitch. I used a 12 wt perle cotton, but you can you embroidery thread for more strength. I sewed mine quite high up and 3.5″ from the midline, but you can do whatever you think looks good!

11. And you’re finished. Wander around the house wearing it and feeling good about yourself!

Thank you once again to the amazing Elise Baek for inviting me onto this book tour – I absolutely love the book; it’s pretty and inspiring and I see loads of projects I want to make from it. Thank you also for letting me make her super cool pattern into a bag rather than a cushion. My husband and son were actually very disappointed that I didn’t make it into a cushion. They said they’d like me to replace all the sofa cushions with my own “beautiful” cushions! So I think I see another of these in my future.
You can find Elise’s beautiful work on Instagram at @eliseand emilie and her blog is here: https://www.eliseandemelie.com/
Till the next time,
Poppy xxx