Starflower chain quilt – finally finished!

Do you have a quilt top drawer? What am I saying! If you answer yes to “Have you quilted for more than 3 years”, then you’ll know all about the quilt top drawer. I don’t know why some tops just   get put off the big finish; you lose love for the fabrics, you have other more pressing projects to a deadline, you feel it needs a bit more added. But look what happens if you open that drawer now and then:
image

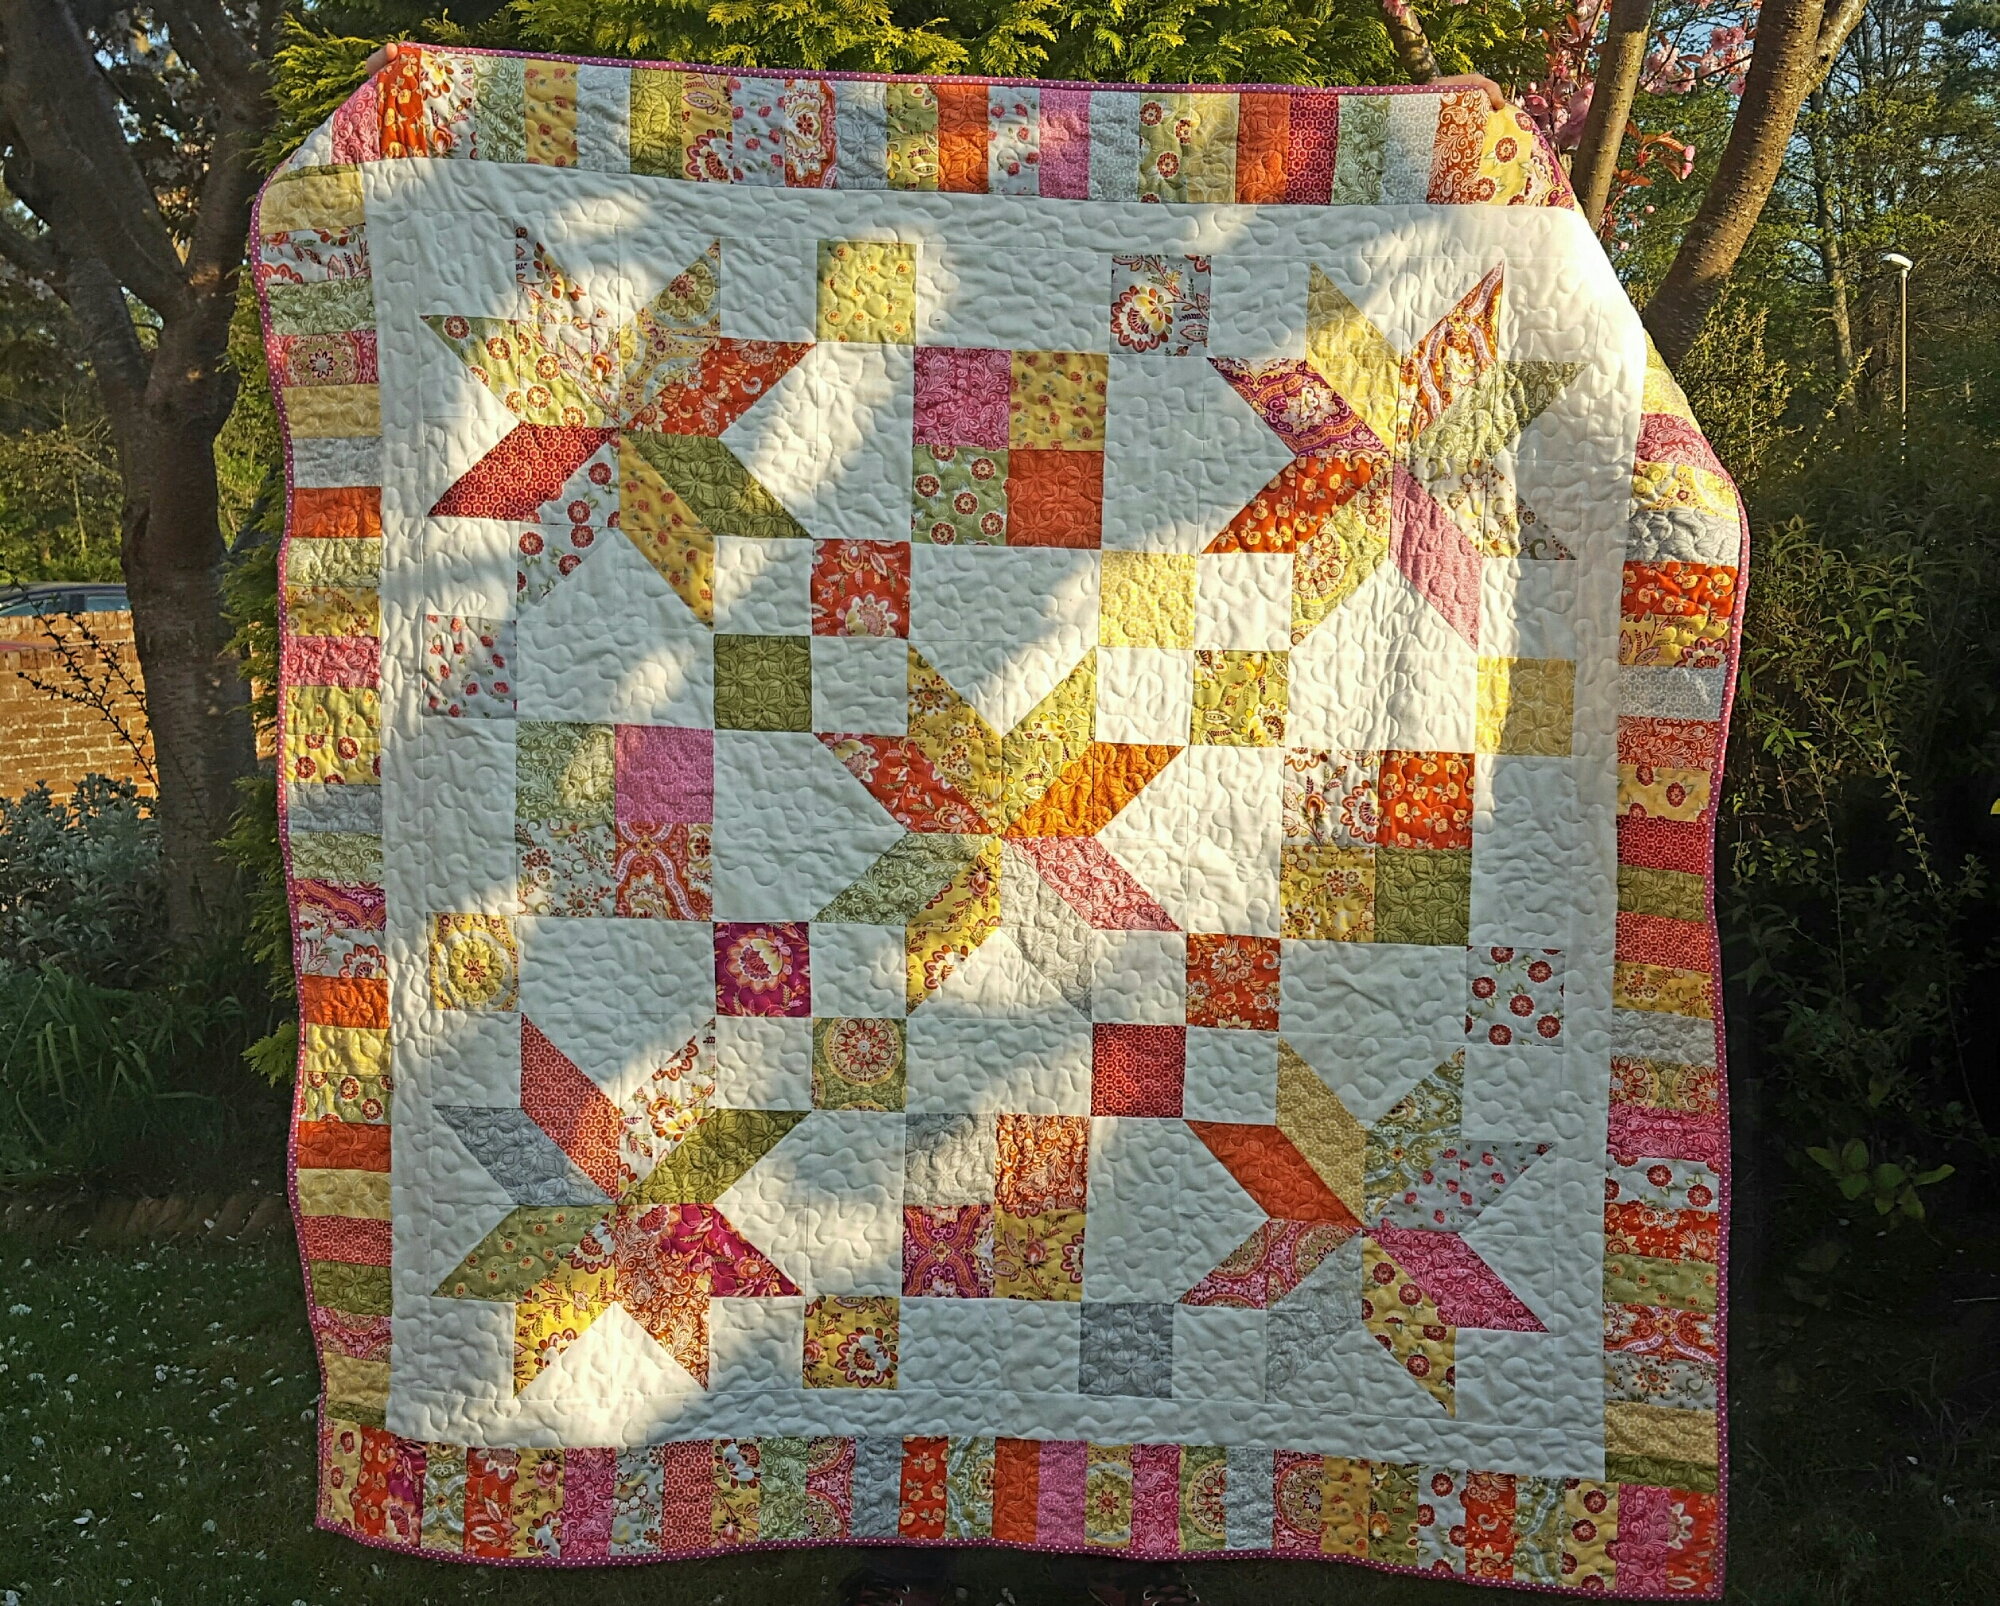
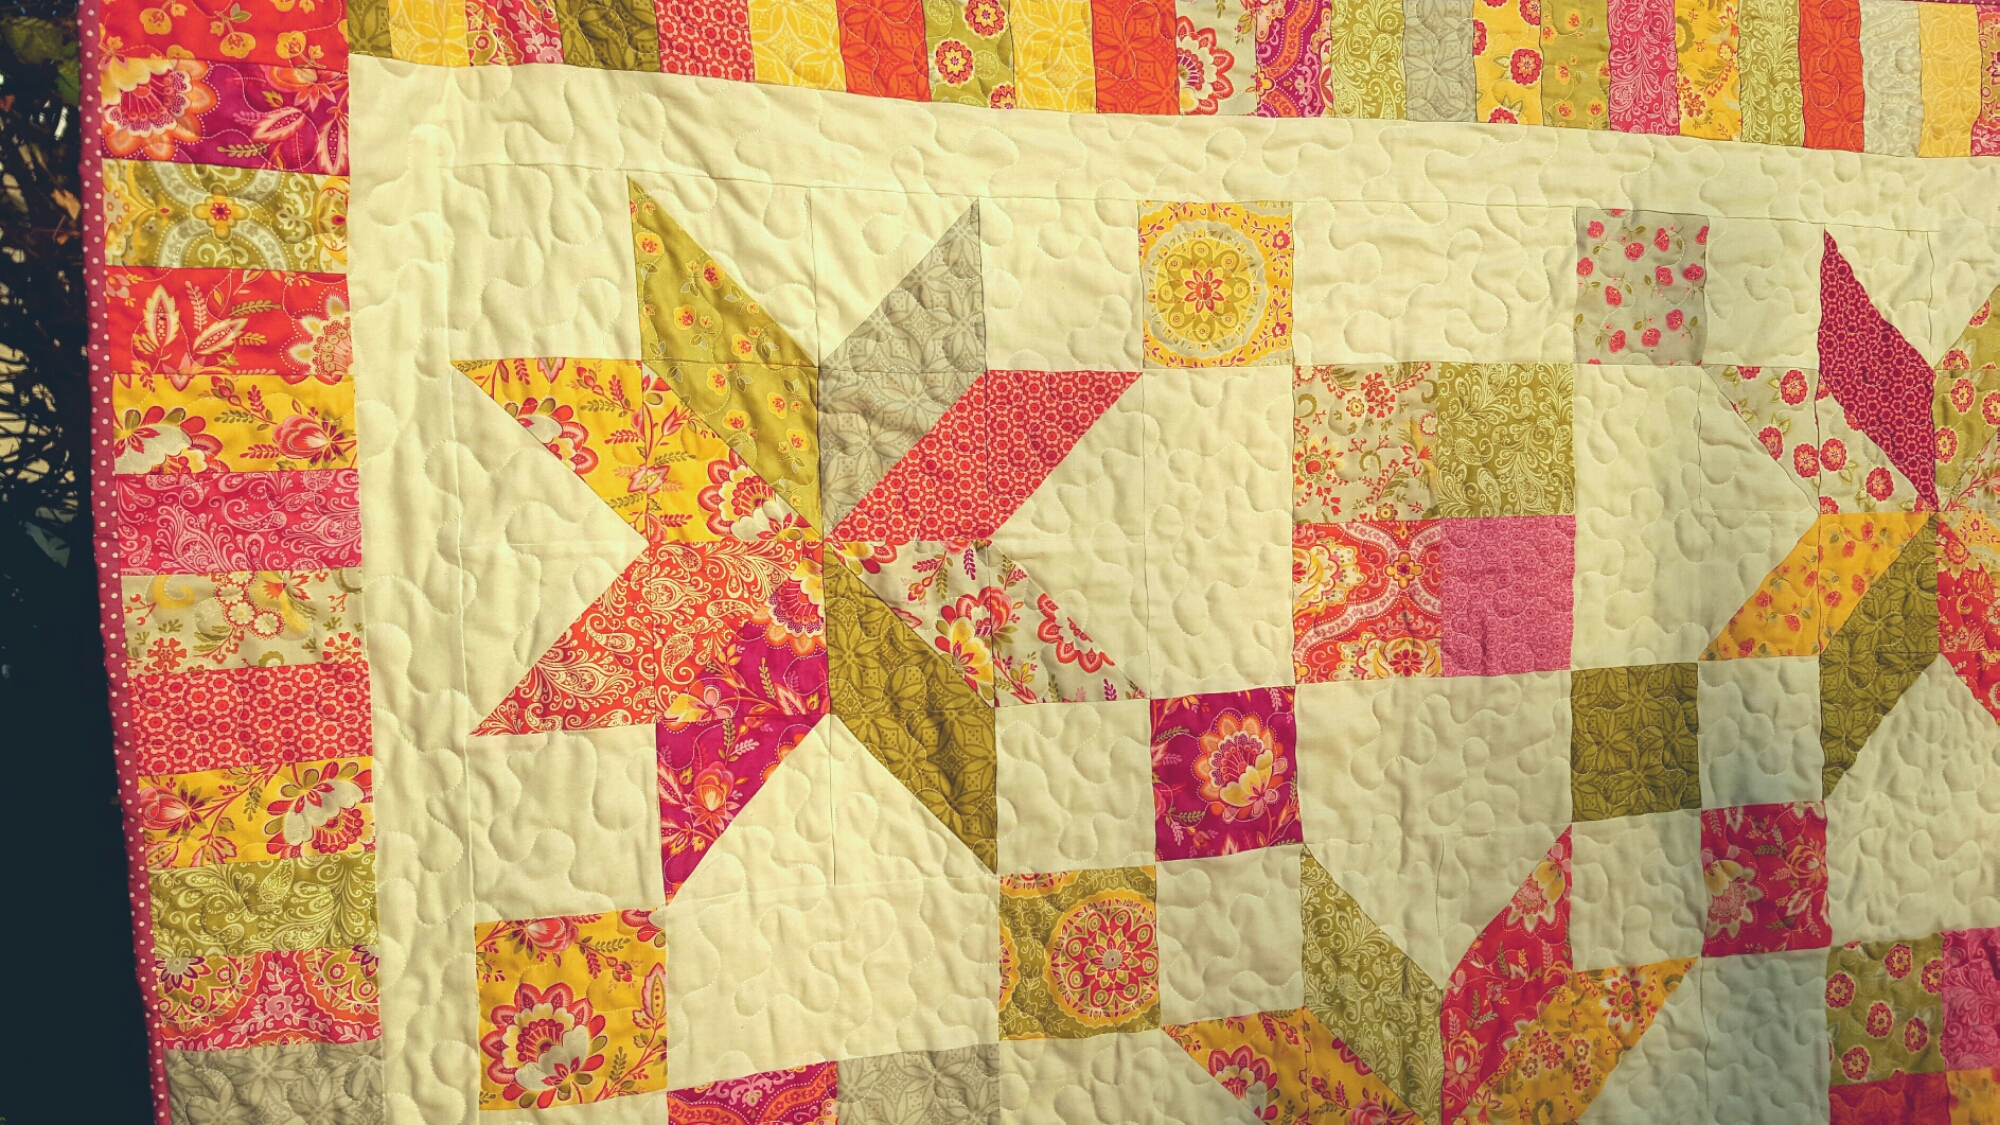
Look at that! My Starflower Chain quilt from… ughhh, February 2014. Eeek. At least that’s when I did the tutorial here, using 3 charm packs and a fat quarter:

Starflowers Chain Quilt … charm pack busting HST pattern/ tutorial #1
image

Somehow I couldn’t find a reason to quilt this quilt before; it’s 61″ square so too big for a baby quilt, all the wrong colours for my house, too girly for my son, too pink & fancy for a picnic quilt for our boy-heavy family. And then I heard of Siblings Together.

Turns out that children placed in the UK foster care system are often separated from their siblings. I understand that it’s difficult to take in several children, but how awful for these kids. Anyway Siblings Together is a charity which puts on camps for these kids to get to spend time with their siblings. And some amazing quilters are leading the drive to make a quilt for each child to keep as a reminder of their time at camp. And I decided that this quilt top finally had purpose! You can read more here about the quilt and block drive here:

http://siblingstogetherquiltgroup.blogspot.co.uk/p/siblin.html?m=1

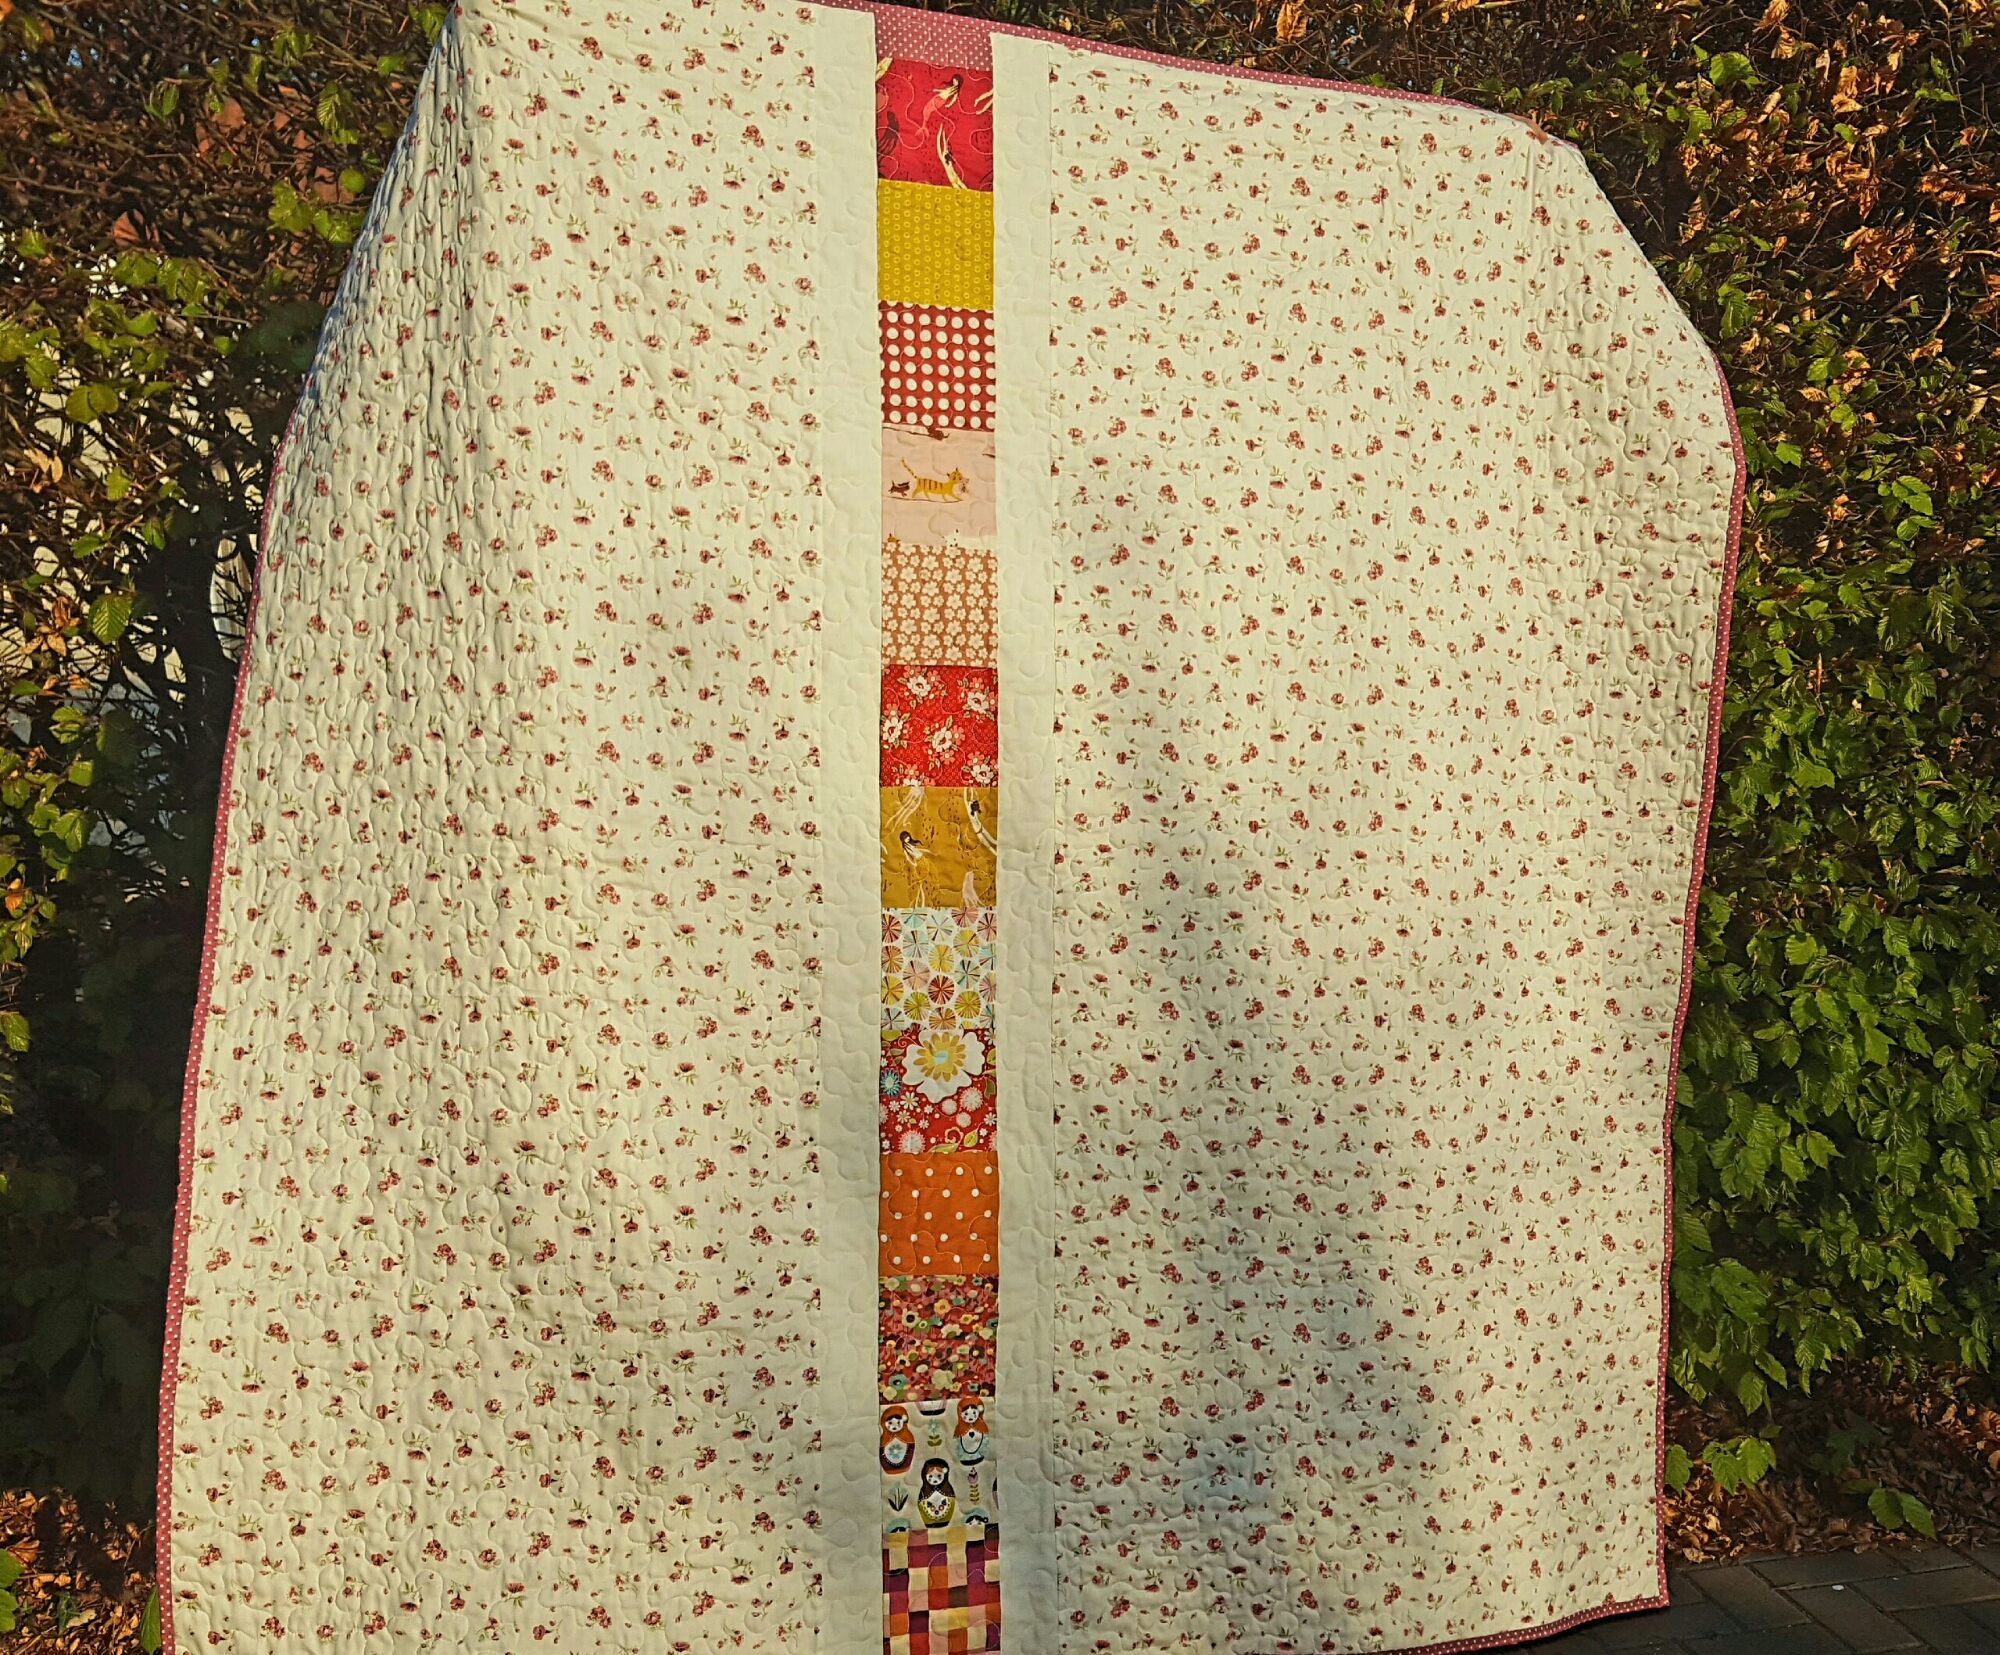
I pieced a back:
image

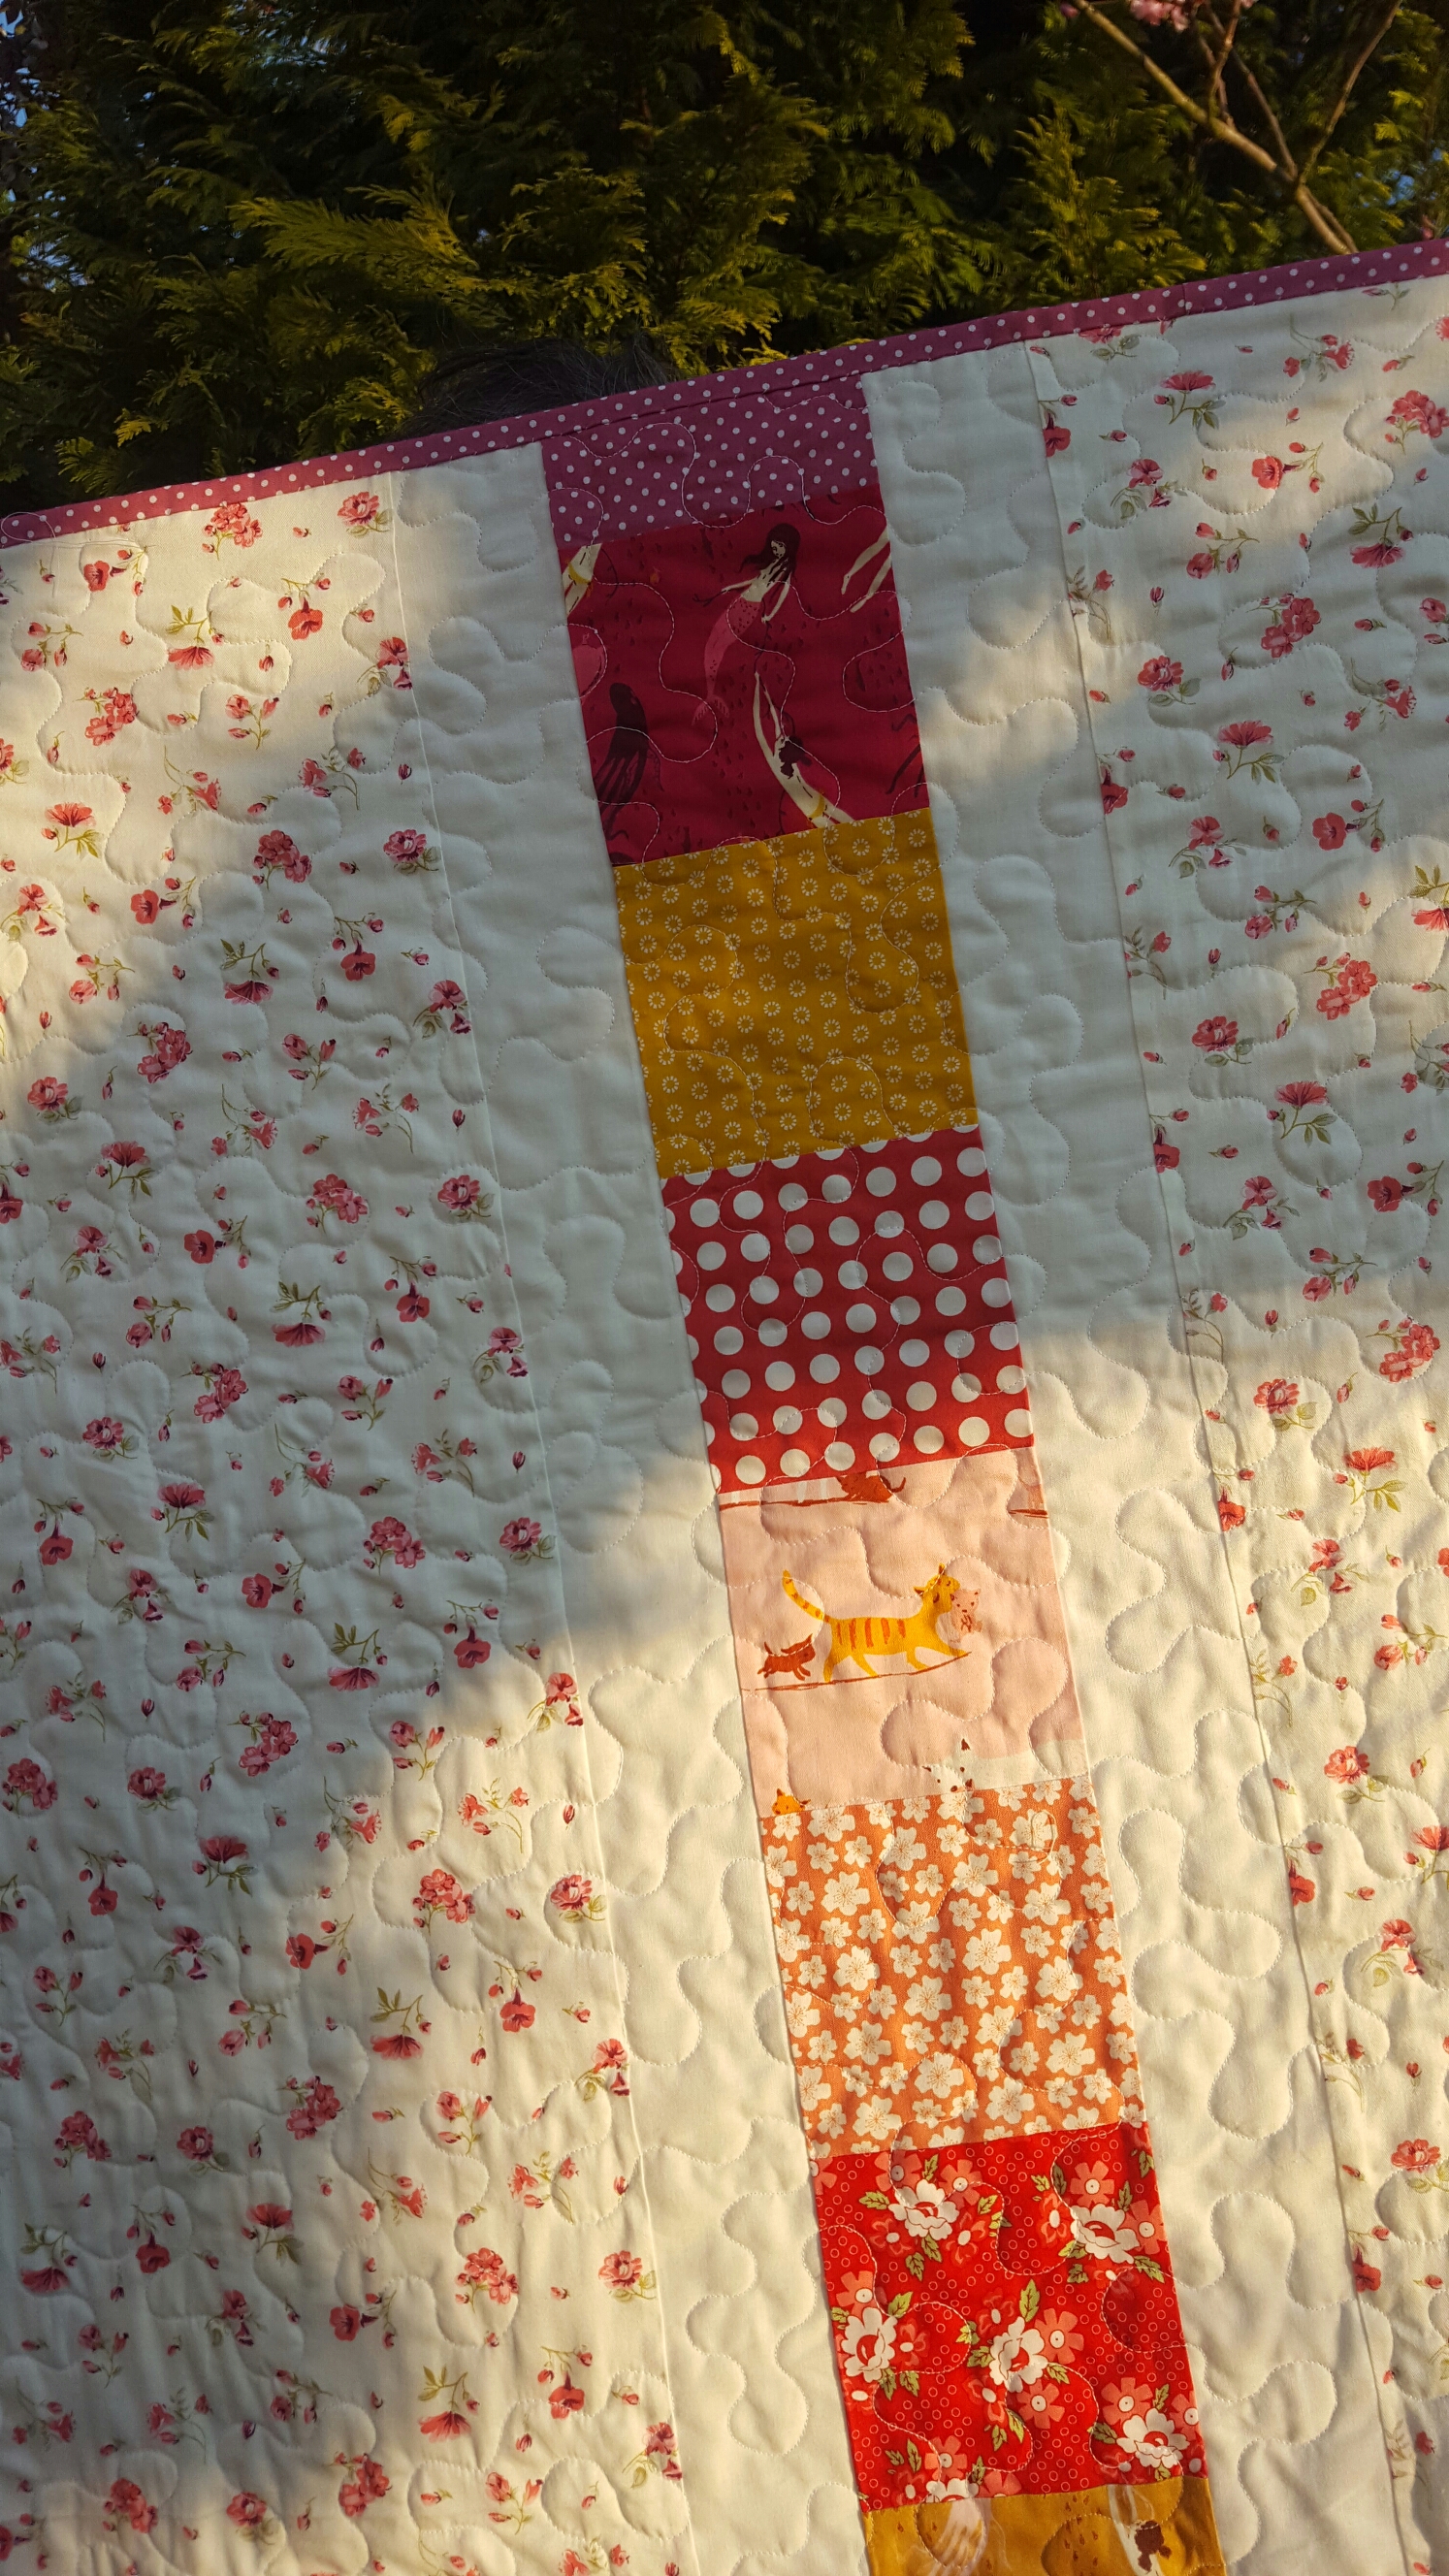
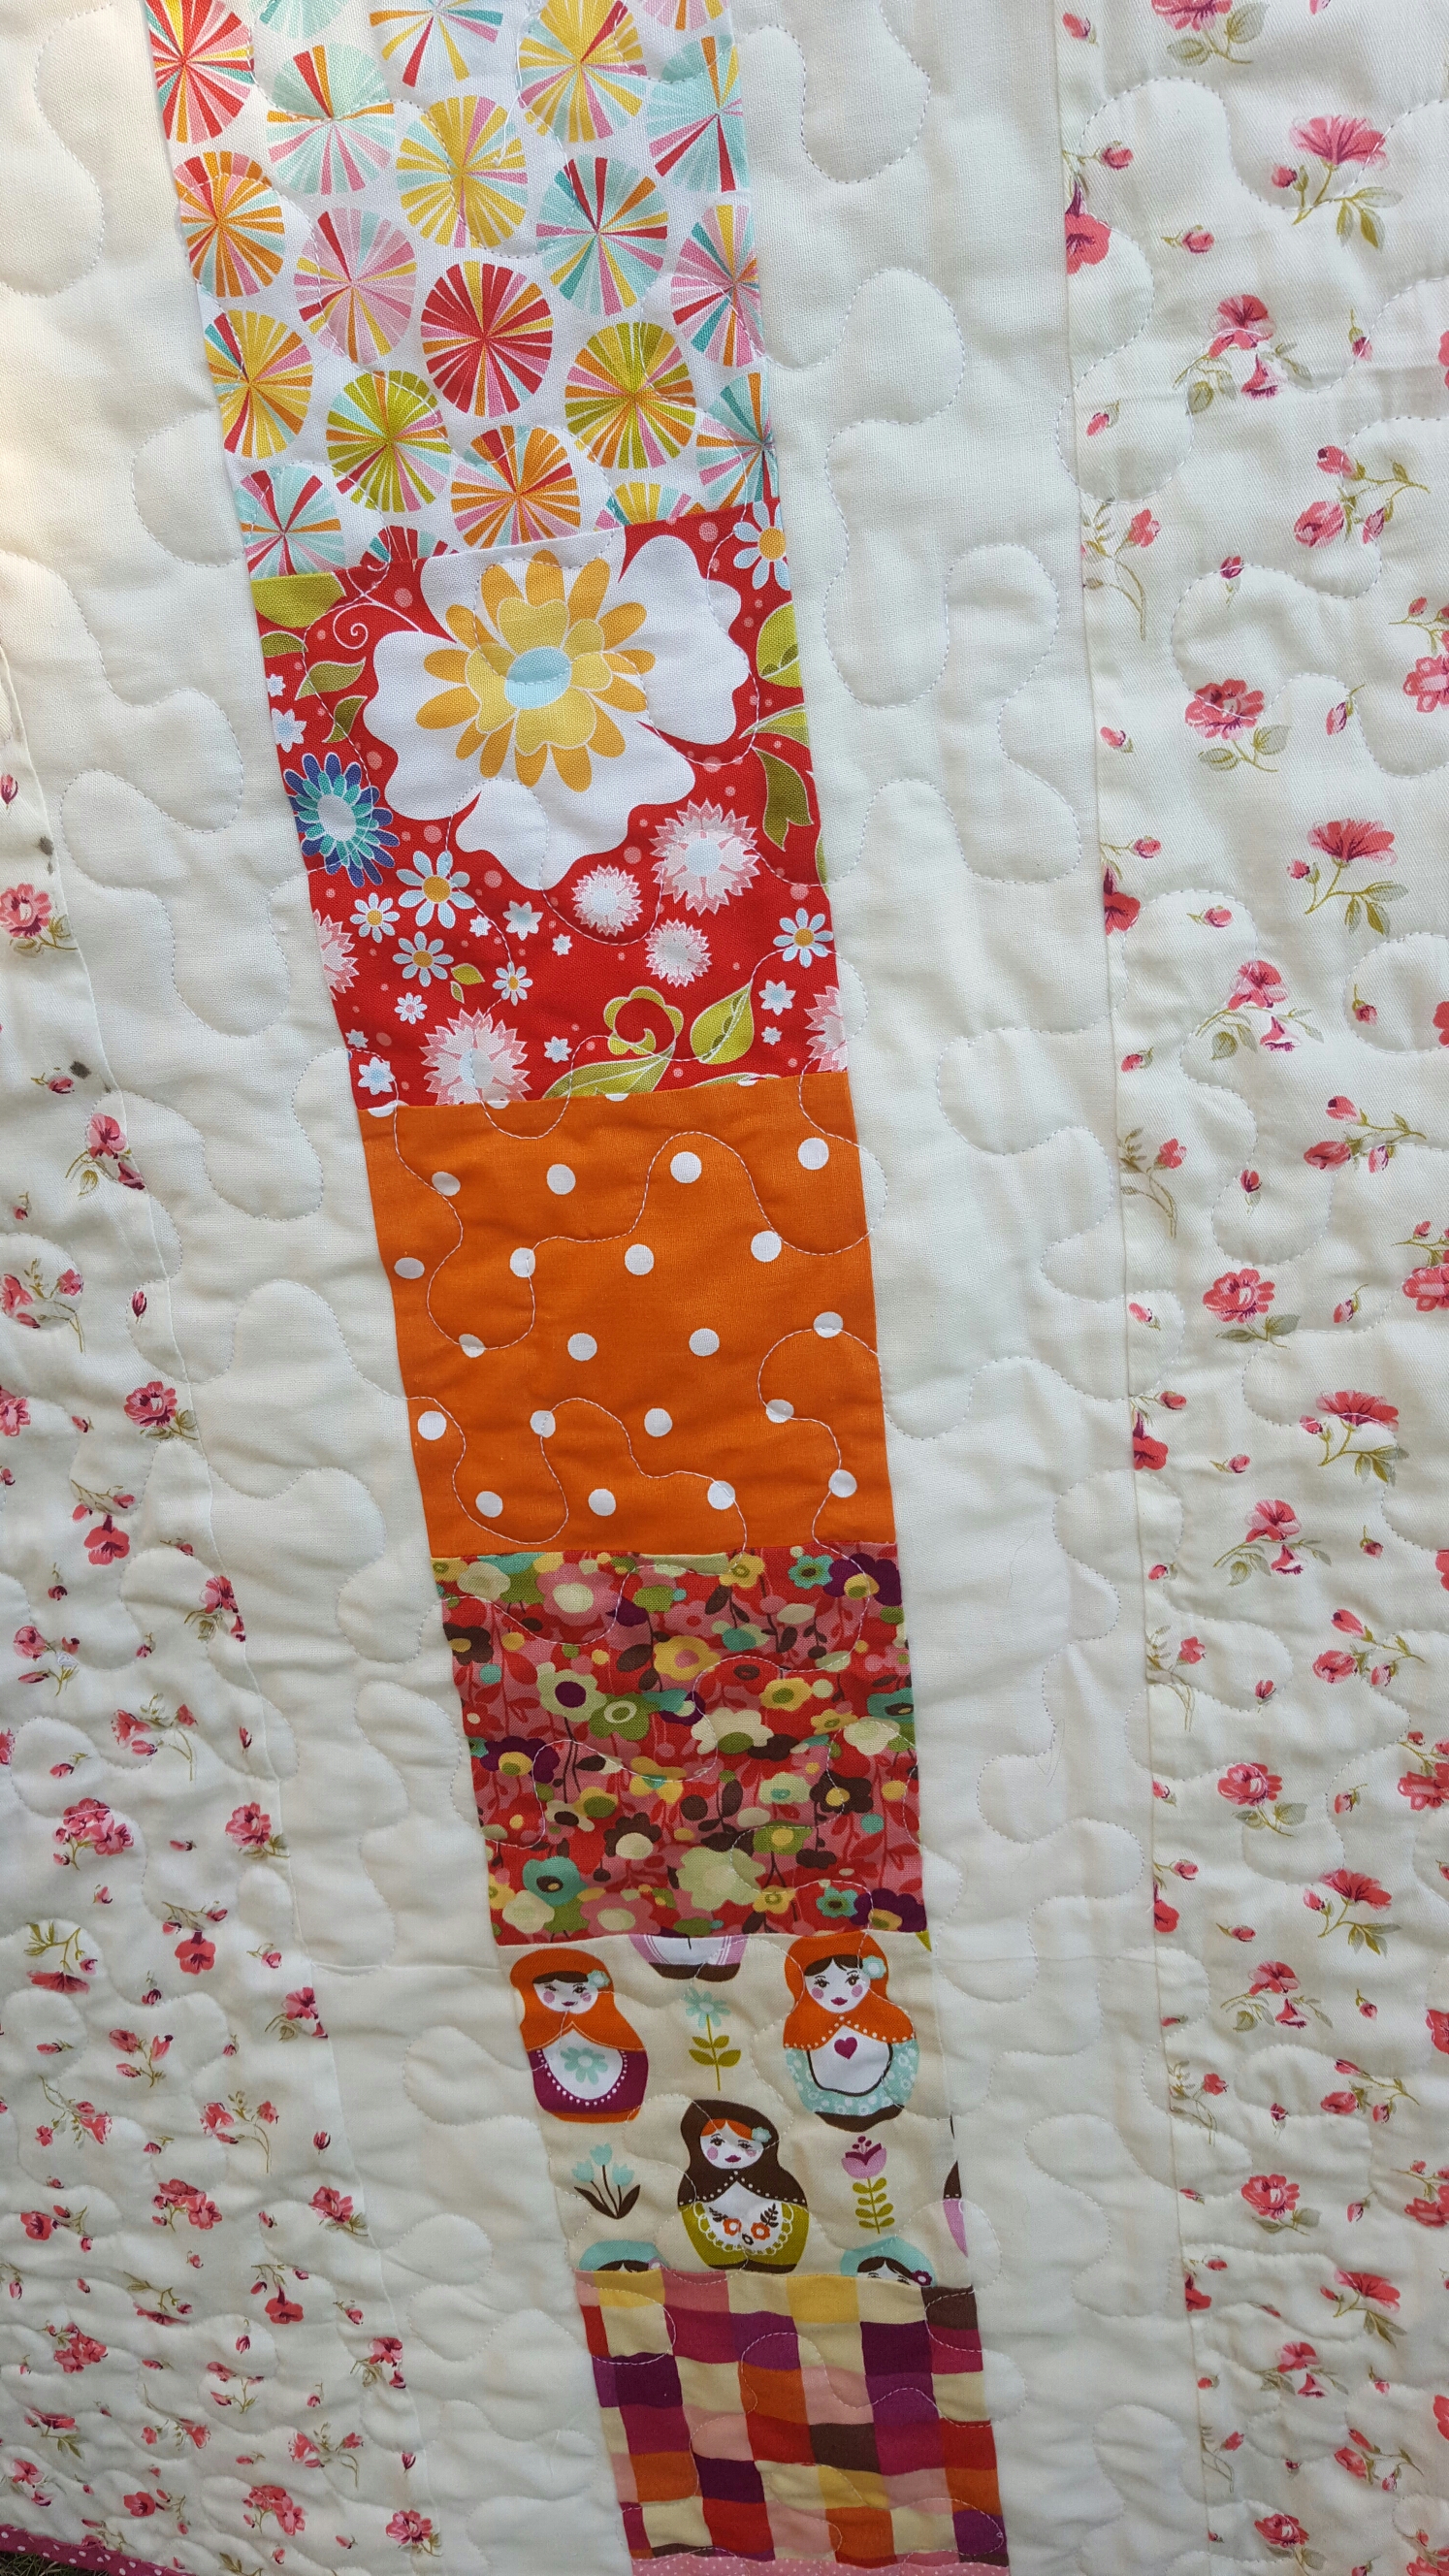
..using some of my favourite warm fabrics. I love the back! Almost more than the front.
image

image

I just stipple quilted it this time, it feels like an awfully long time since I stippled… It’s because I got a half-board of a new batting – EQS Sew Simple 100% cotton LIGHT batting, without scrim. I like Sew Simple and it is much cheaper than my absolute favourite Quilter’s Dream batting – but it usually has scrim, and I worry about that tiny bit of polyester melting in the event of a fire. Probably overkill I know but you have to do what you feel is right for you. Anyway this new scrimless batting has to be quilted less than 4″ apart, so the easiest way for me is to stipple. It quilted nicely by the way, although I had felt it was too thin when I first opened it out; the finished quilt has a nice drape and softness. It is probably more lightweight (cooler) than Quilter’s Dream cotton though (and Warm & Natural which is actually 12.5% polypropylene).

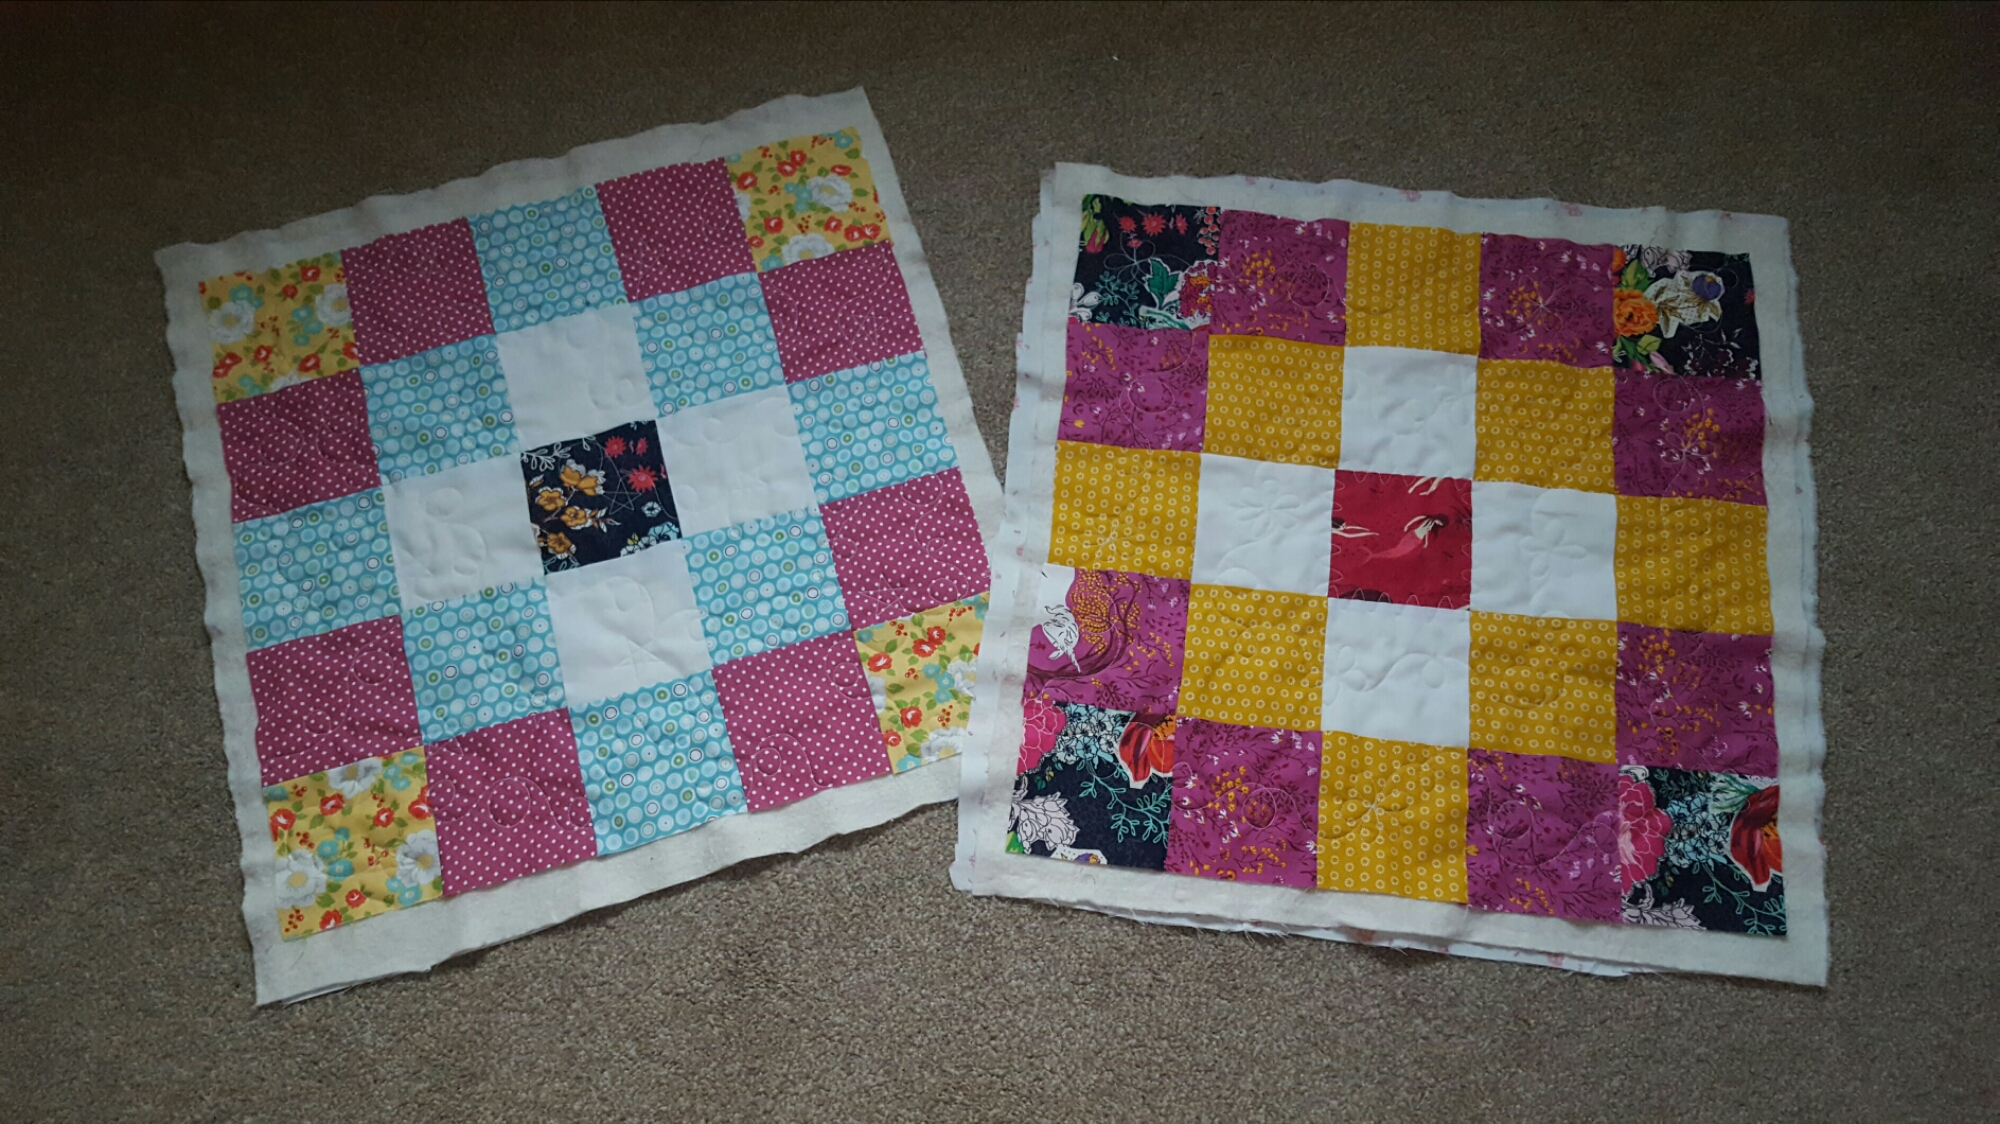
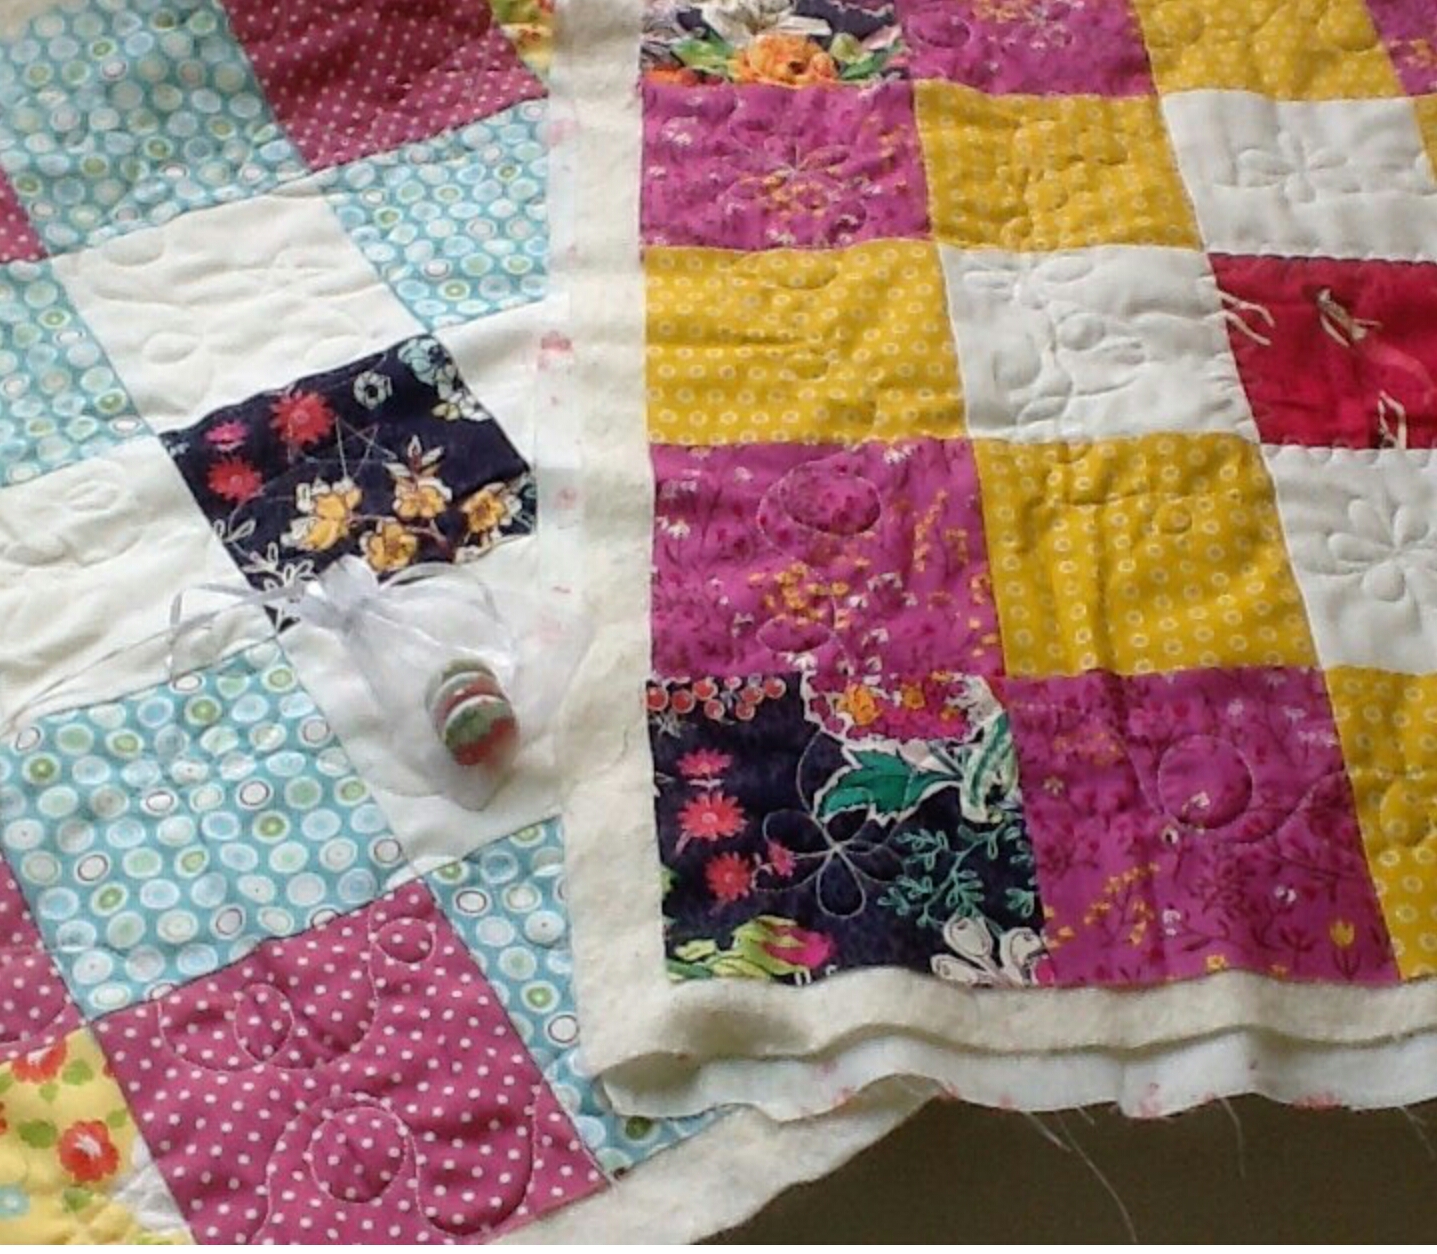
As it happens I also made a couple of blocks for the quilt as you go block drive. They are asking for this pattern and have a tutorial on the blog here:

http://siblingstogetherquiltgroup.blogspot.co.uk/2016/04/block-drive-for-siblings-together.html?m=1
image

image

And the amazing Nicky of mrsssewandsow.blogspot.co.uk is putting all these blocks together that quilters send in to make more quilts! Some people are really special. She’s a very talented quilter too. That second photo of my blocks is hers by the way, from her Instagram.

Anyway it feels really good that this neglected wee quilt top will go to a little girl who will hopefully get pleasure and comfort from it for many years to come.  If you fancy donating a quilt block, top, back, fabric, time or skill to this informal amazing kind gang of online quilters all over the country and elsewhere, then do check out the siblings together quilt blog (or the original siblings together site if you want to know more about the charity and camps).
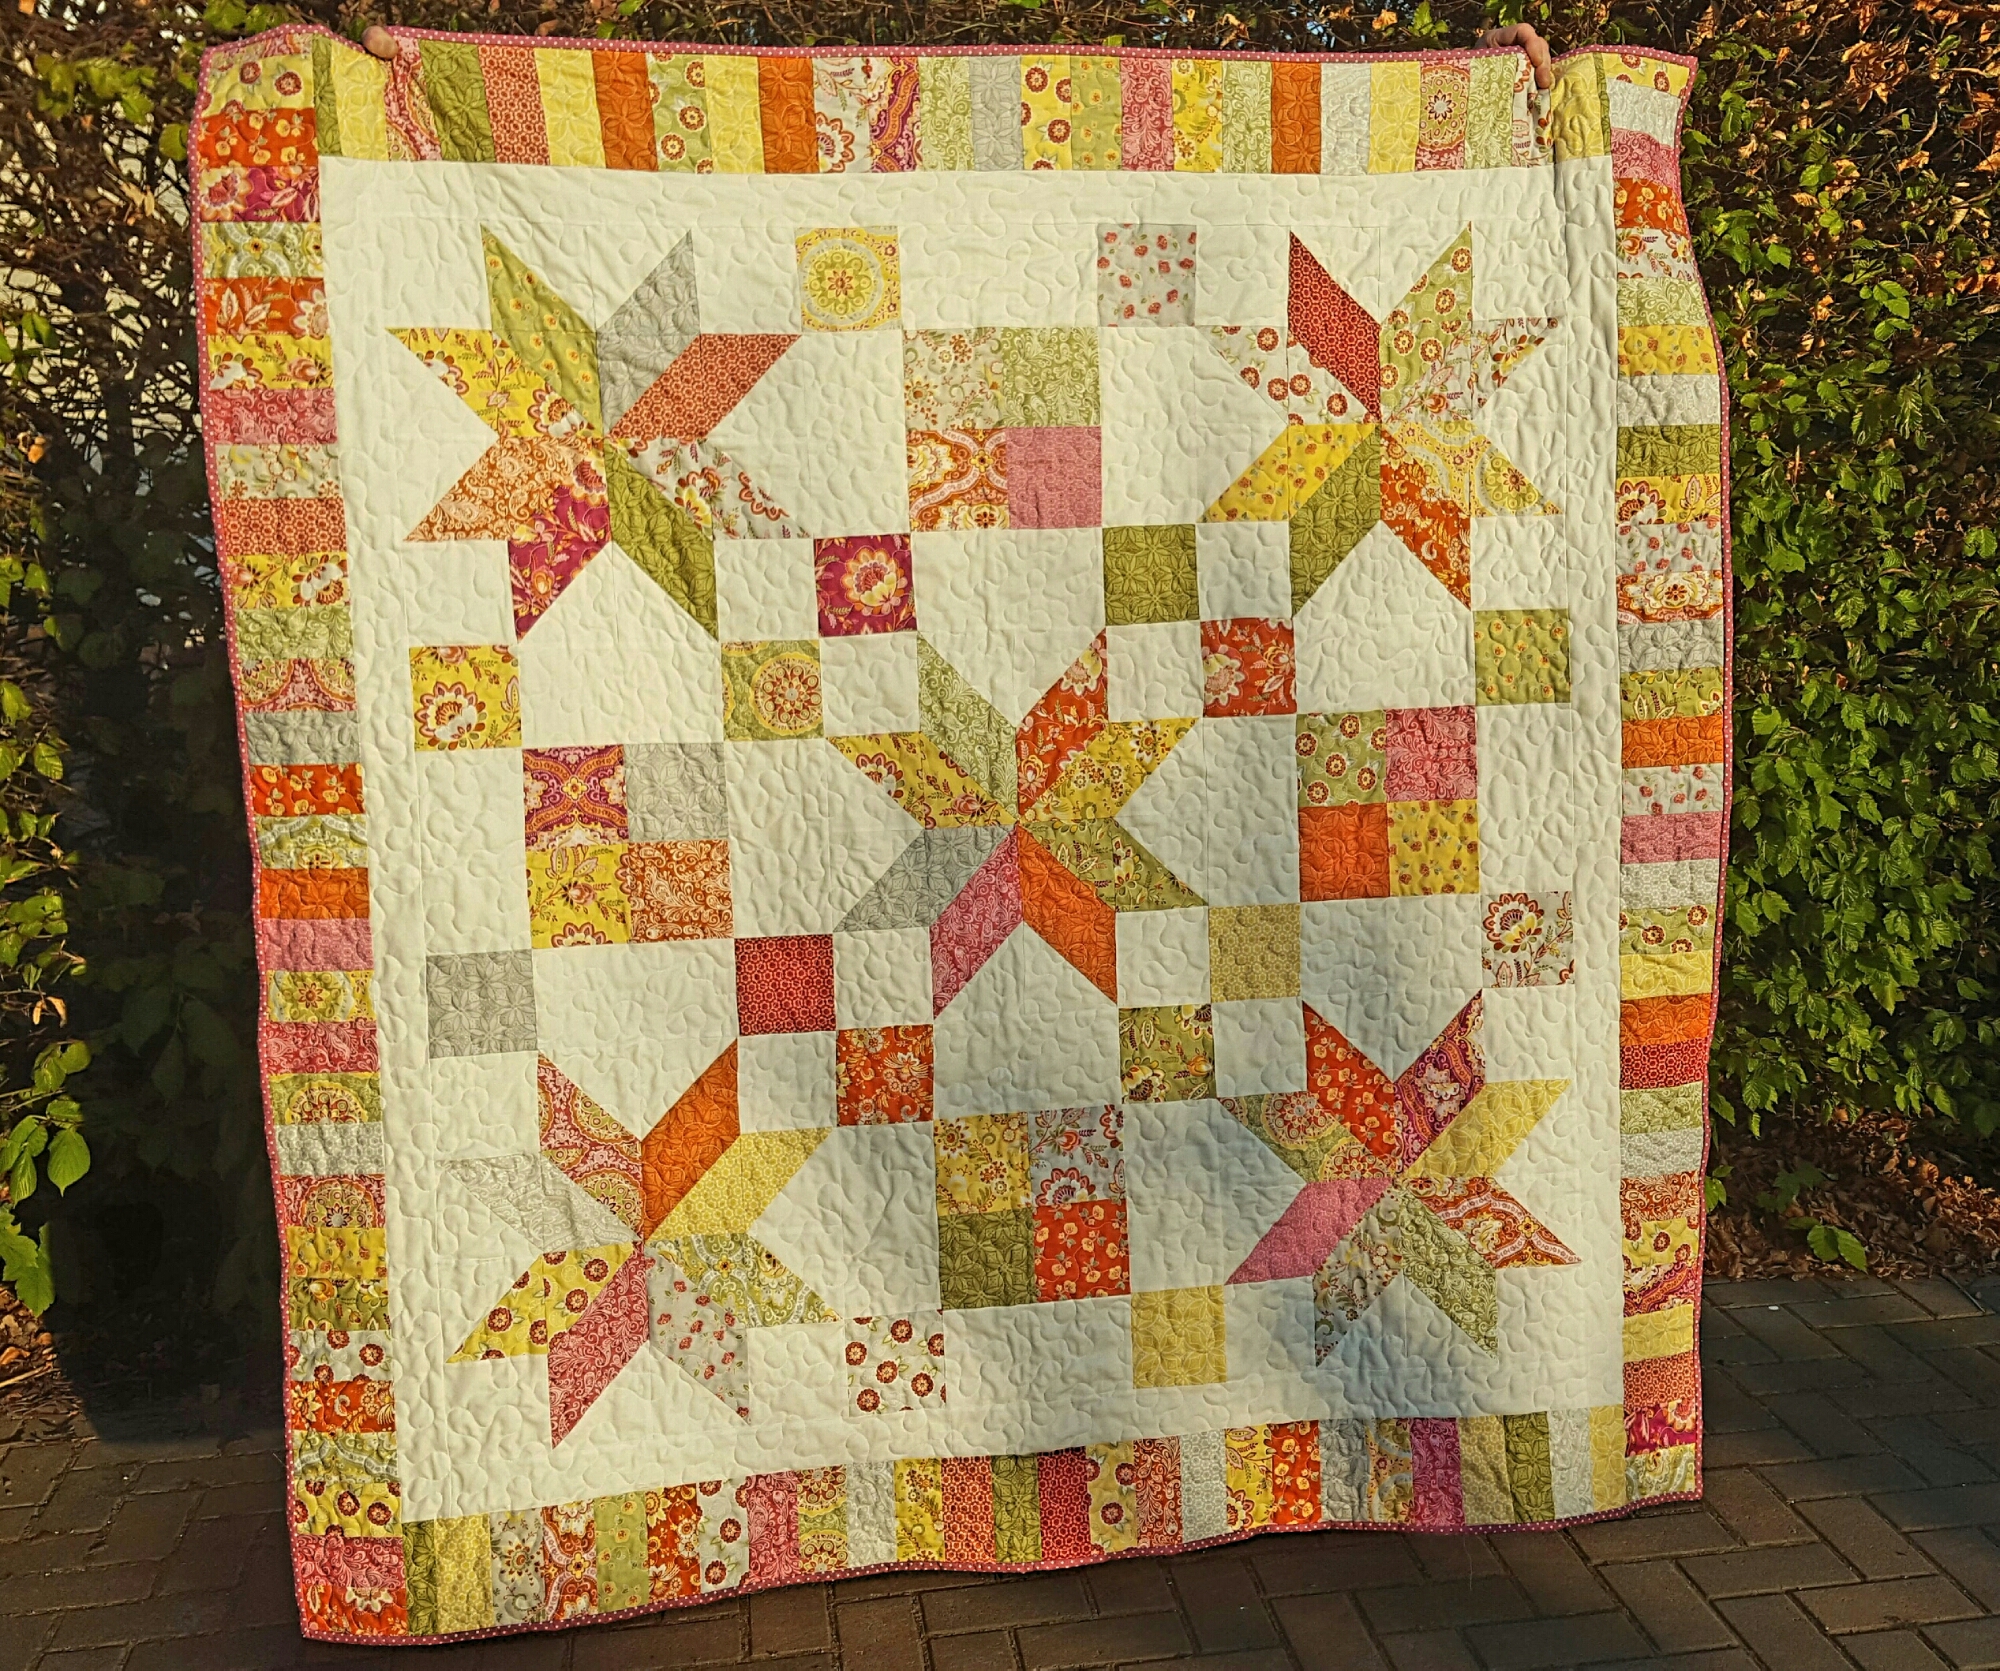
image

Ahhh, the evening sun as a WIP becomes a finished quilt. Quilter’s bliss.

Till the next time,

Poppy xx

Spiderman and Invisibility (or how to quilt with invisible thread)

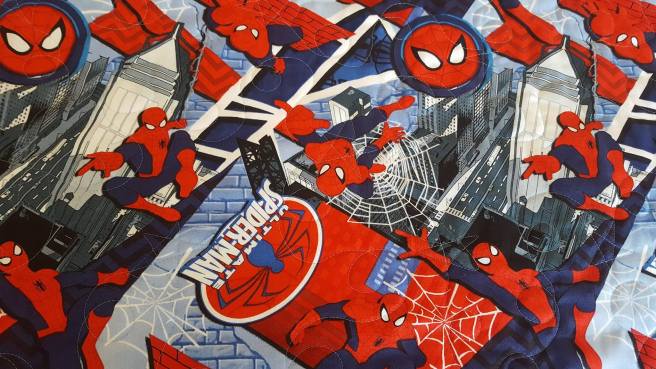
The thing about having a wee boy is that despite having all the loveliest fabrics imaginable and an itch to try out some really complex and beautiful quilting designs (Kaleidoscope quilt anyone?), your child will look at you, big brown eyes shining and say “Will you make me a Spiderman quilt, Mummy?” And then will proceed to pick out two almost identical, but crucially apparently NOT THE SAME, equally busy and very Spidermanny fabrics for front and back respectively. It’s done, he loves it and his mummy, I kept the fabric whole and added a border – it’s not in itself worth a blog post… except perhaps for the quilting.

13091609_10208110090341928_558378850_o

13129050_10208110093222000_280471337_o

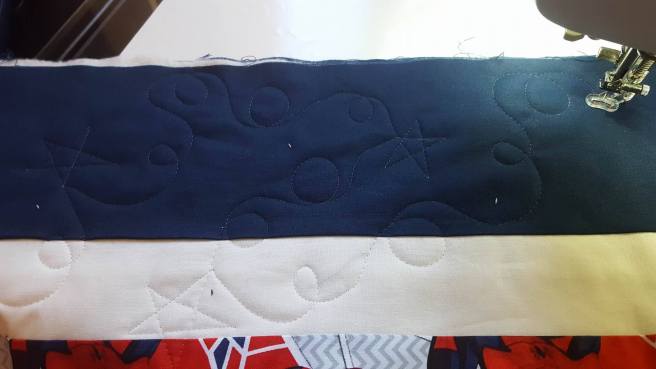
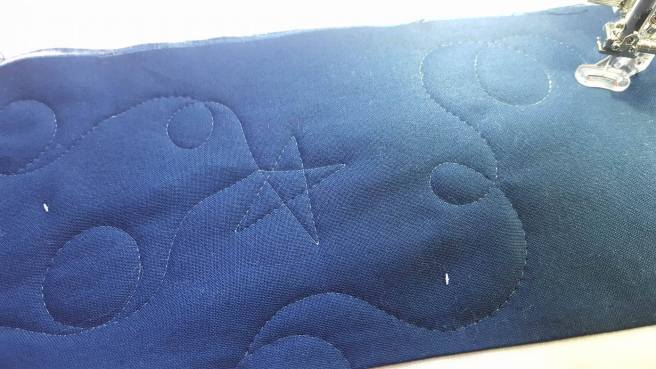
This is the “back” of the quilt where you can see the quilting. I chose to do loop and star quilting as Kiddo loves it, having seen it on a quilt I made for another wee boy; I can attest that it is much easier the second time round – once you get your head round it it seems it’s a piece of cake! I showed how to do loop and star quilting (on paper) here if you needed any pointers:

Bartholomeow’s Reef Bermuda Baby Boy Quilt

But on the front of the quilt I used invisible thread:

invis1

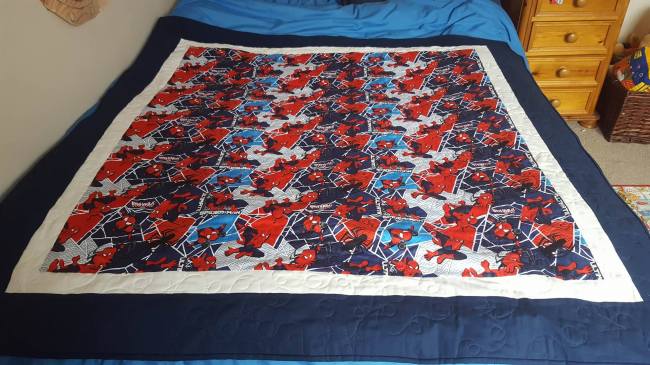
Looking at the other side (which is not invisible) now, I am not sure I needed to bother. But I was concerned about the busyness of the print clashing with the quilting thread and it all looking like a giant mess. Especially as one side was very dark (the other had more white/light blue and grey in it). But for whatever reason, I chose invisible thread, and it certainly looks cleaner, but with subtle texture and pattern.

13112424_10208110091101947_25276260_o

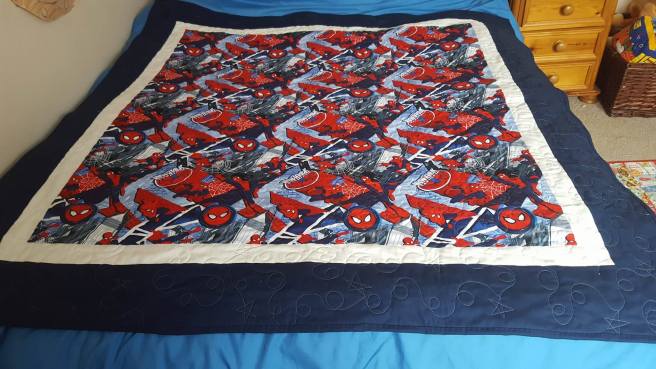
That’s the side quilted with invisible thread and the next is the side quilted in a pale blue:

13091835_10208110090621935_1308687007_o

The difference is more noticeable in real life! (isn’t it always?)

Anyway, this is the second time I used invisible thread, the first being on a project for Kiddo’s school last year when I made a quilt from the children’s drawings (but camera failure deleted the photos – arrrrggggh), and for which invisible thread was pretty important. At that time, I trawled through blogs and websites to try and get some understanding on how to use it, and made notes. Notes which I followed again with success again, so if only for myself I thought I would write them here too!

NB. *Apologies for not being able to credit the sources, but it was last year and I read quite a lot of articles about it… A google search will bring up all my sources! I do remember a newsletter from Barnyarns being really helpful – they are so knowledgeable about threads and notions! And it is where I got my thread. *

http://www.barnyarns.co.uk

invis2

How to Quilt with Invisible Thread

  1. Invisible thread is either nylon (A.K.A. polyamide) or polyester. Polyester sews more like very fine thread and won’t melt as easily with an iron, so I decided to use it. I have some nylon invisible thread and it feels stiff, a bit more like wire but some folk prefer it apparently. The thread I used is called Superior MonoPoly clear very fine polyester, from Barnyarns. I used this as my top thread. It’s superfine but my Janome handled it easily.
  2. You CANNOT use invisible thread in your bobbin. It will stretch, break and tangle inside your machine. The tension would be all over the place even as you wind it. You need a very fine but strong polyester. I used The Bottom Line by Libby Lehrman for Superior Threads in my bobbin (I think Barnyarns recommended it as I got it from there too!) and it worked really well. It’s very fine (a 60 weight), but strong and I had no problems. You could try a 50 weight too but probably nothing thicker (the bigger the number, the finer the thread).
  3. Because invisible thread is a monofilament (one strand, not 2 or 3 ply), it is extremely fine (and stretchy). This means you need a very fine, very sharp needle. the thread will not expand to fill the hole made by a needle, unlike normal quilting thread, so you need a really fine needle like a size 70/10. If that’s not small enough try a size 60 (the smaller the number the finer the needle!). For sharpness use a microtex or a topstitch needle. I tried both and both worked well. I might say to go with a topstitch needle if you pushed me, but I doubt there’s a big difference. A 70/10 topstich needle was fine for me.
  4. I only free-motion quilted but I assume this next info is true for straight line quilting too. Turn the tension on your machine right down. because of the stretch, a normal tension will stretch and snap the thread. If your stitches are looking very very shiny and thin you will need to lower the tension even more. Experiment. On my Janome I had to reduce the tension to a 2.

and hopefully that’s it! Otherwise it was just like quilting with normal thread, and it feels like normal thread now it’s quilted.

I actually really like the thinness of the 60 wt bobbin thread too even though I usually only use 50 wt cotton – you can see the quilting but not too prominently (below). I need to do more experimenting!

13106810_10208110094062021_1039514232_o

Phew! Hope that helps if you want to have a go with invisible thread, obviously there are loads of other options, I’m just saying what worked for me as I didn’t have any problems, but feel free to comment if you have any thoughts or experience with using invisible thread!

Happy sewing/crafting/drawing/art-making/life-making all.

Until the next time, Poppy xx